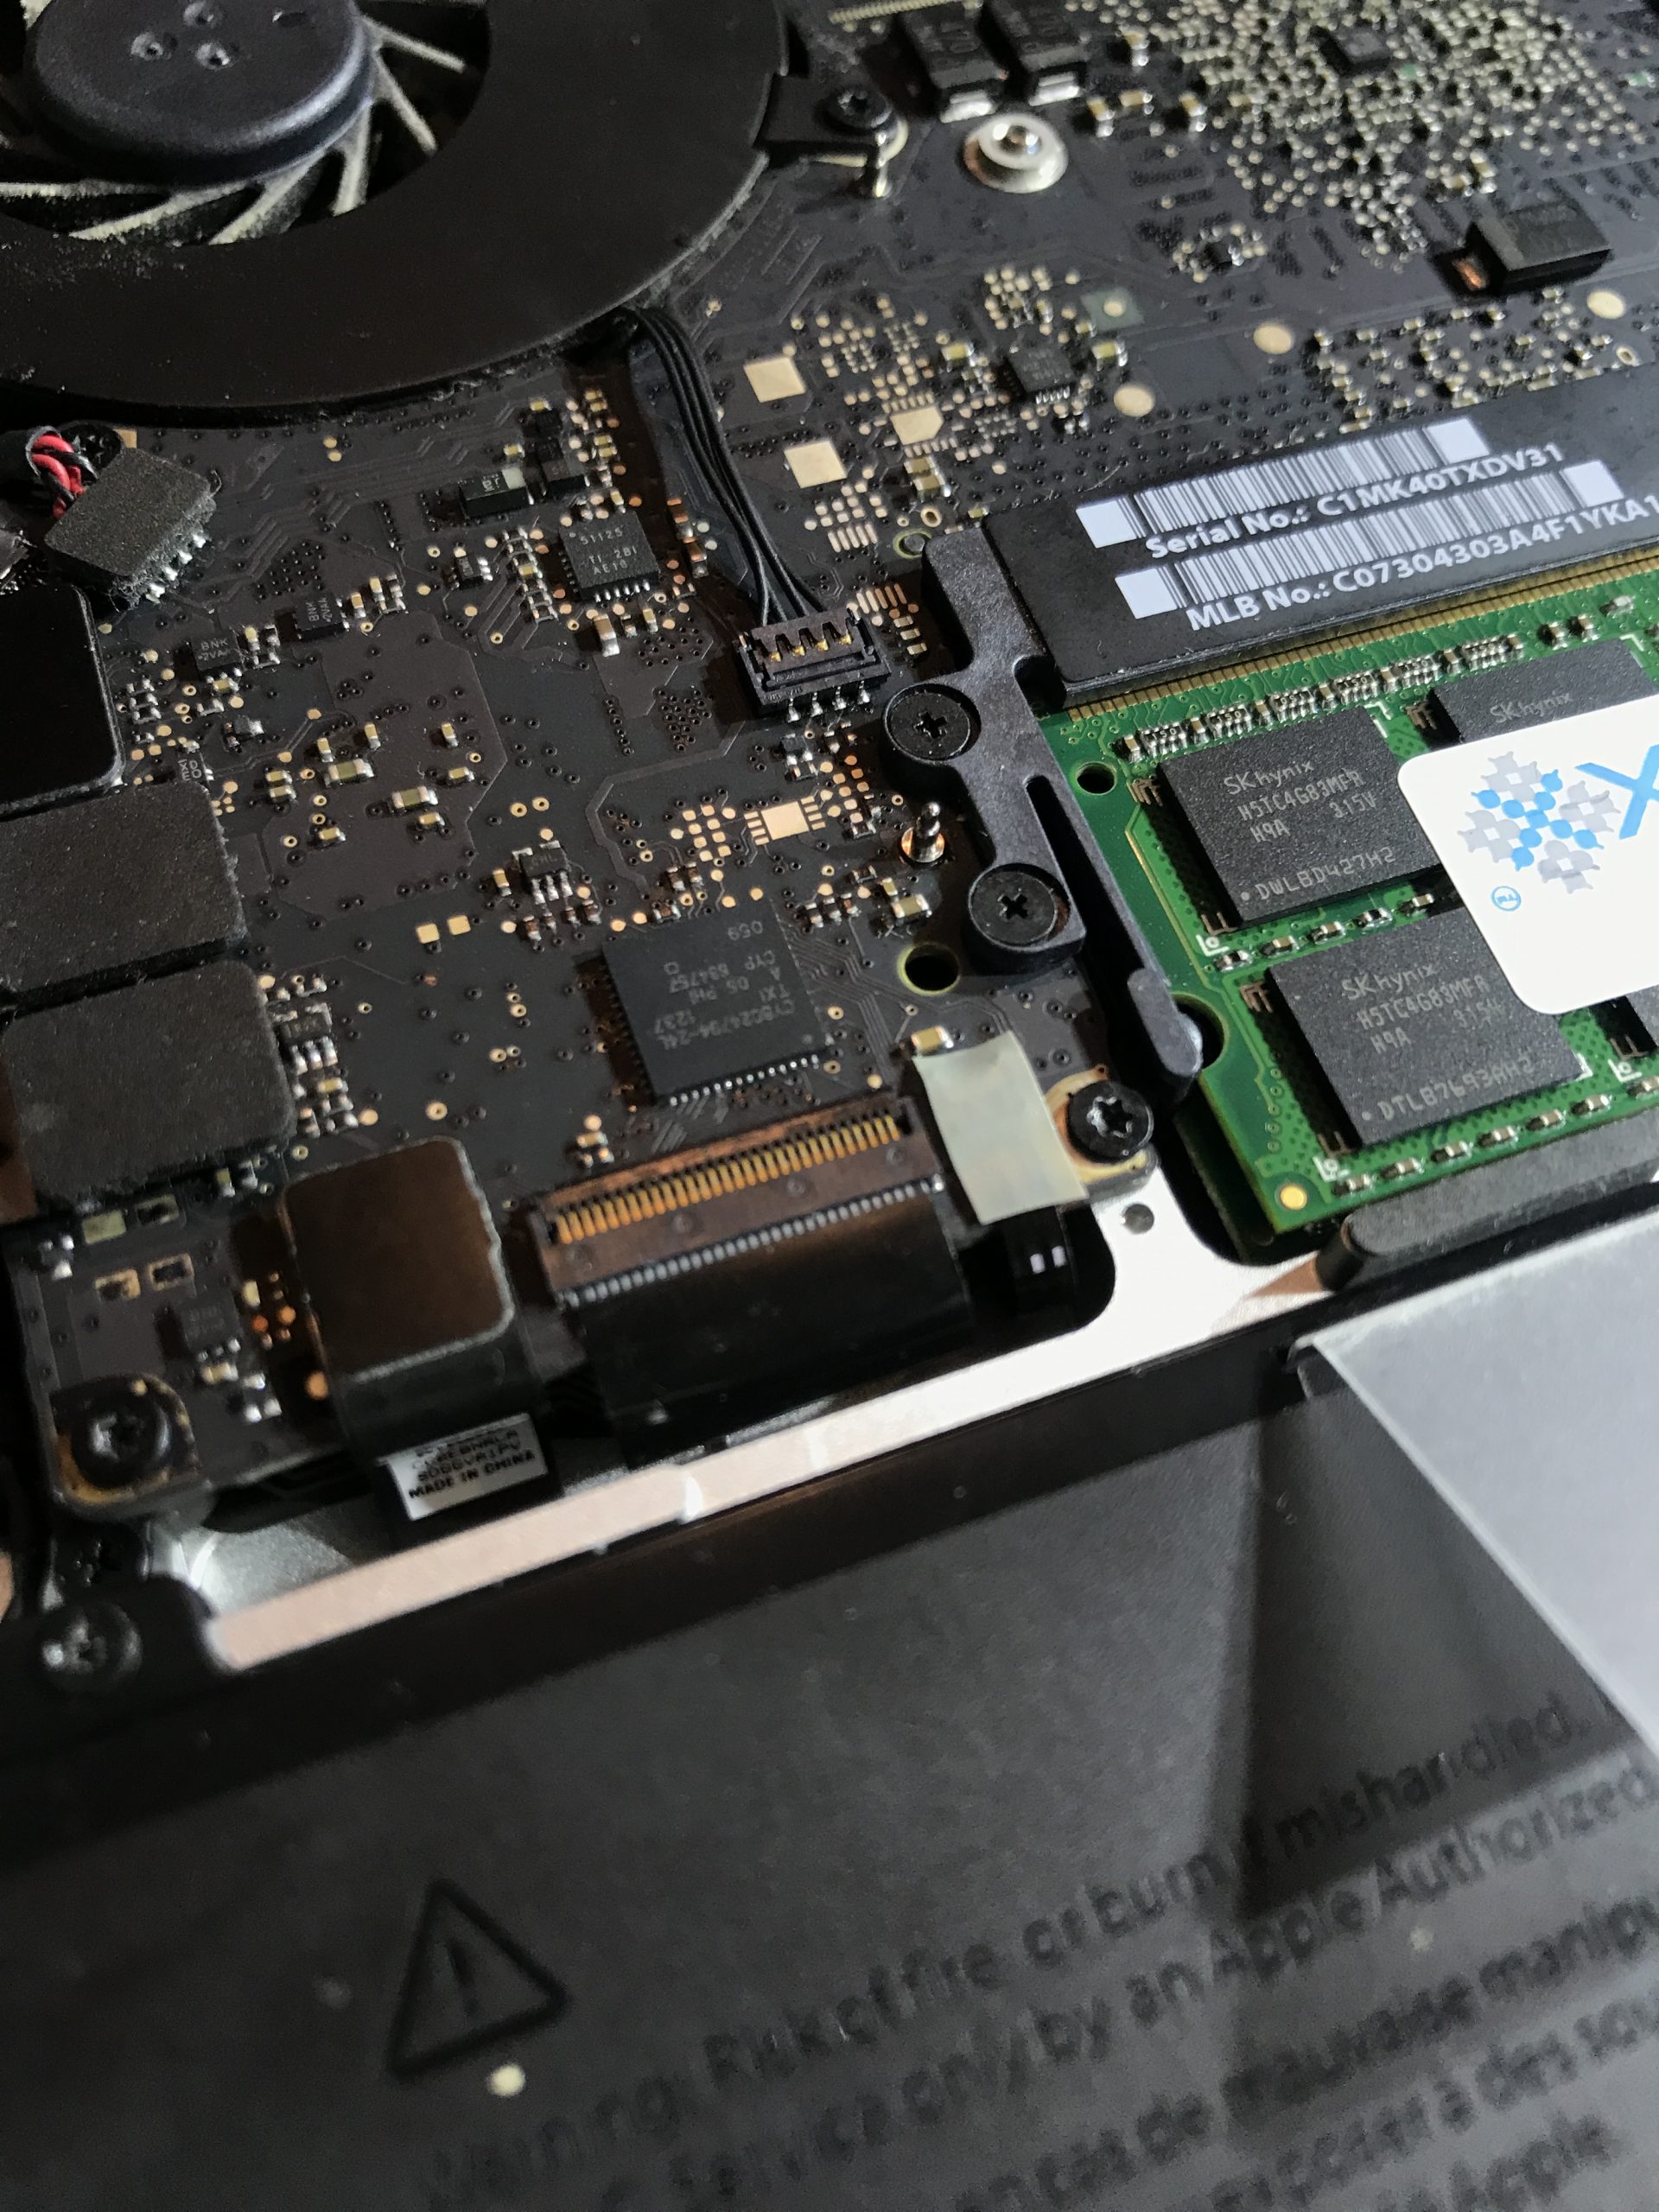
This unibody-style Mac Mini had been displaying a flashing folder with a question mark on boot, which is a sign of hard drive failure. I put a new SSD into the Mac – and that was not easy!
On the surface, this looks like a late-2012 Mac Mini, with the two thumb ‘dimples’ on the base you can use to unscrew the bottom cover, and an antenna plate which is not the full size of the base of the Mac. So I began following the late-2012 Mac Mini teardown on the iFixIt website.
But 0nce I had removed the logicboard, I still couldn’t take the old disk drive out – and what I was looking at didn’t tally with the photos and description on the iFixIt page. So I checked out the iFixIt teardown for the late-2014 Mac Mini model too, and then I was able to navigate through the rest of the repair… But this isn’t a late-2014 Mac Mini! This Mac doesn’t have the full-size circular antenna plate, nor the ‘fusion drive’ storage configuration, with an NVMe SSD alongside a larger STAT hard disk.
Eventually I was able to remove the old drive, and install a new SATA SSD. I opted for an MSI Spatium SSD here, which has excellent reviews but is not a make or model I have personally tried before.
During reassembly, I ended up hopping between the 2012 and 2014 Mac Mini pages on iFixIt (you can see this in the video) in order to keep track of what I was looking at. Was this some kind of ‘parts bin’ Mac, built right on the cusp of the changeover from the 2012 design to the 2014 design, utilising elements of each model? Or possibly, a previous repairer has retro-fitted some parts, somehow?
OS X Mavericks
Either way, I think it’s been opened up before; the antenna plate has taken a bit of a ding, and once I had removed it I was unable to reattach it with all the screws again, try as I might. I had a go at straightening out the edge of the antenna plate where that was warped, but I wasn’t able to apply pressure in the right way without risking damage to the attena cable. You can see this in the video too. In the end, I just fixed it on with only one screw, and trusted that the bottom plate of the Mac Mini case would hold it in place well enough, considering that the Mac will live in one place and not get carted around.
Once the Mac Mini was fully reassembled (with the exception of one stubbonr retaining screw for the antenna plate, that is), I booted the Mac into the network recovery mode, formatted the new SSD, and downloaded and installed OS X 10.9 (‘Mavericks’). Once I had verified that the Mac was behaving normally and the new drive would work as an install location for macOS, I updated to my favoured released of macOS 10.14.6 (‘Mojave’).
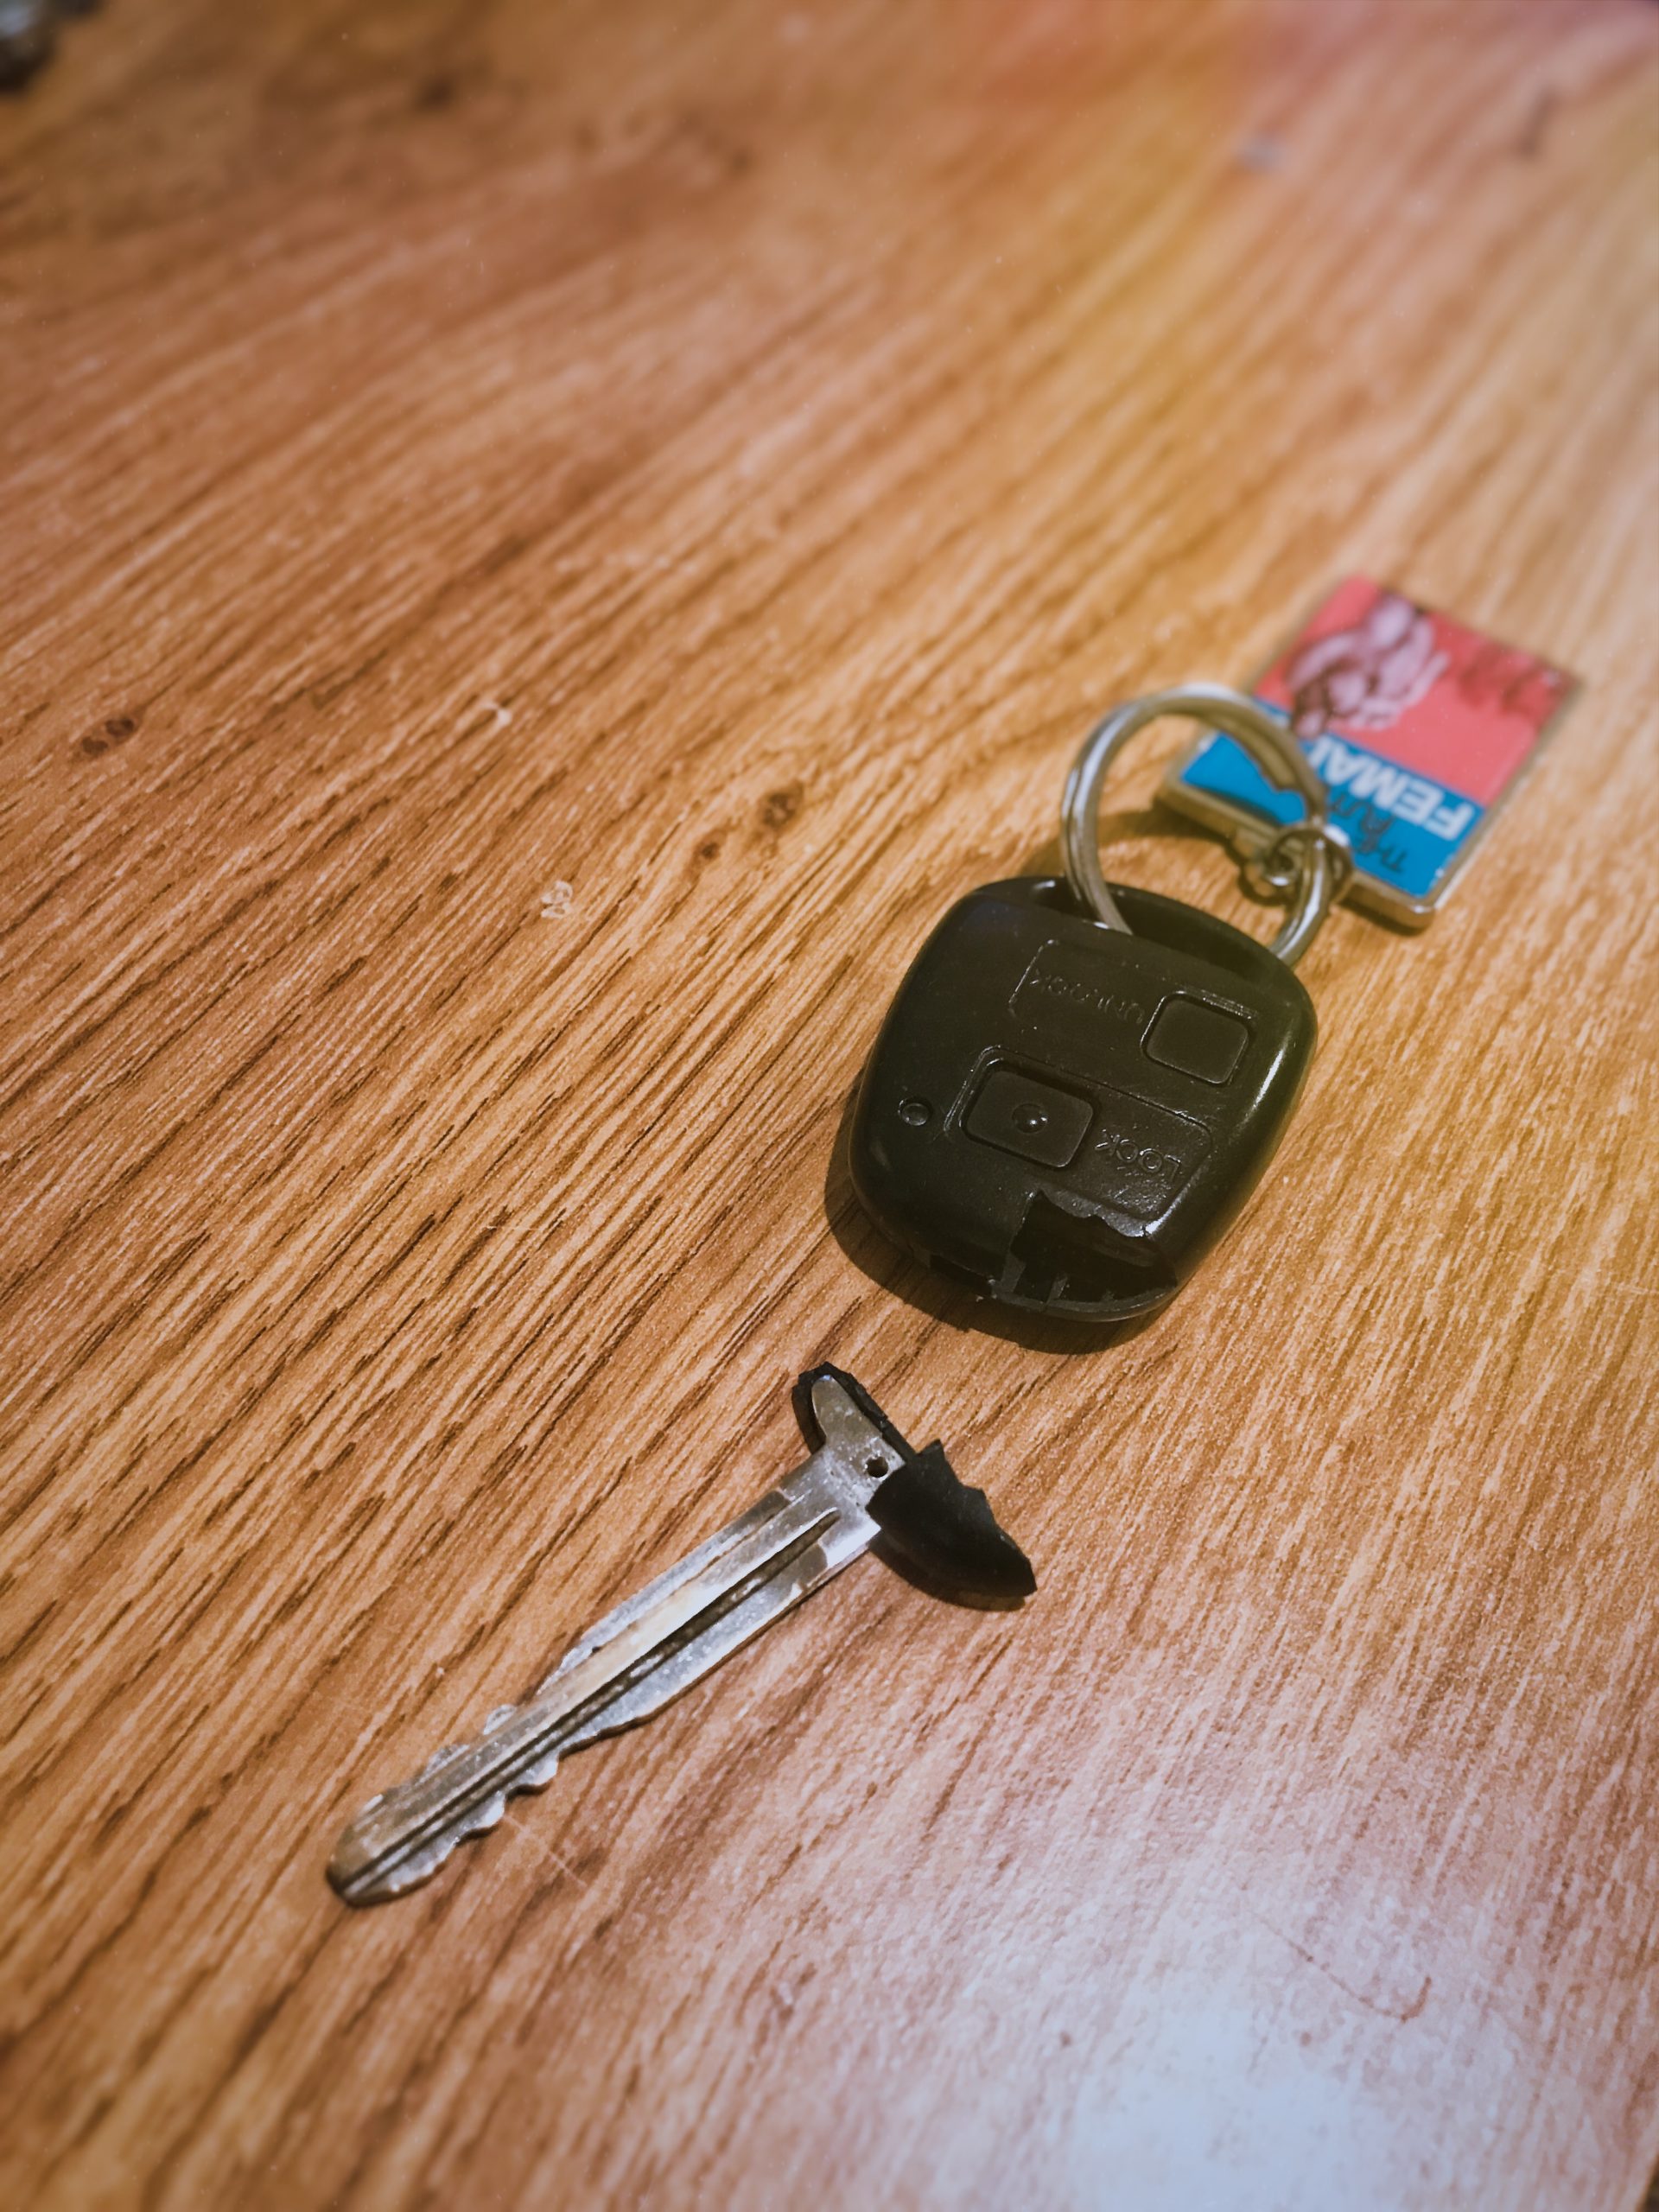
My partner snapped the key for her Toyota RAV4 last week. The key is supposed to have a small screw holding the metal shank (the internet told me that’s what it’s called) in place in the plastic body, but this has been missing for a while; eventually, the plastic shoulder snapped on one side and the shank came away altogether.
content here
Grinding Car Key Screw
content here
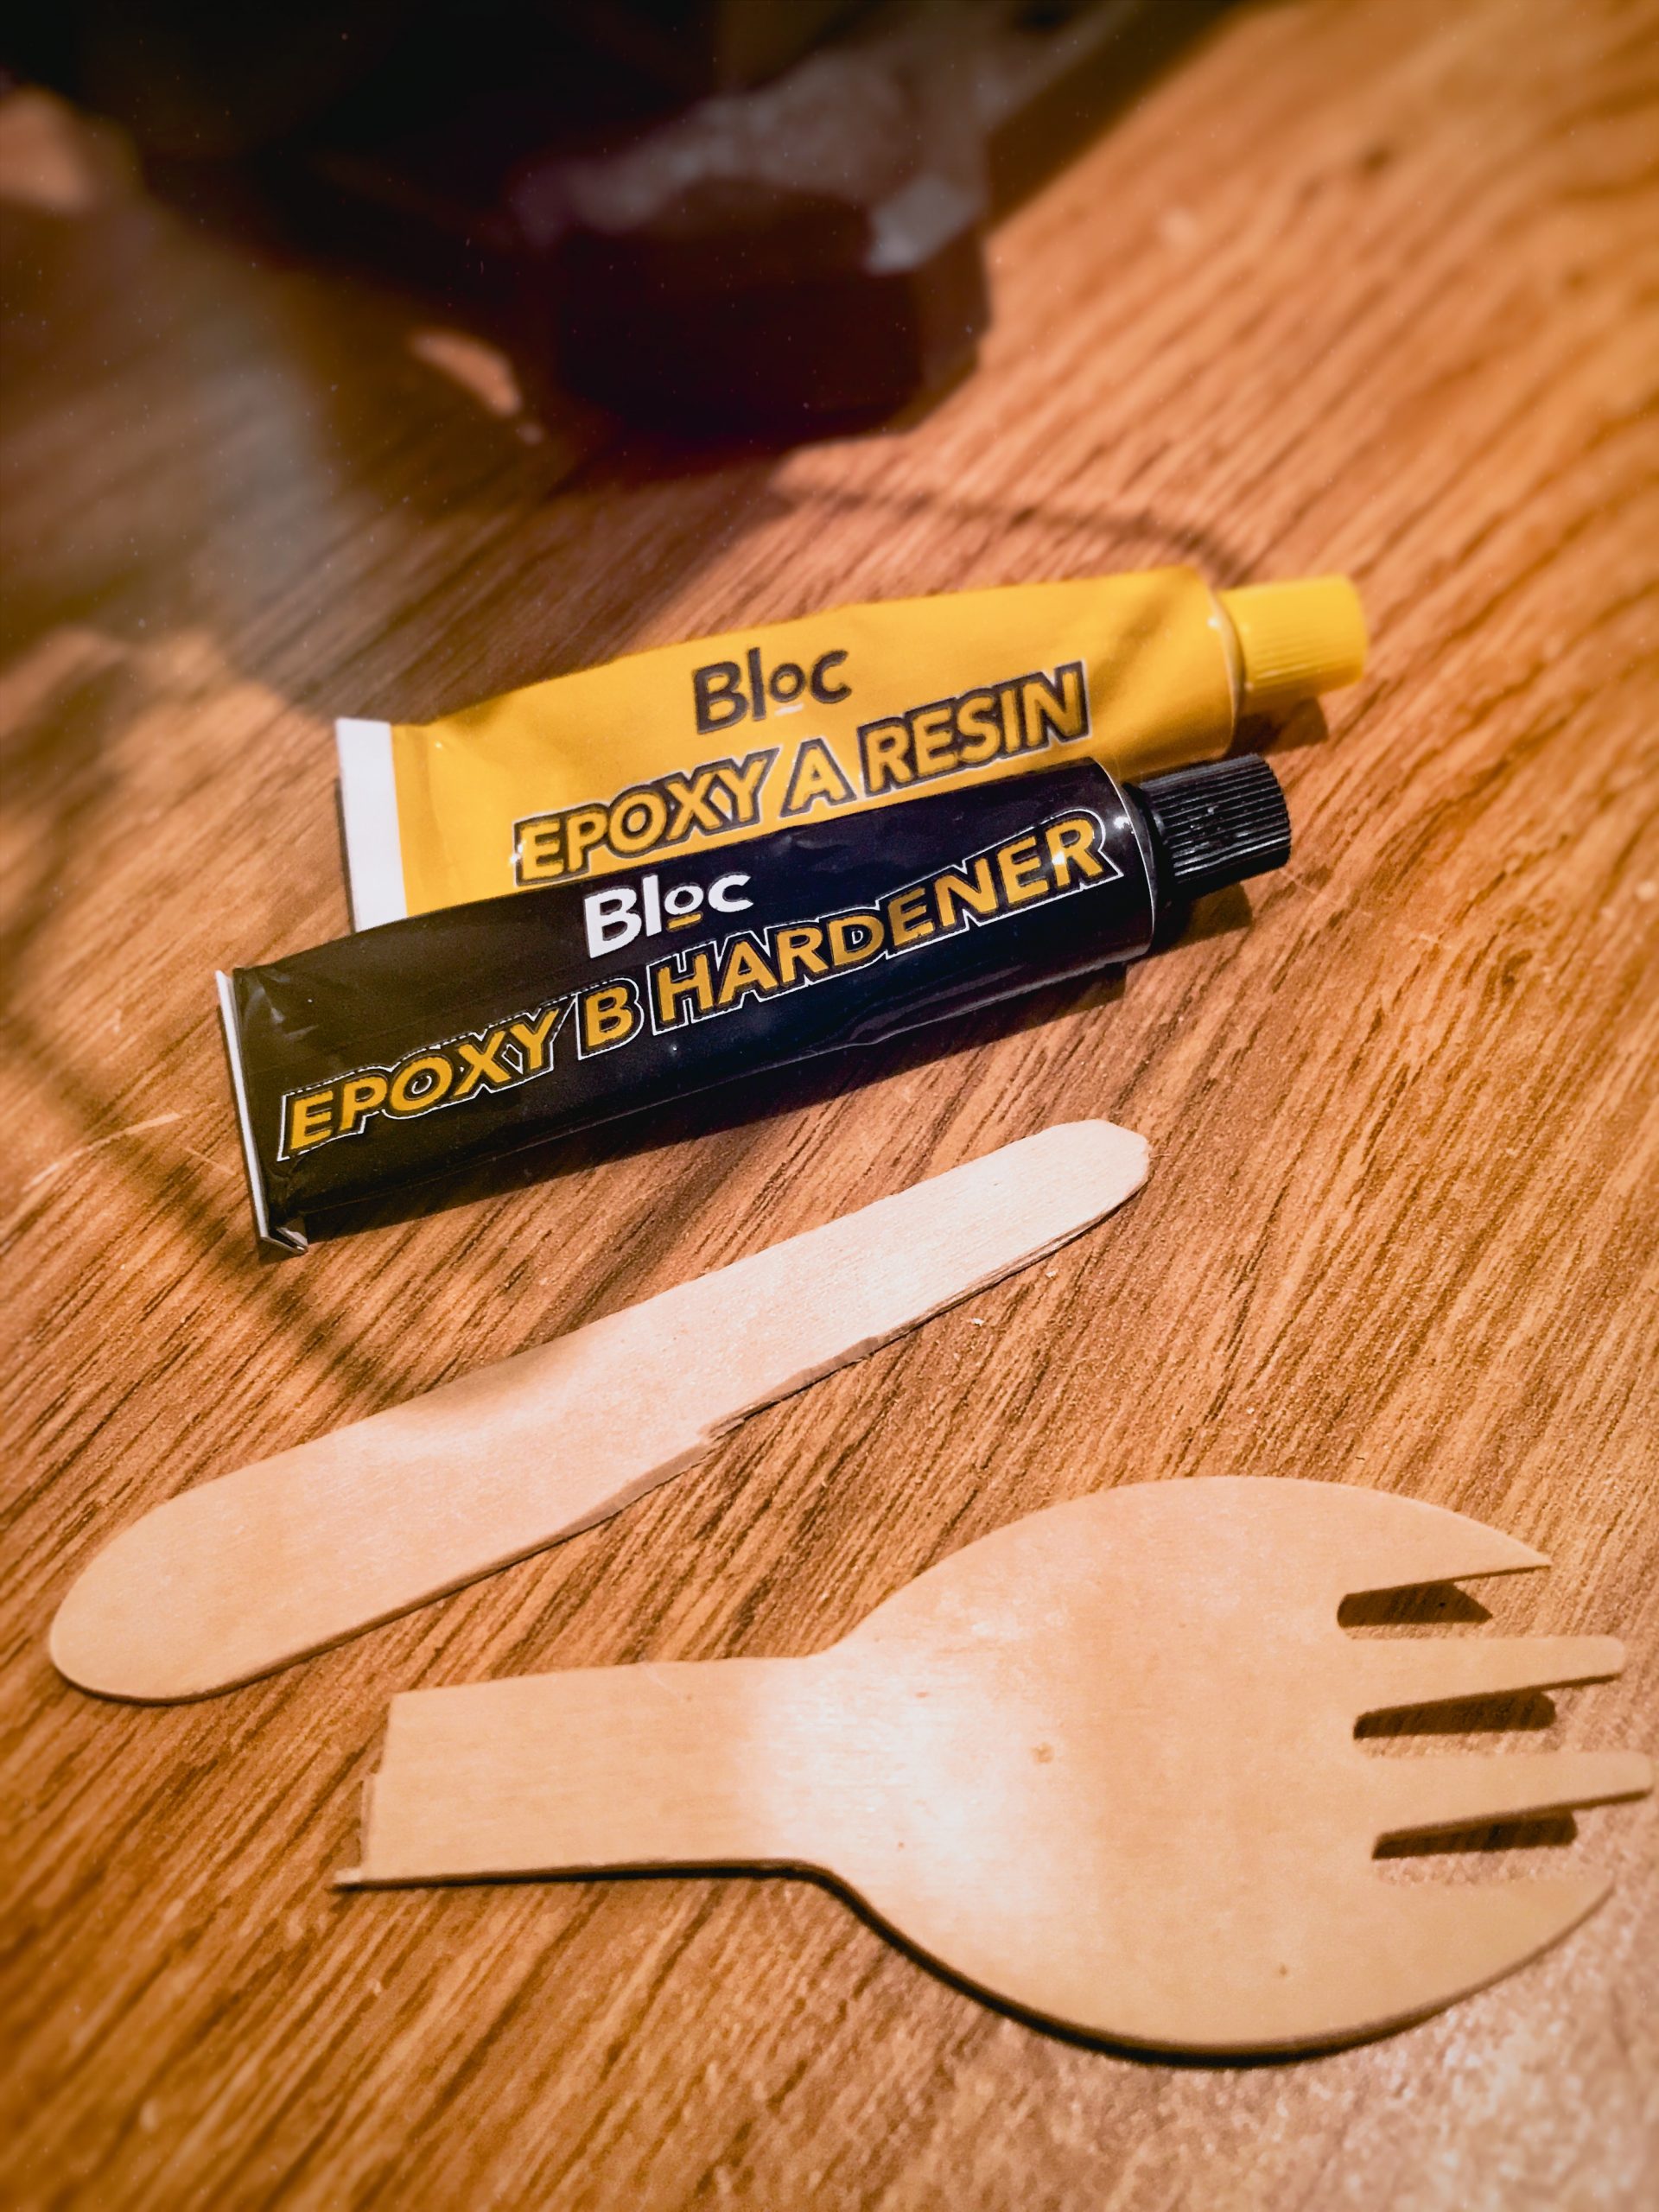
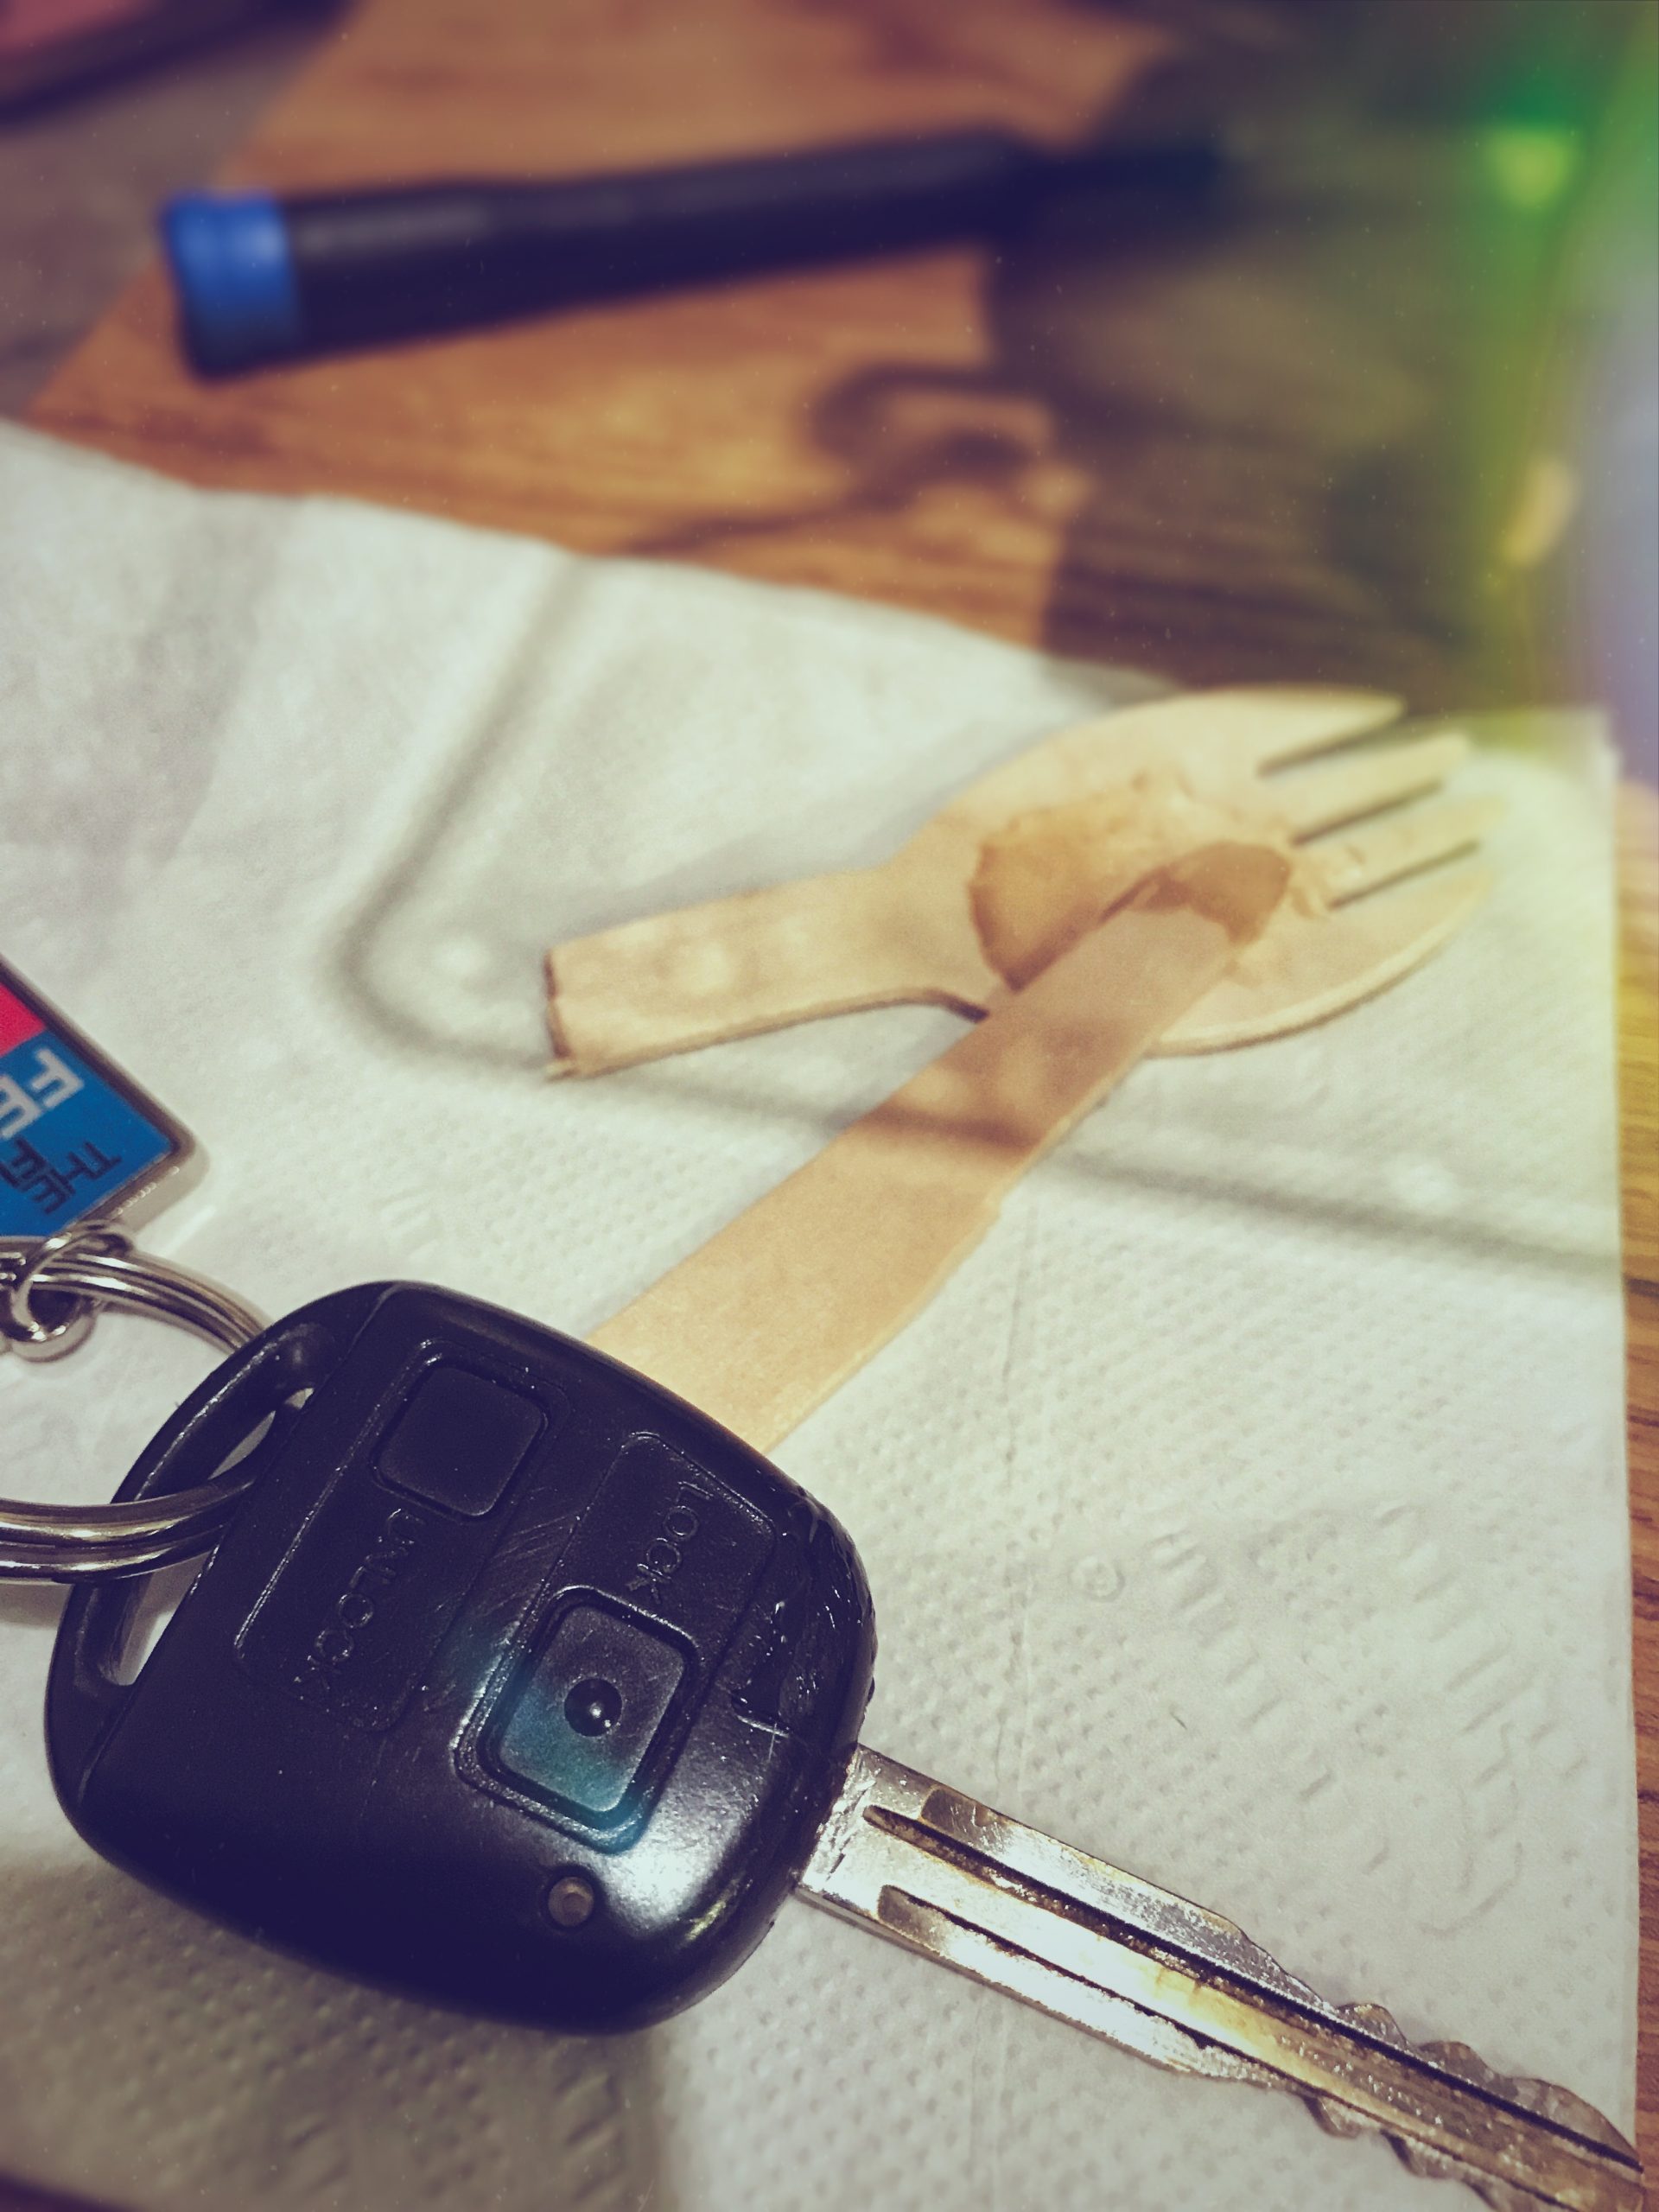
I found a replacement screw with the correct thread size (from a MacBook battery enclosure), although it was a little bit too long – so I had to use my (new!) bench grinder to shorten the screw length. Then I used two-part Epoxy Resin to seal and bond the cracks in the plastic key body.
So far, all working normally again and all in one piece ever since!
I recently caught an episode of The Repair Shop on BBC 1, in which the cameras capture the restoration of items which have seen better days. The BBC’s programme page says:
Enter a workshop filled with expert craftspeople, bringing loved pieces of family history and the memories they hold back to life. A heartwarming antidote to throwaway culture.
When I tweeted about seeing the show, a couple of friends said ‘I can’t believe you’ve never watched this before! That’s right up your street!’
I guess so. I did love seeing expert repairers problem-solving and breathing new life into some incredibly cool old stuff – including using some amazing, niche techniques to match the original style or construction of the item. I do love the idea of a major media outlet encouraging people to hold onto what they have, rather than throwing things away and replacing them. But I’m afraid I do also have a problem with the show’s messaging.
The BBC’s parade of family heirlooms and one-of-a-kind curios being lovingly restored to their former glory through the most exsquisite craftsmanship available is certainly great television. But it sends a message that repairing an object is a rarefied skill which takes a lot of specialised, intricate work – and that only the most unique, expensive, or sentimentally-valuable items are worthy of such privileged treatment.
I’m not saying it isn’t amazing to watch these people at work, and to see the results of their craftsmanship – but if the goal really is to challenge ‘throwaway culture’ and help foster an attitude of sustainability, the BBC has got the balance and focus of the show wrong.
It may not be as glamorous to watch somebody change a laptop trackpad or put a new door on their fridge. And those ‘before’ and ‘after’ shots certainly won’t astound the viewers in the same way, when it looks like a simple process that anyone can do. But that is precisely the point!
If we really want to encourage people to repair more and replace less, we don’t need to show them how precious the art of restoring beautiful antique furniture is – we need to show them how easy and manageable it can be to change a car headlamp bulb, or a phone battery. Repair is for everyone; and for everything!
The restorations showcased on The Repair Shop are incredible, one-in-a-million works of art, performed by true masters of their craft. I love to watch that, I have the utmost respect for the people doing that work, and I can totally understand why the BBC want to show that on national television. But that doesn’t match up to the show’s stated aims.
Changing our throwaway culture means making repair ordinary; everyday; humdrum. I would just as much love watching a BBC programme which puts the simple, functional repairs that anyone can do front-and-centre – and which aims to encourage anyone who isn’t sure they can do it yet to have a go.
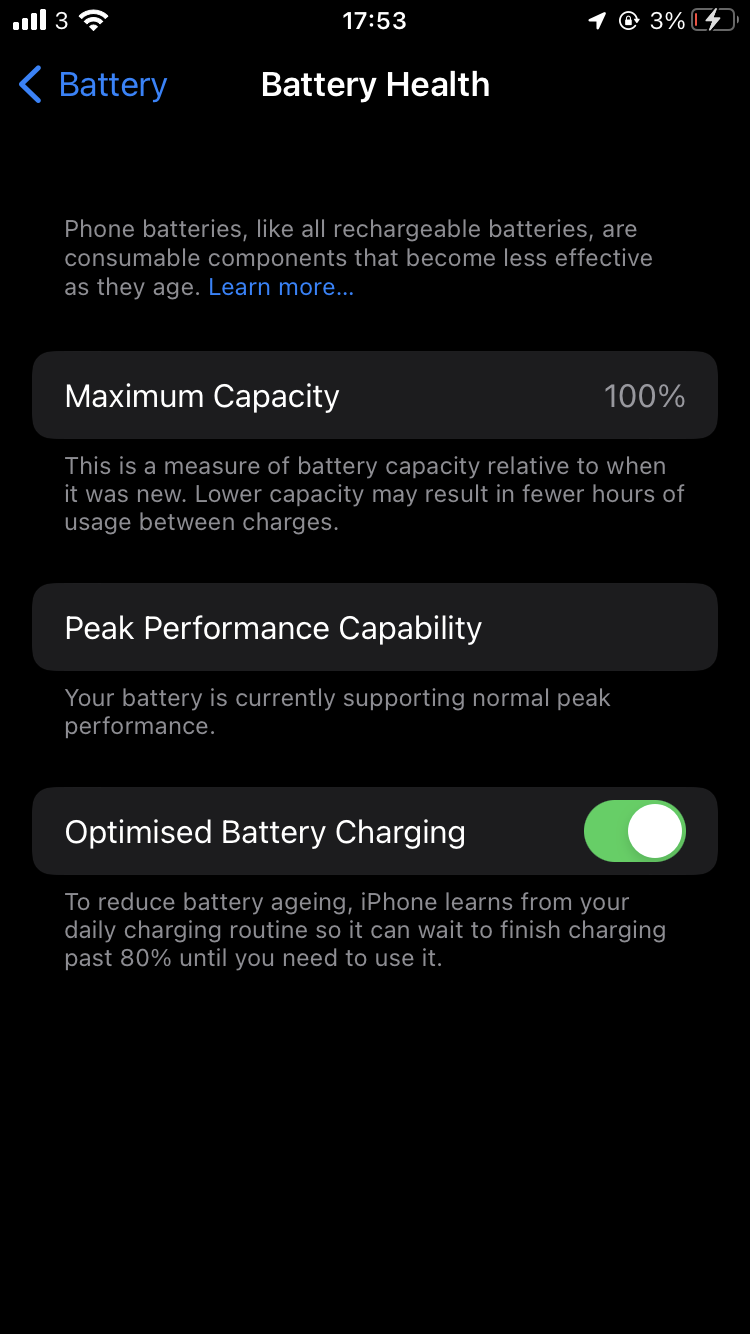
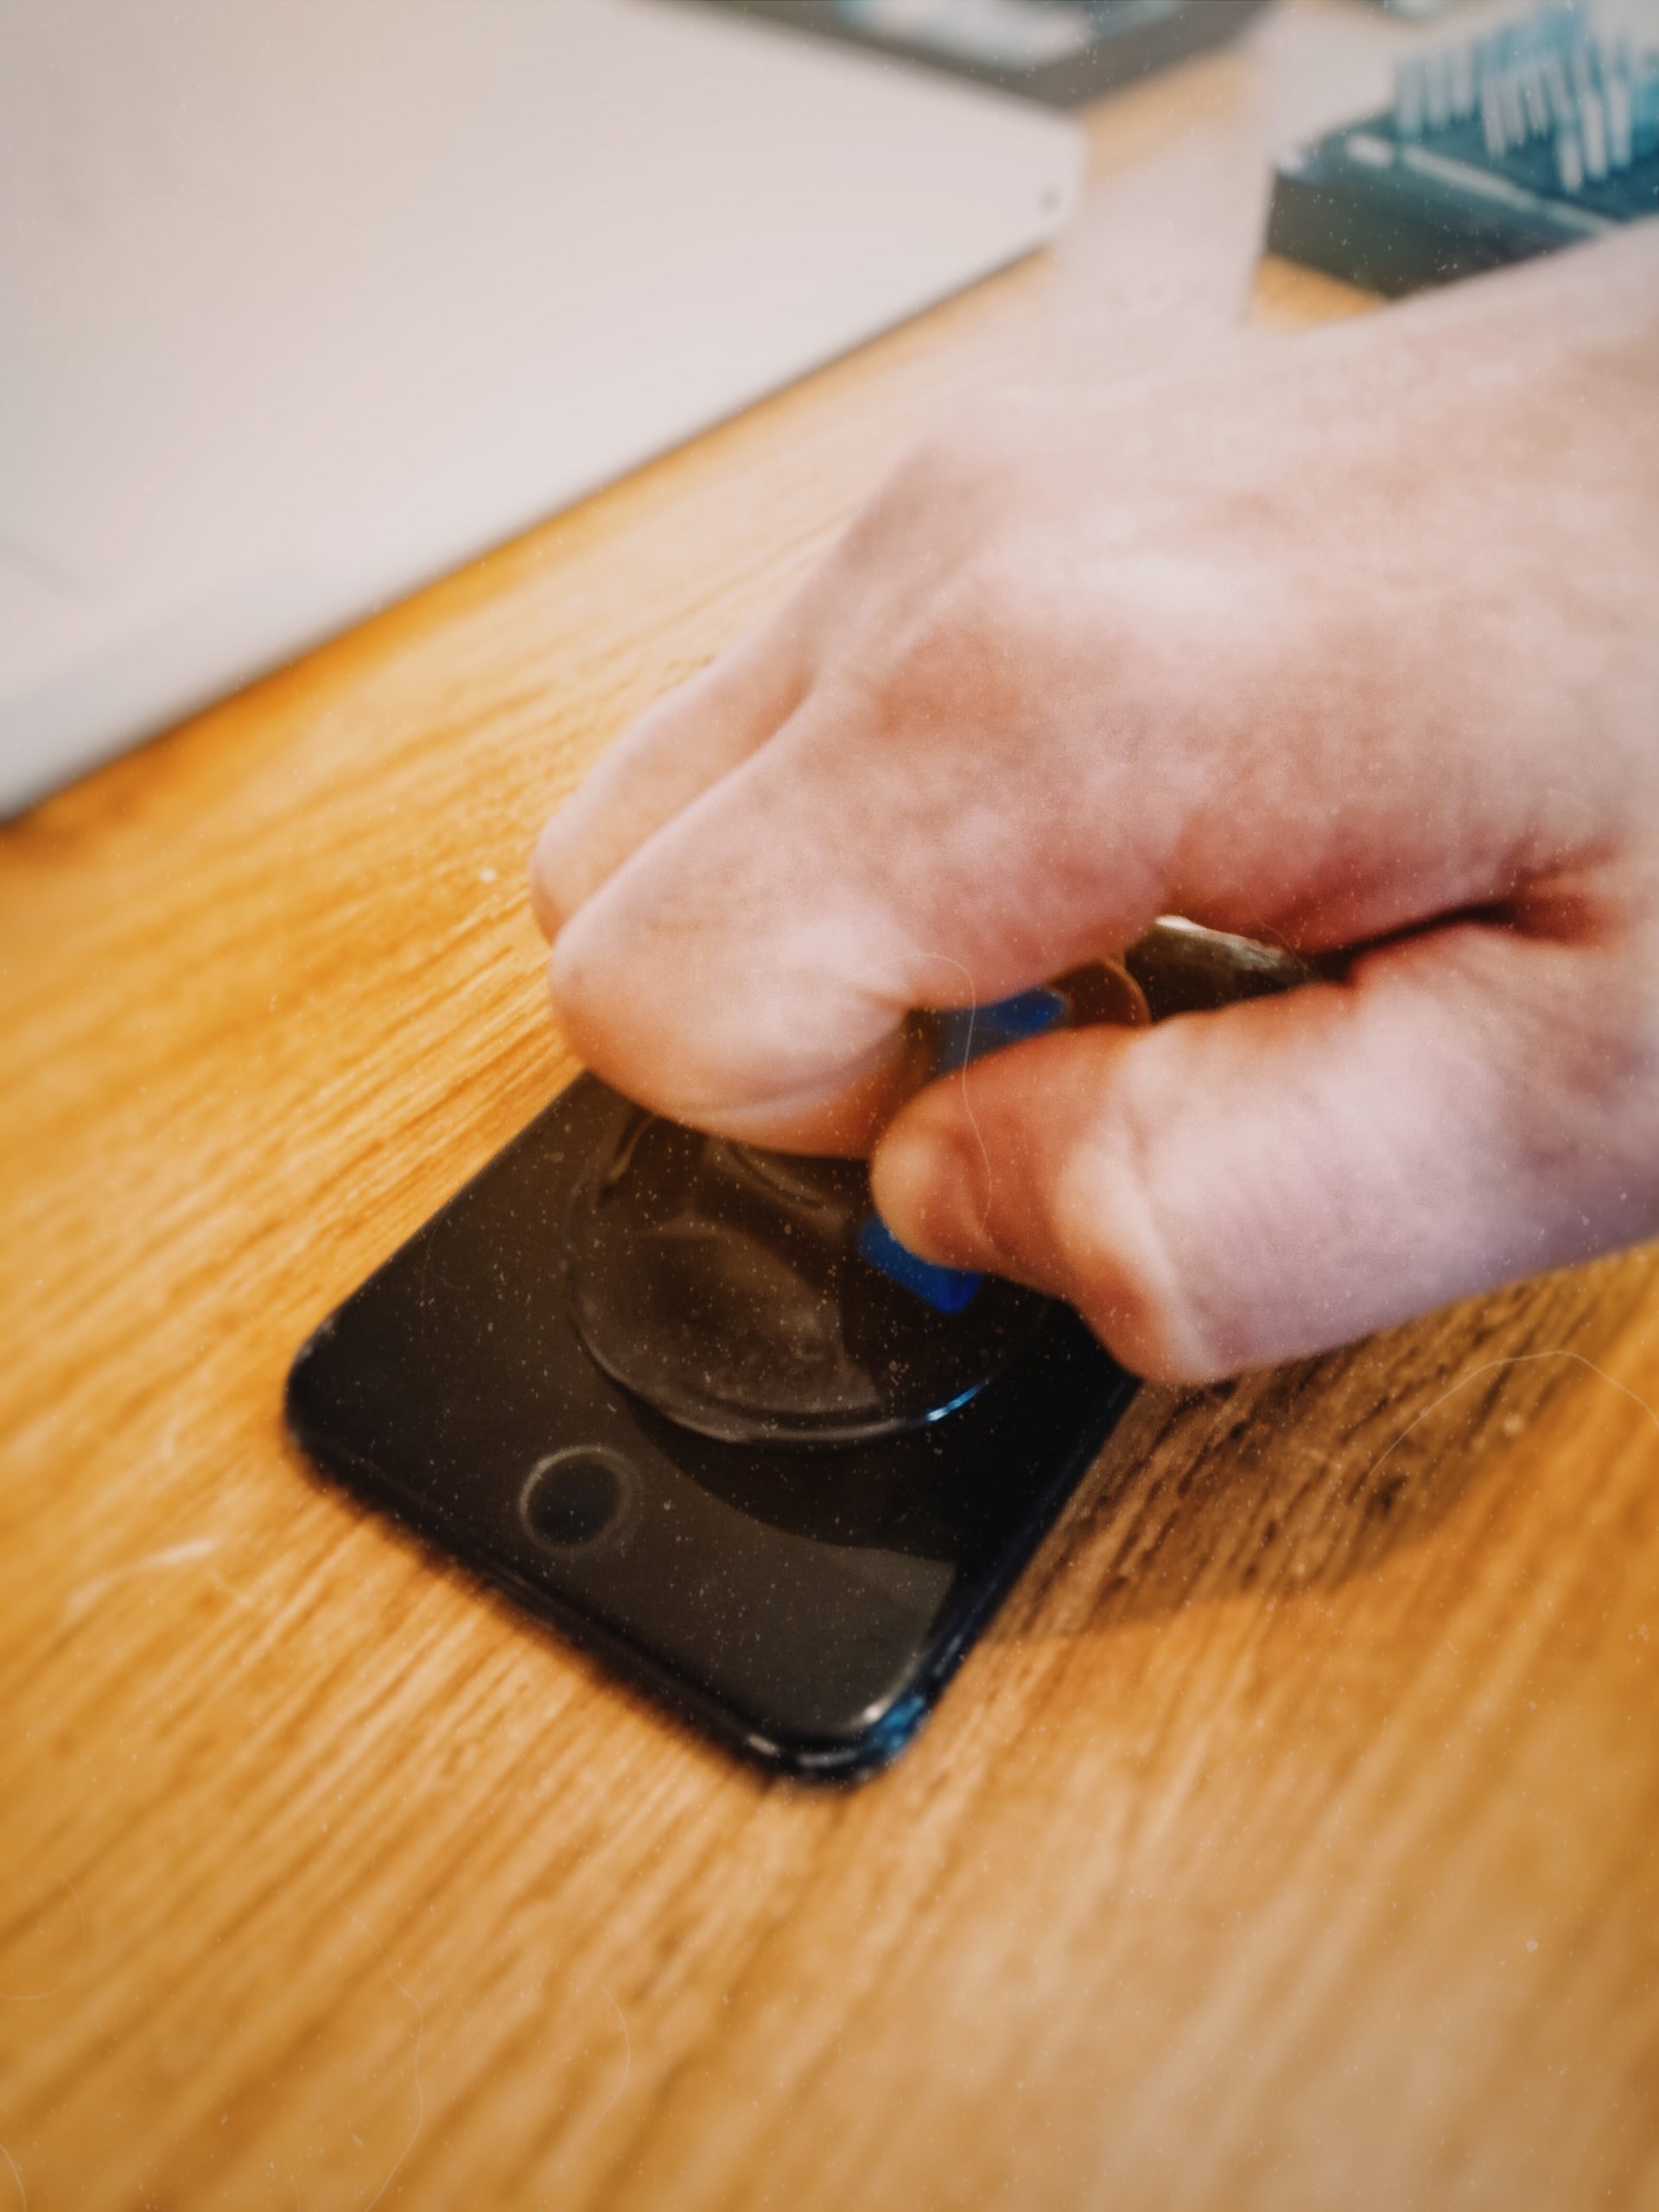
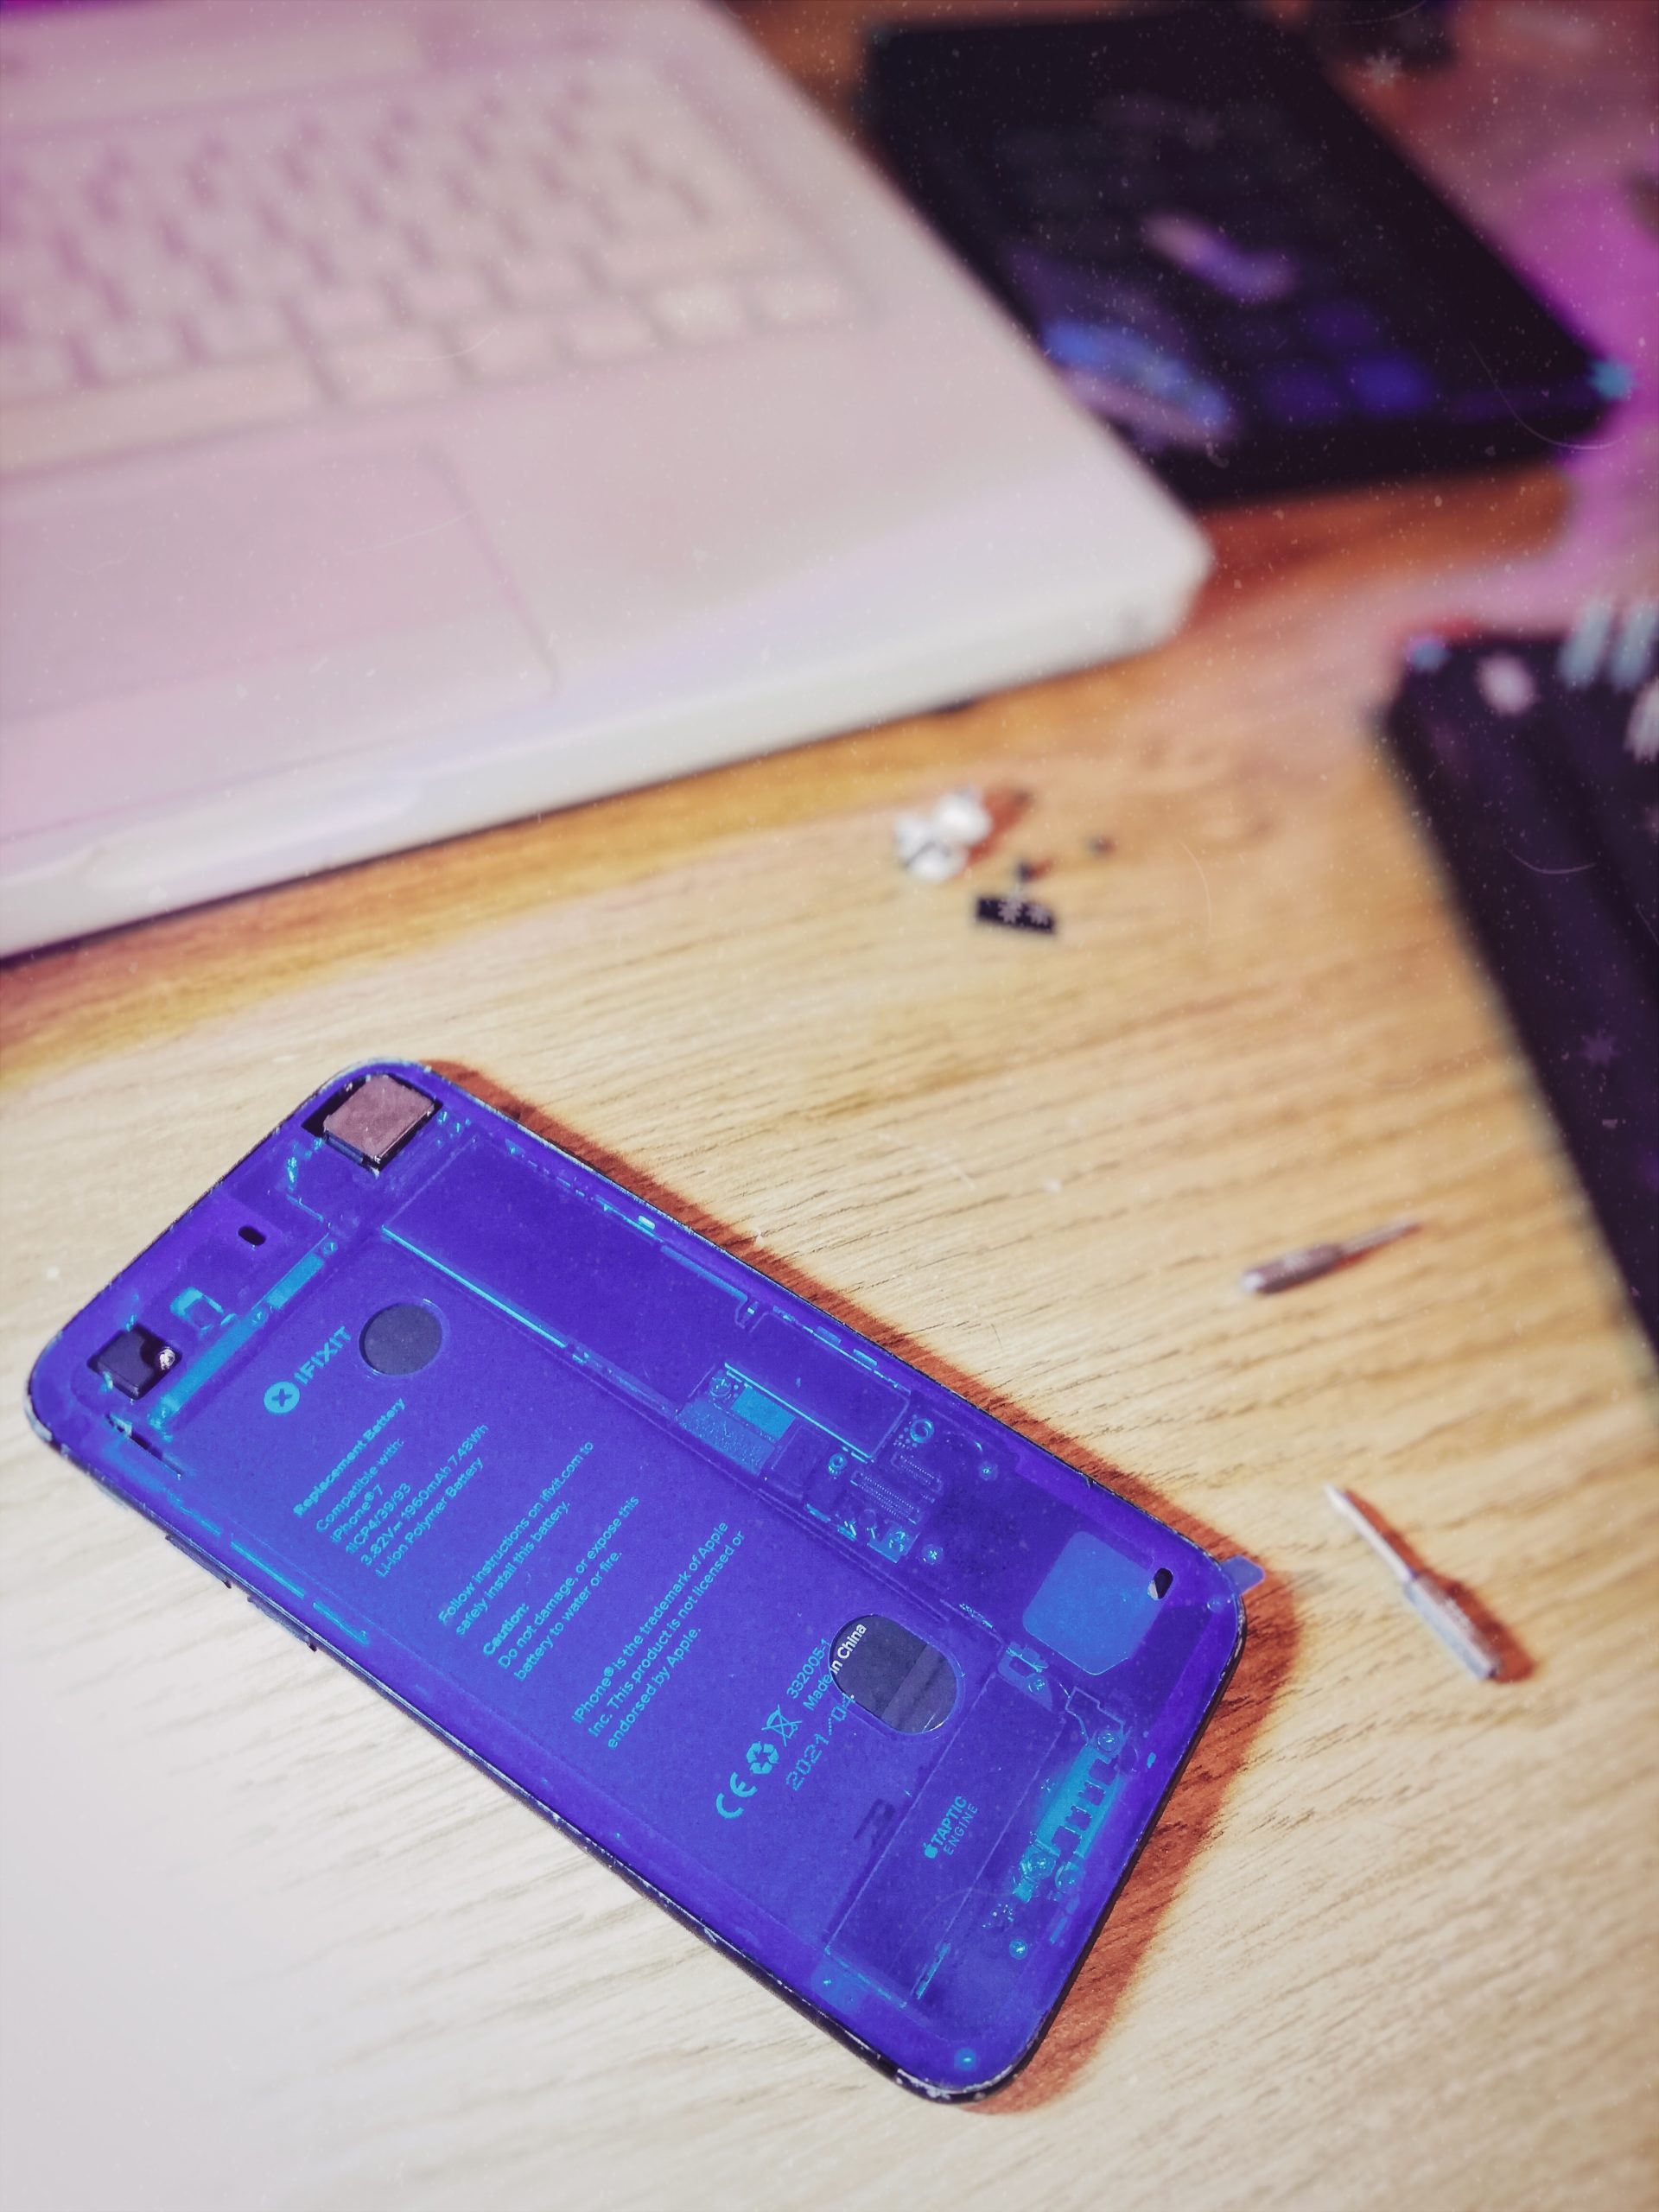
The battery preformance on my secondhand iPhone 7 has been really poor over the last few months, so it was beyond time to change to a new battery.
Last summer, the front-facing camera in the iPhone got smashed in an accident while I was out on the road playing shows. I figured that if I had the phone open anyway to replace the battery, I may as well put a new front camera in too.
I got the parts from iFixIt, and followed their step-by-step repair guides to replace the battery and the front camera.
These aren’t especially difficult repairs to do. But they are fiddly, and they do require a certain amount of concentration.
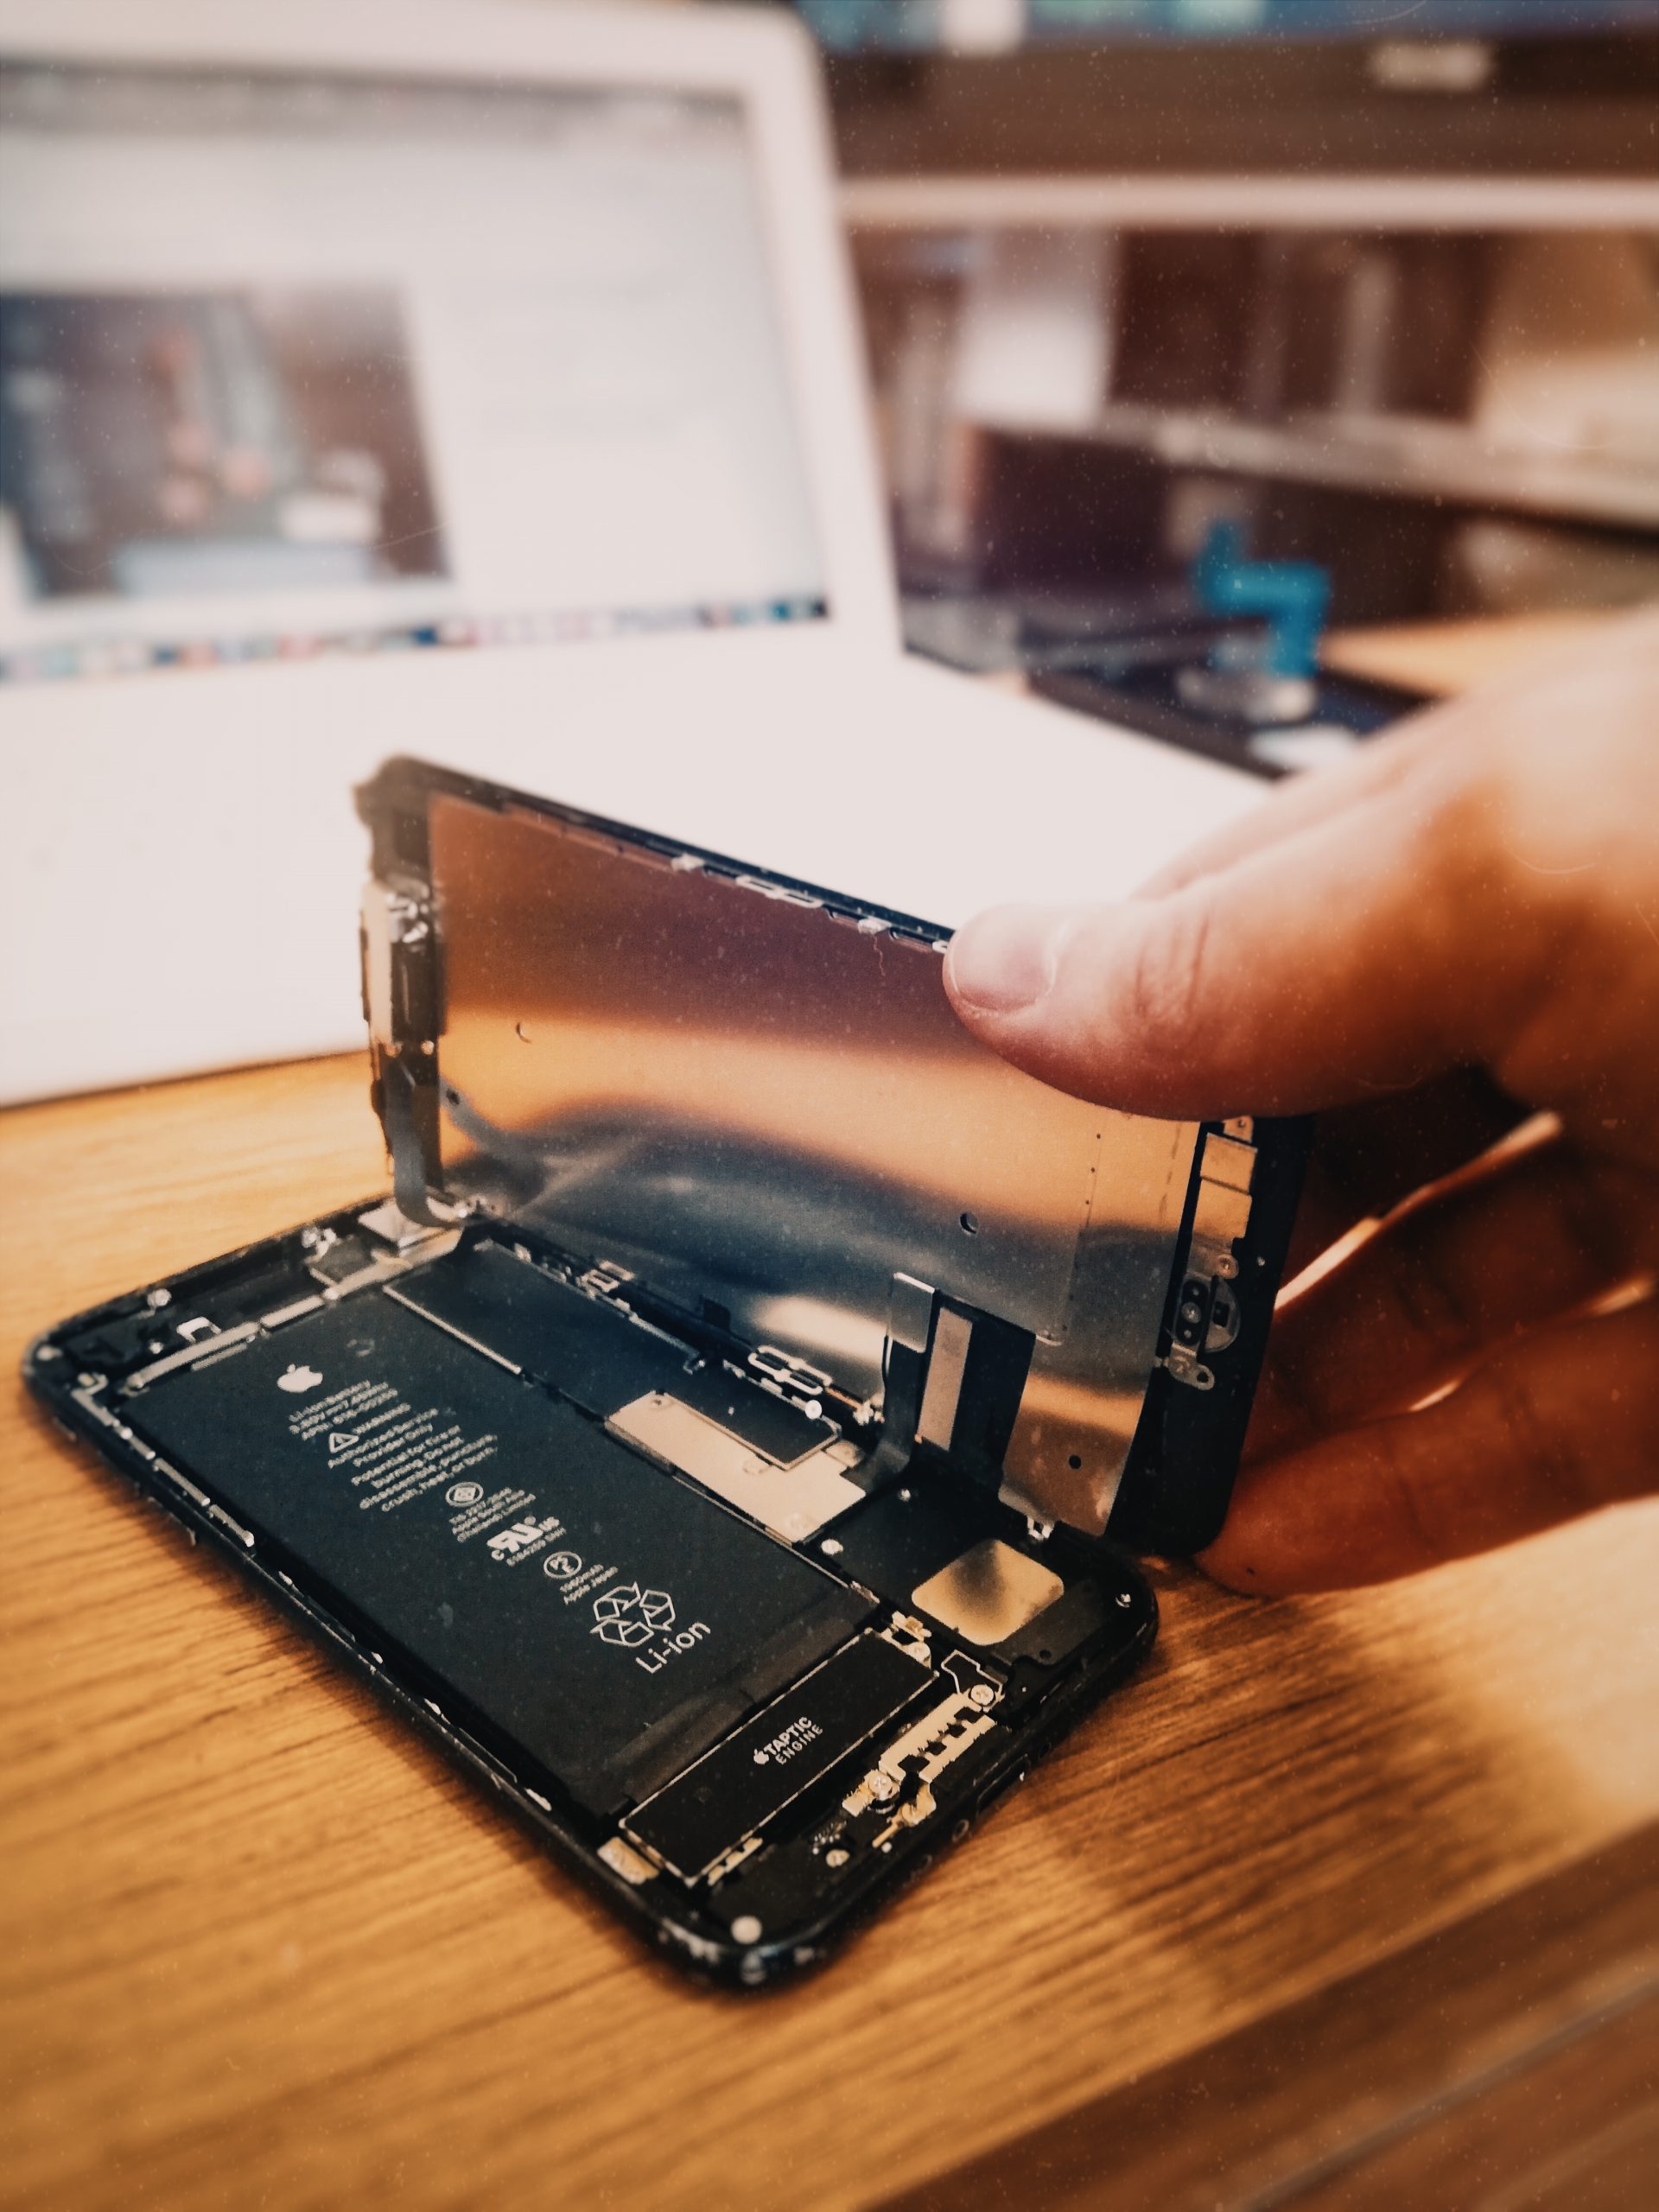
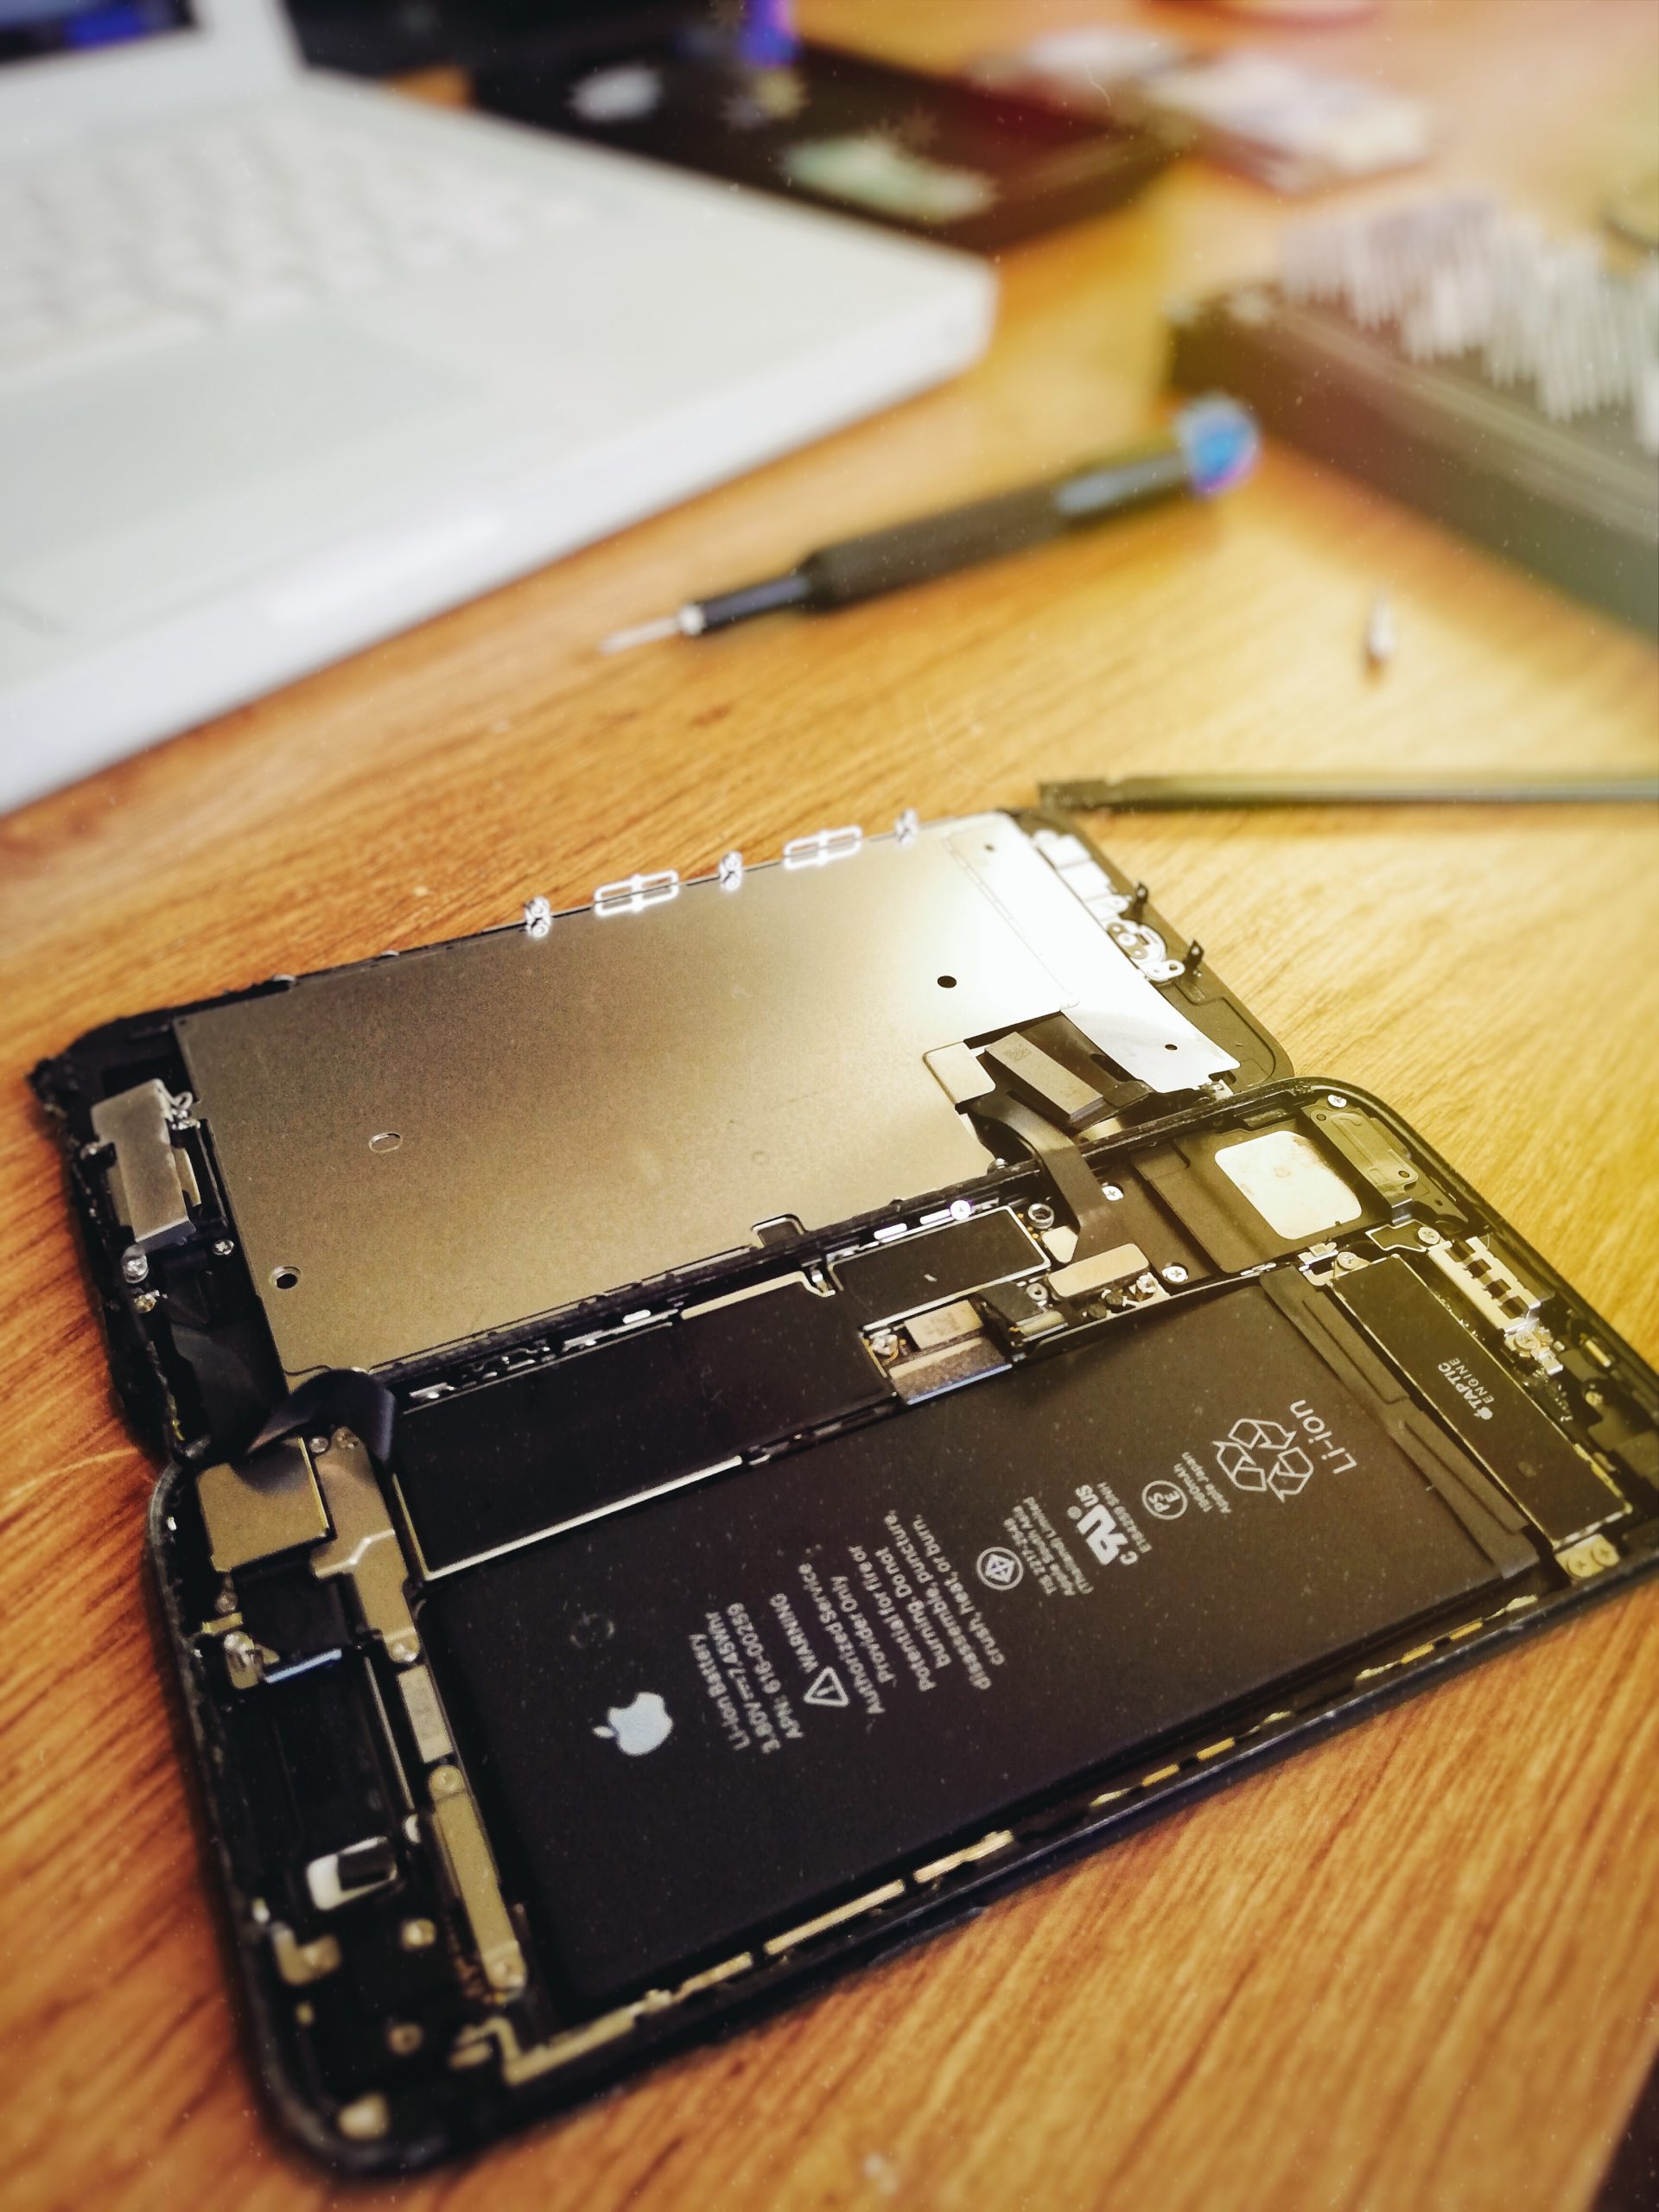
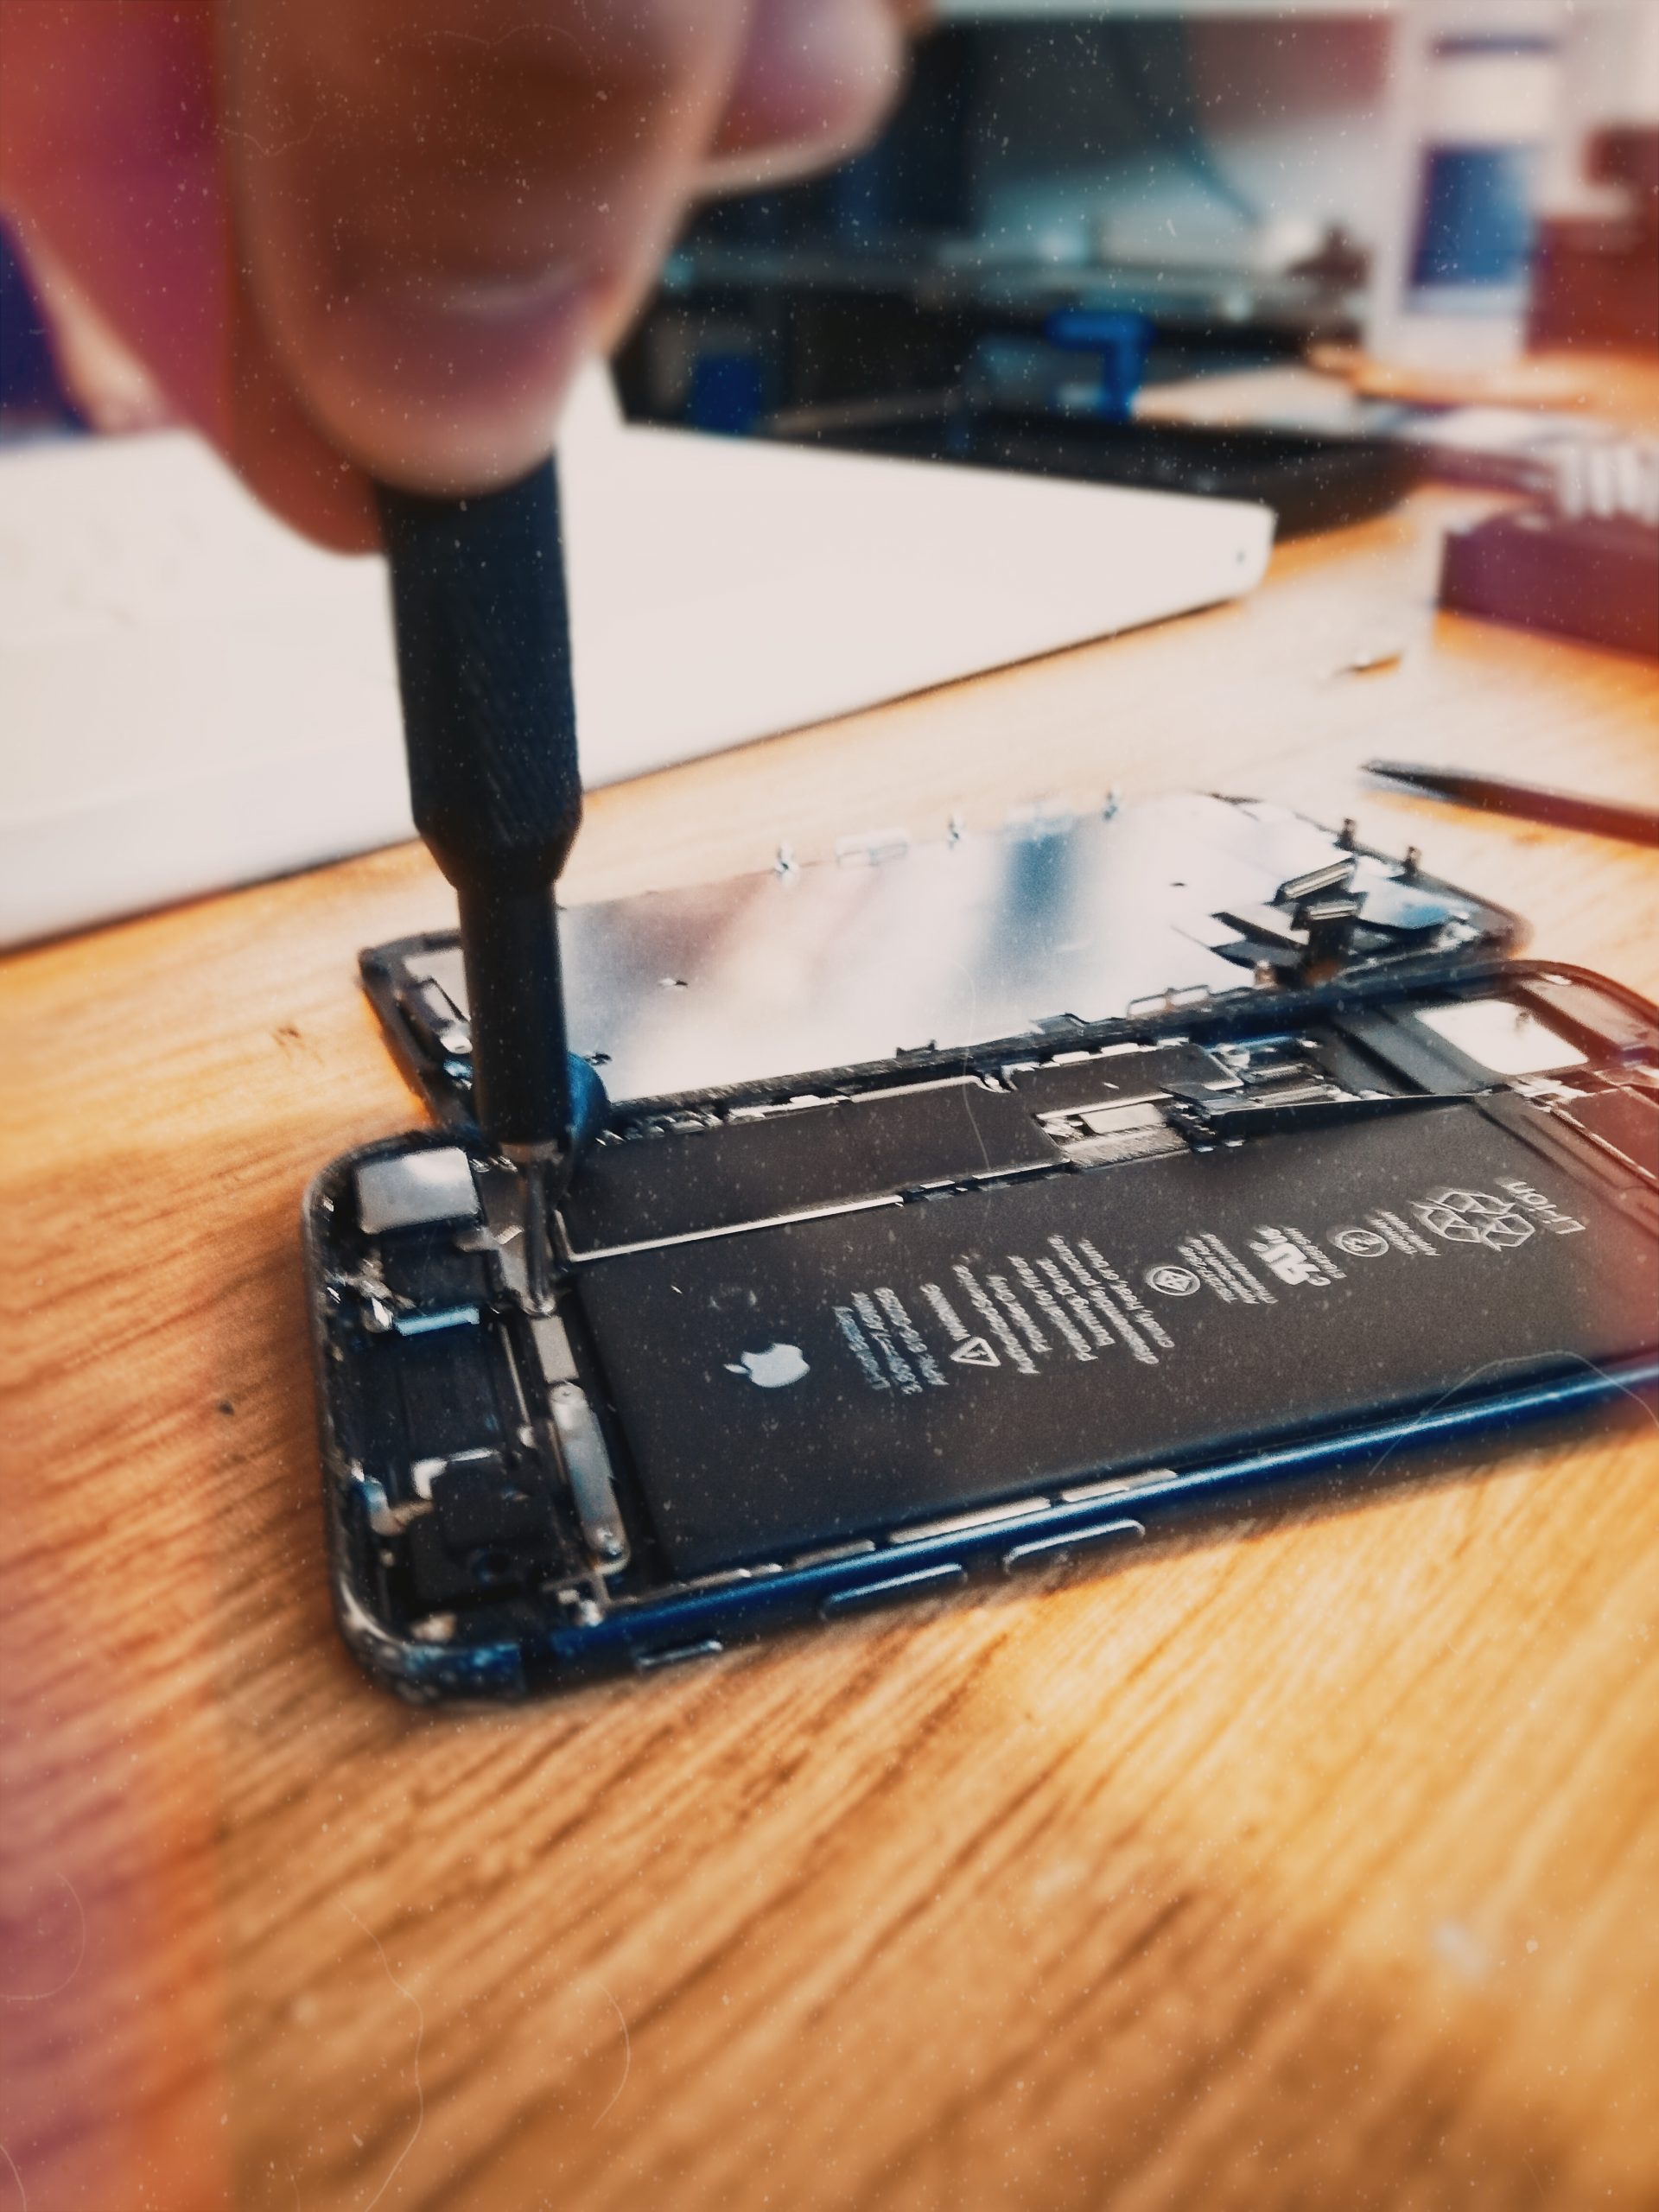
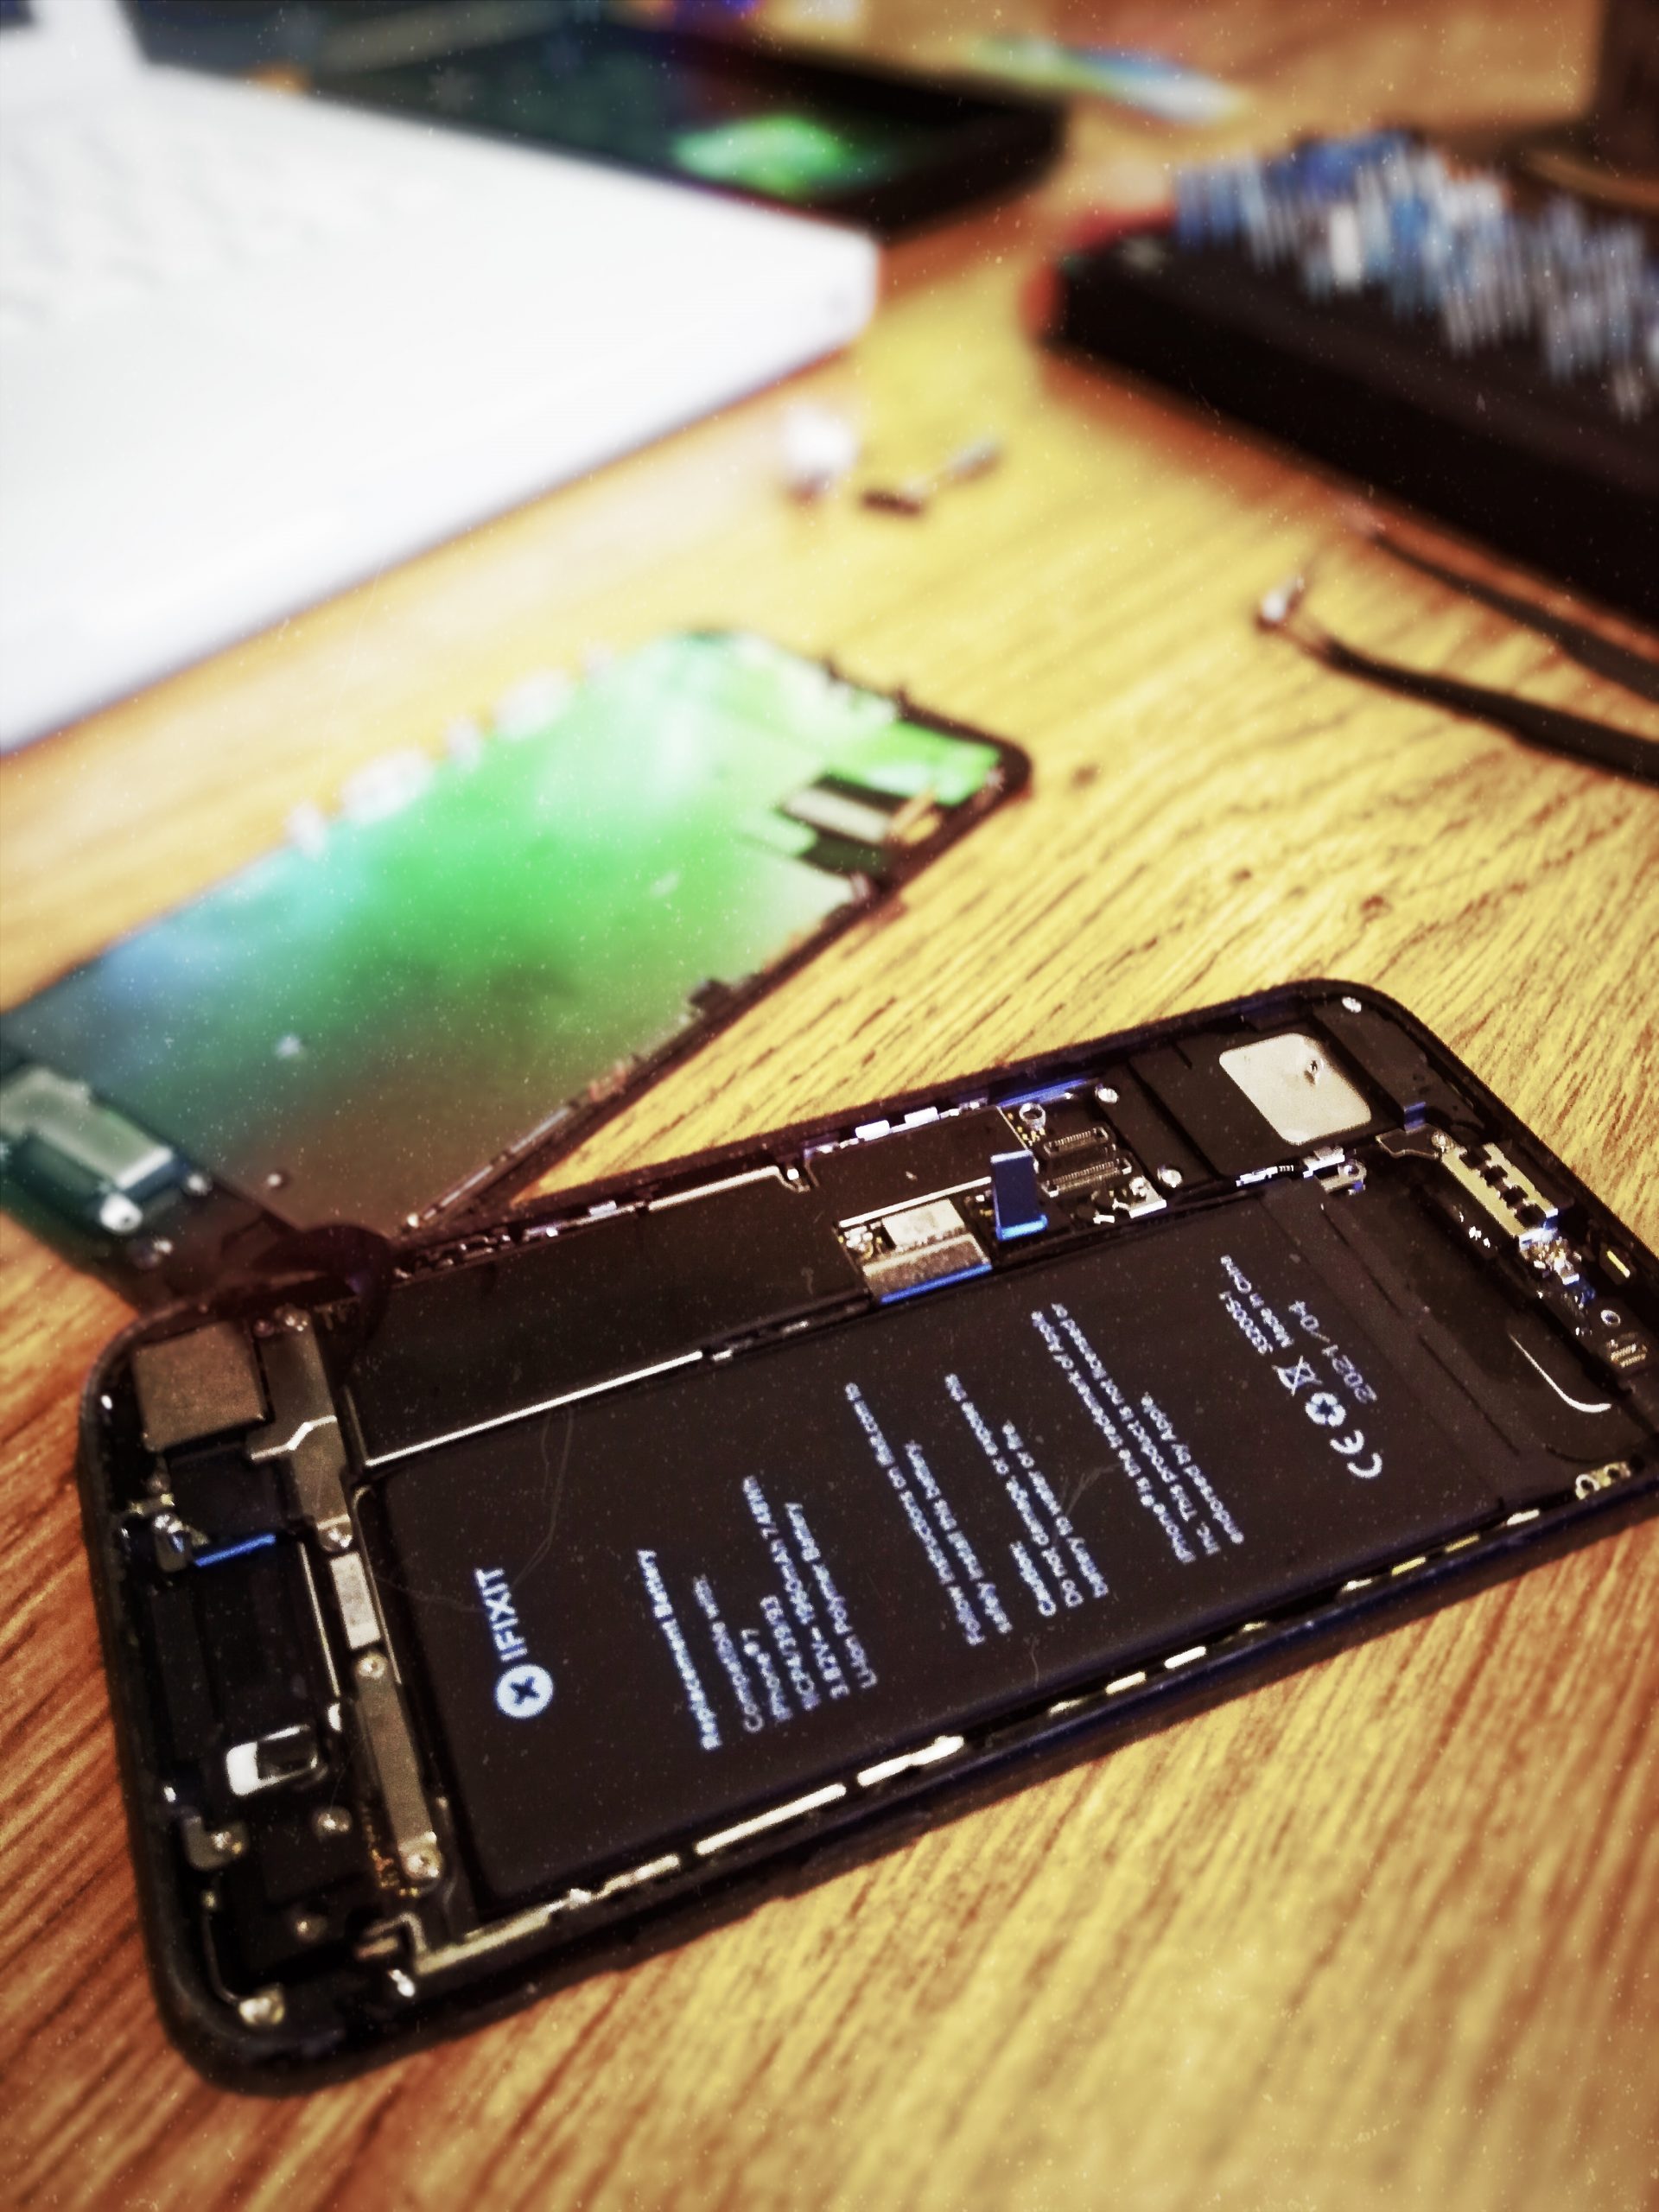
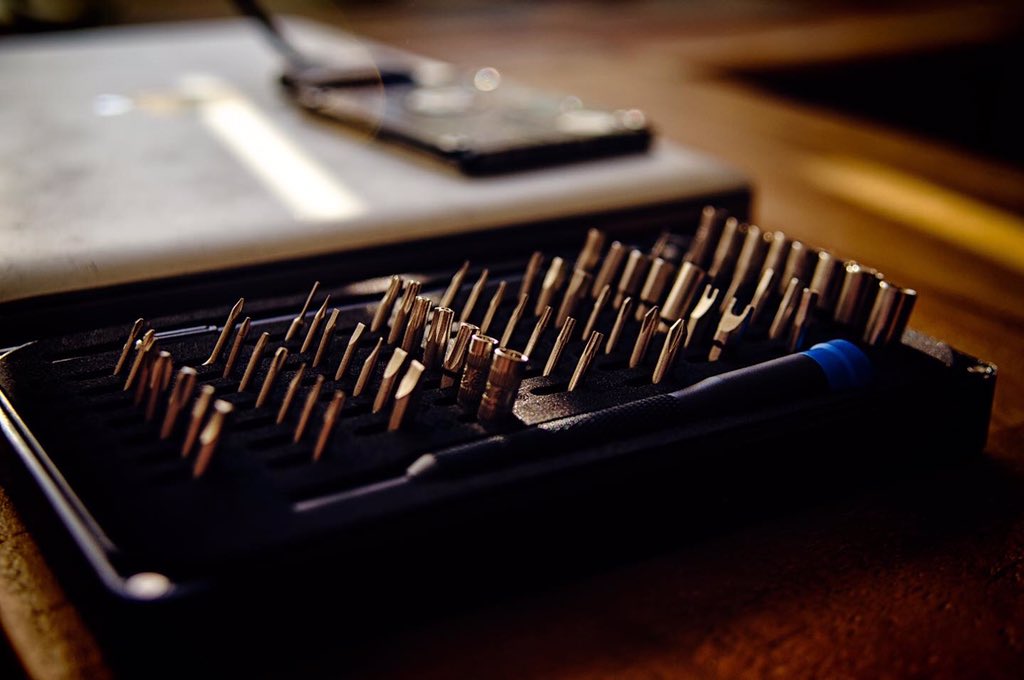
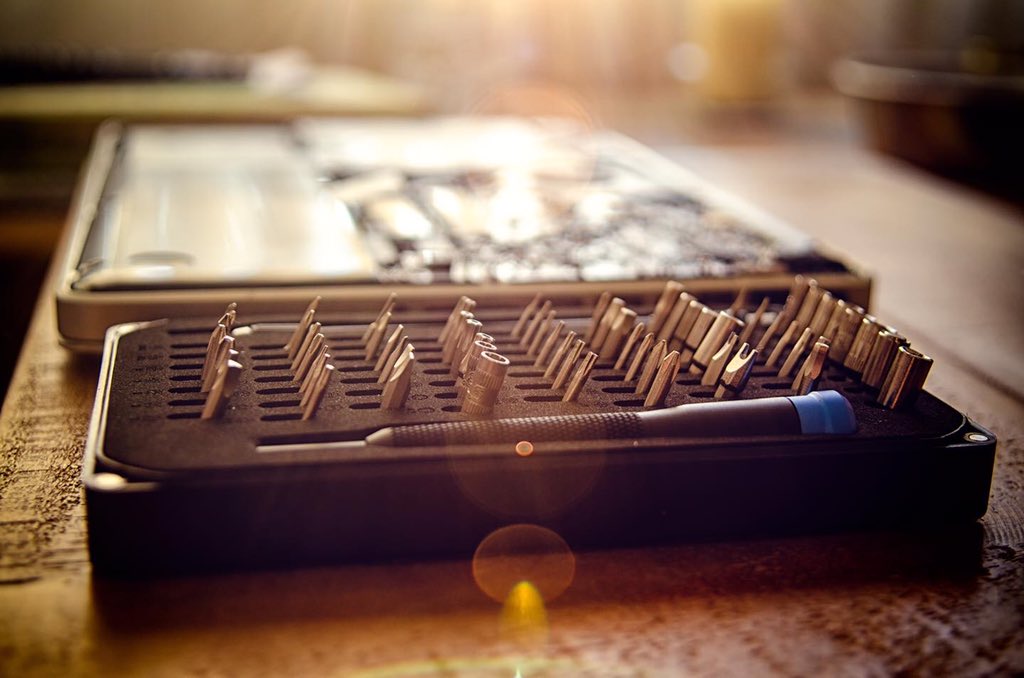
The iPhone 7 is a typical Apple device on the inside: multiple different screw types, adhesives, fragile ribbon cables, and an extremely complex, intertwined layout. Keeping track of the parts and the layout under regular domestic lighting was a little challenging – I would recommend using some kind of containers to keep the various tiny screws in place, and a strong, good-quality lamp to light the process.
The iFixIt guides are thorough and well-illustrated, as usual. One thing I would say is that replacing the adhesive moisture seals on the edge of the iPhone casing was (for me, at least) the hardest part of the whole process. It was also the hardest part to get guidance for on iFixIt, as the guides I was reading barely mentioned the steps required to do this effectively.
There is a guide specifically for this on iFixIt, but it isn’t linked from any of the other iPhone 7 repair guides I read – even though this is a necessary part of reassembling the phone after replacing any of the internal parts. For anybody trying to search for it, that guide can be found here.
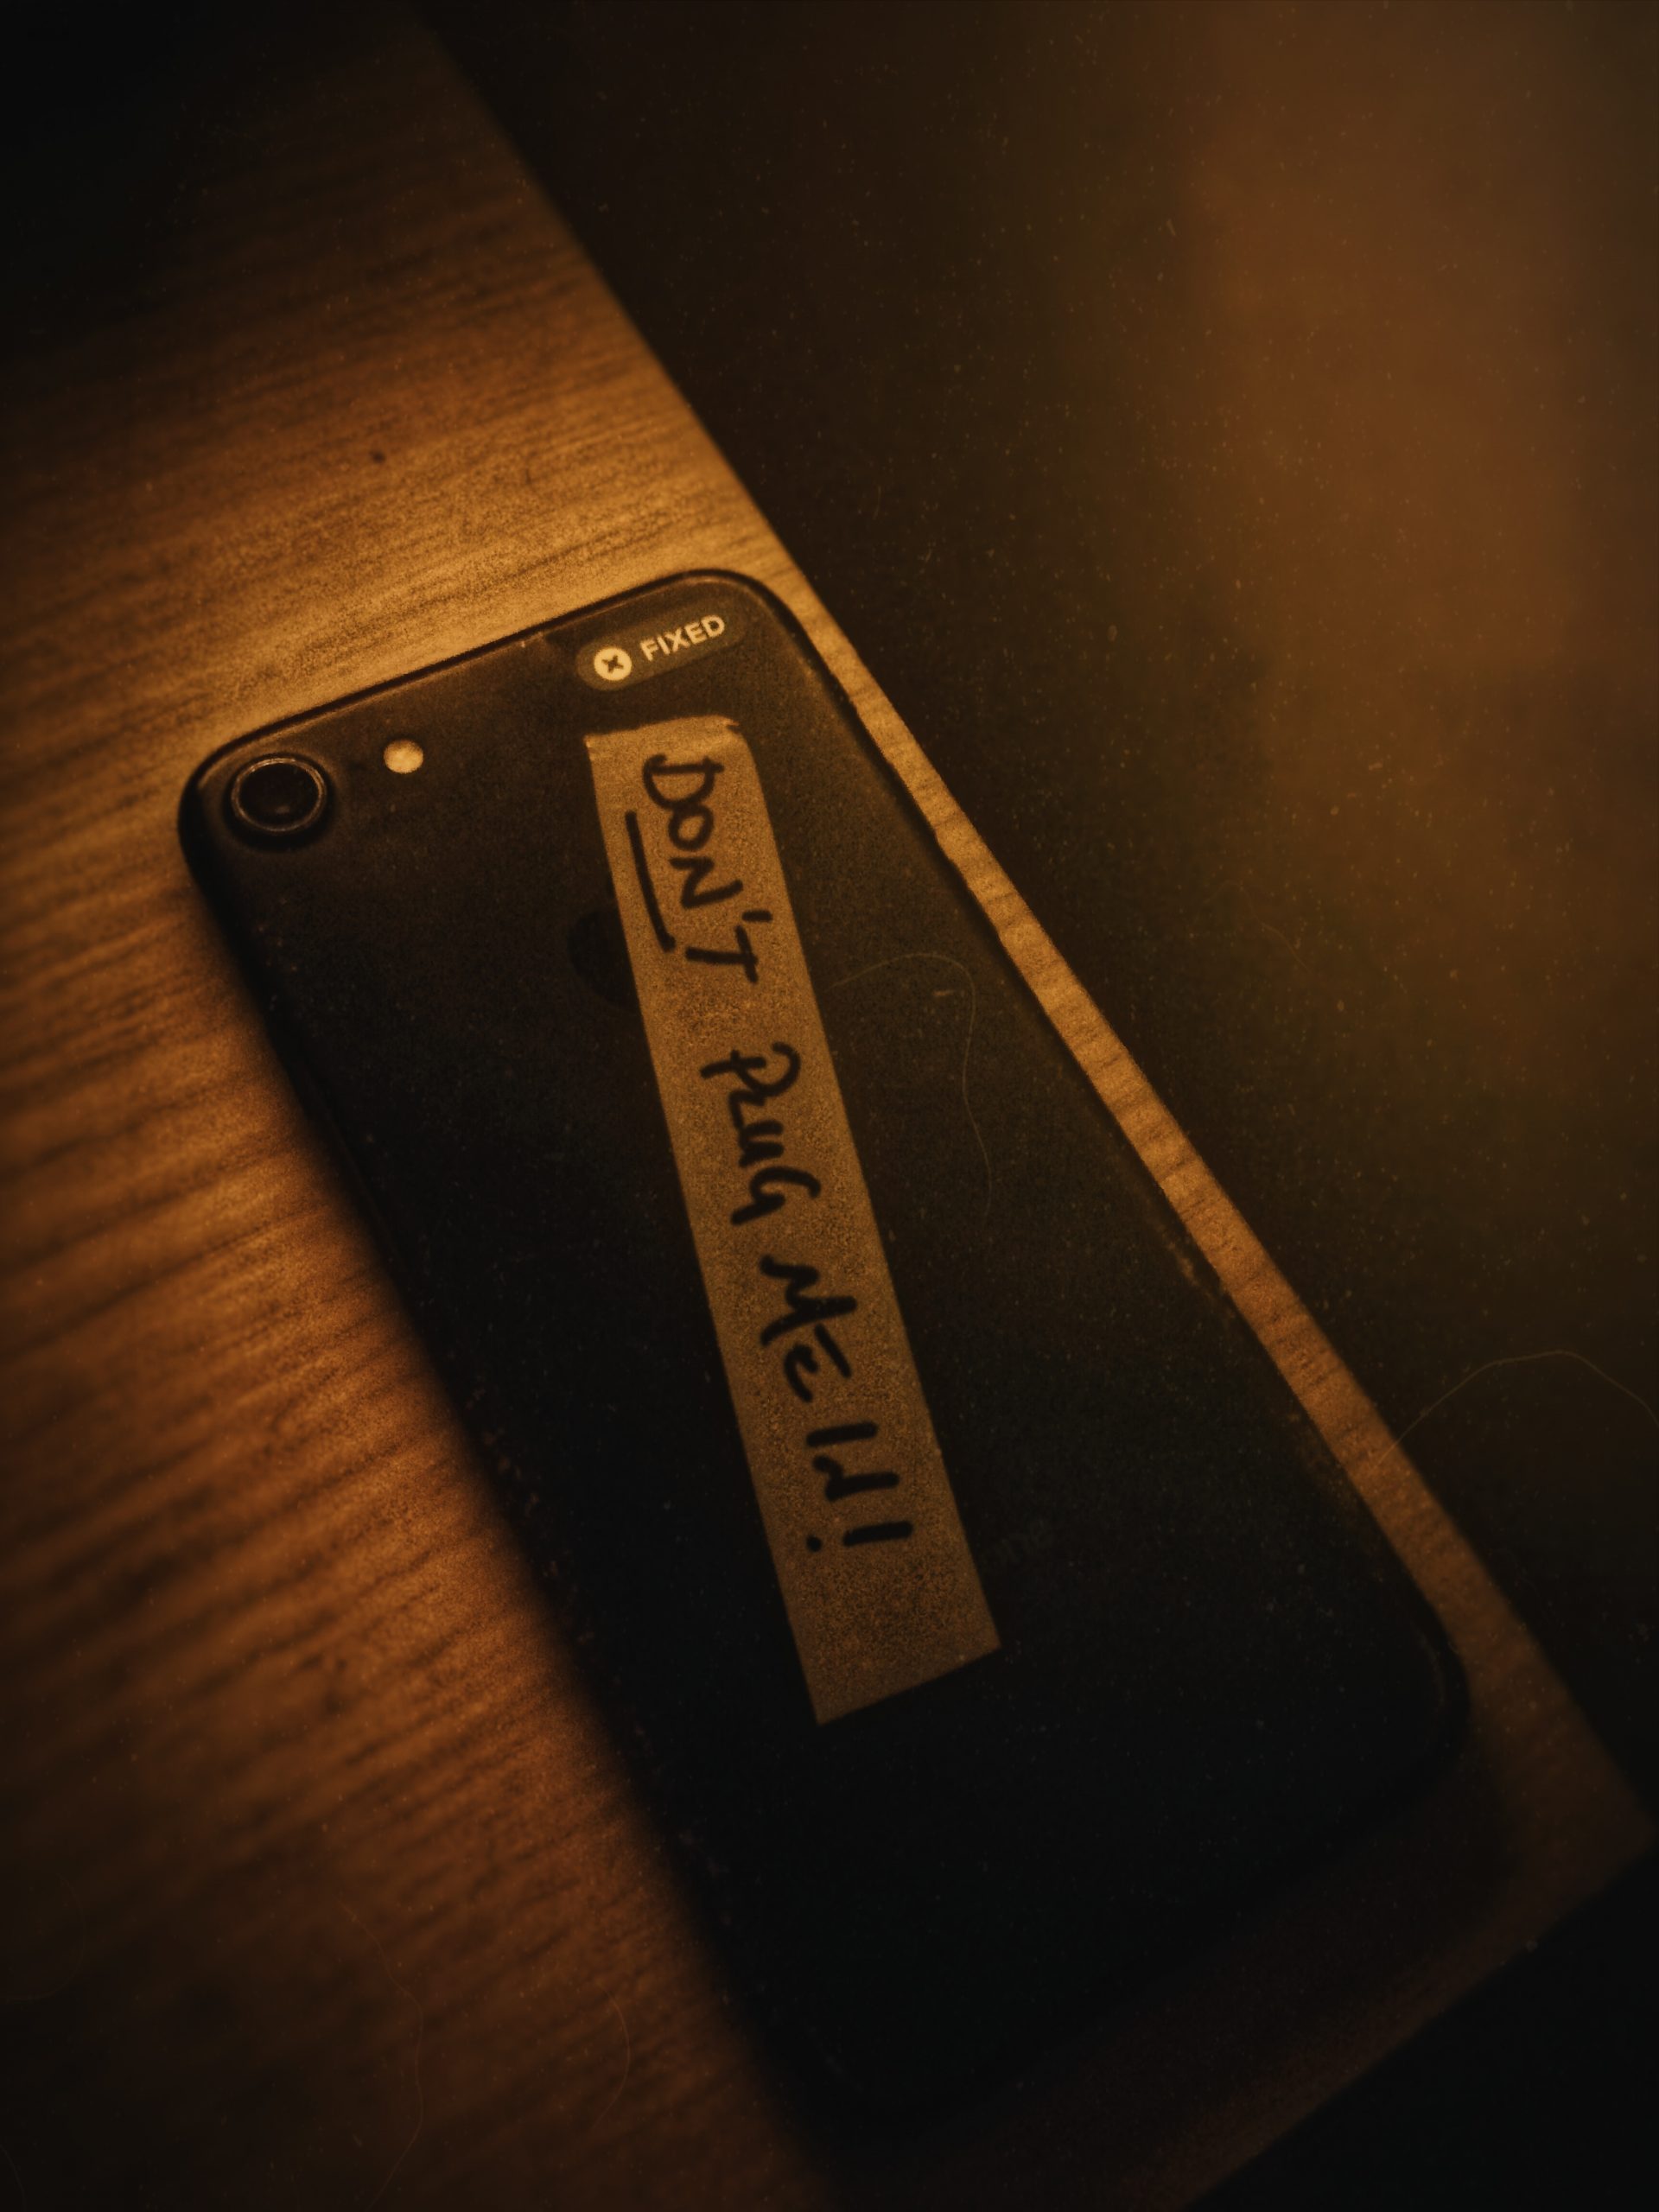
But aside from this slight hiccough, the repair was generally fairly smooth and manageable. I got to give the inside of my phone a thorough clean and tidy-up, and my phone battery health is now looking better than it has in a long, long time!
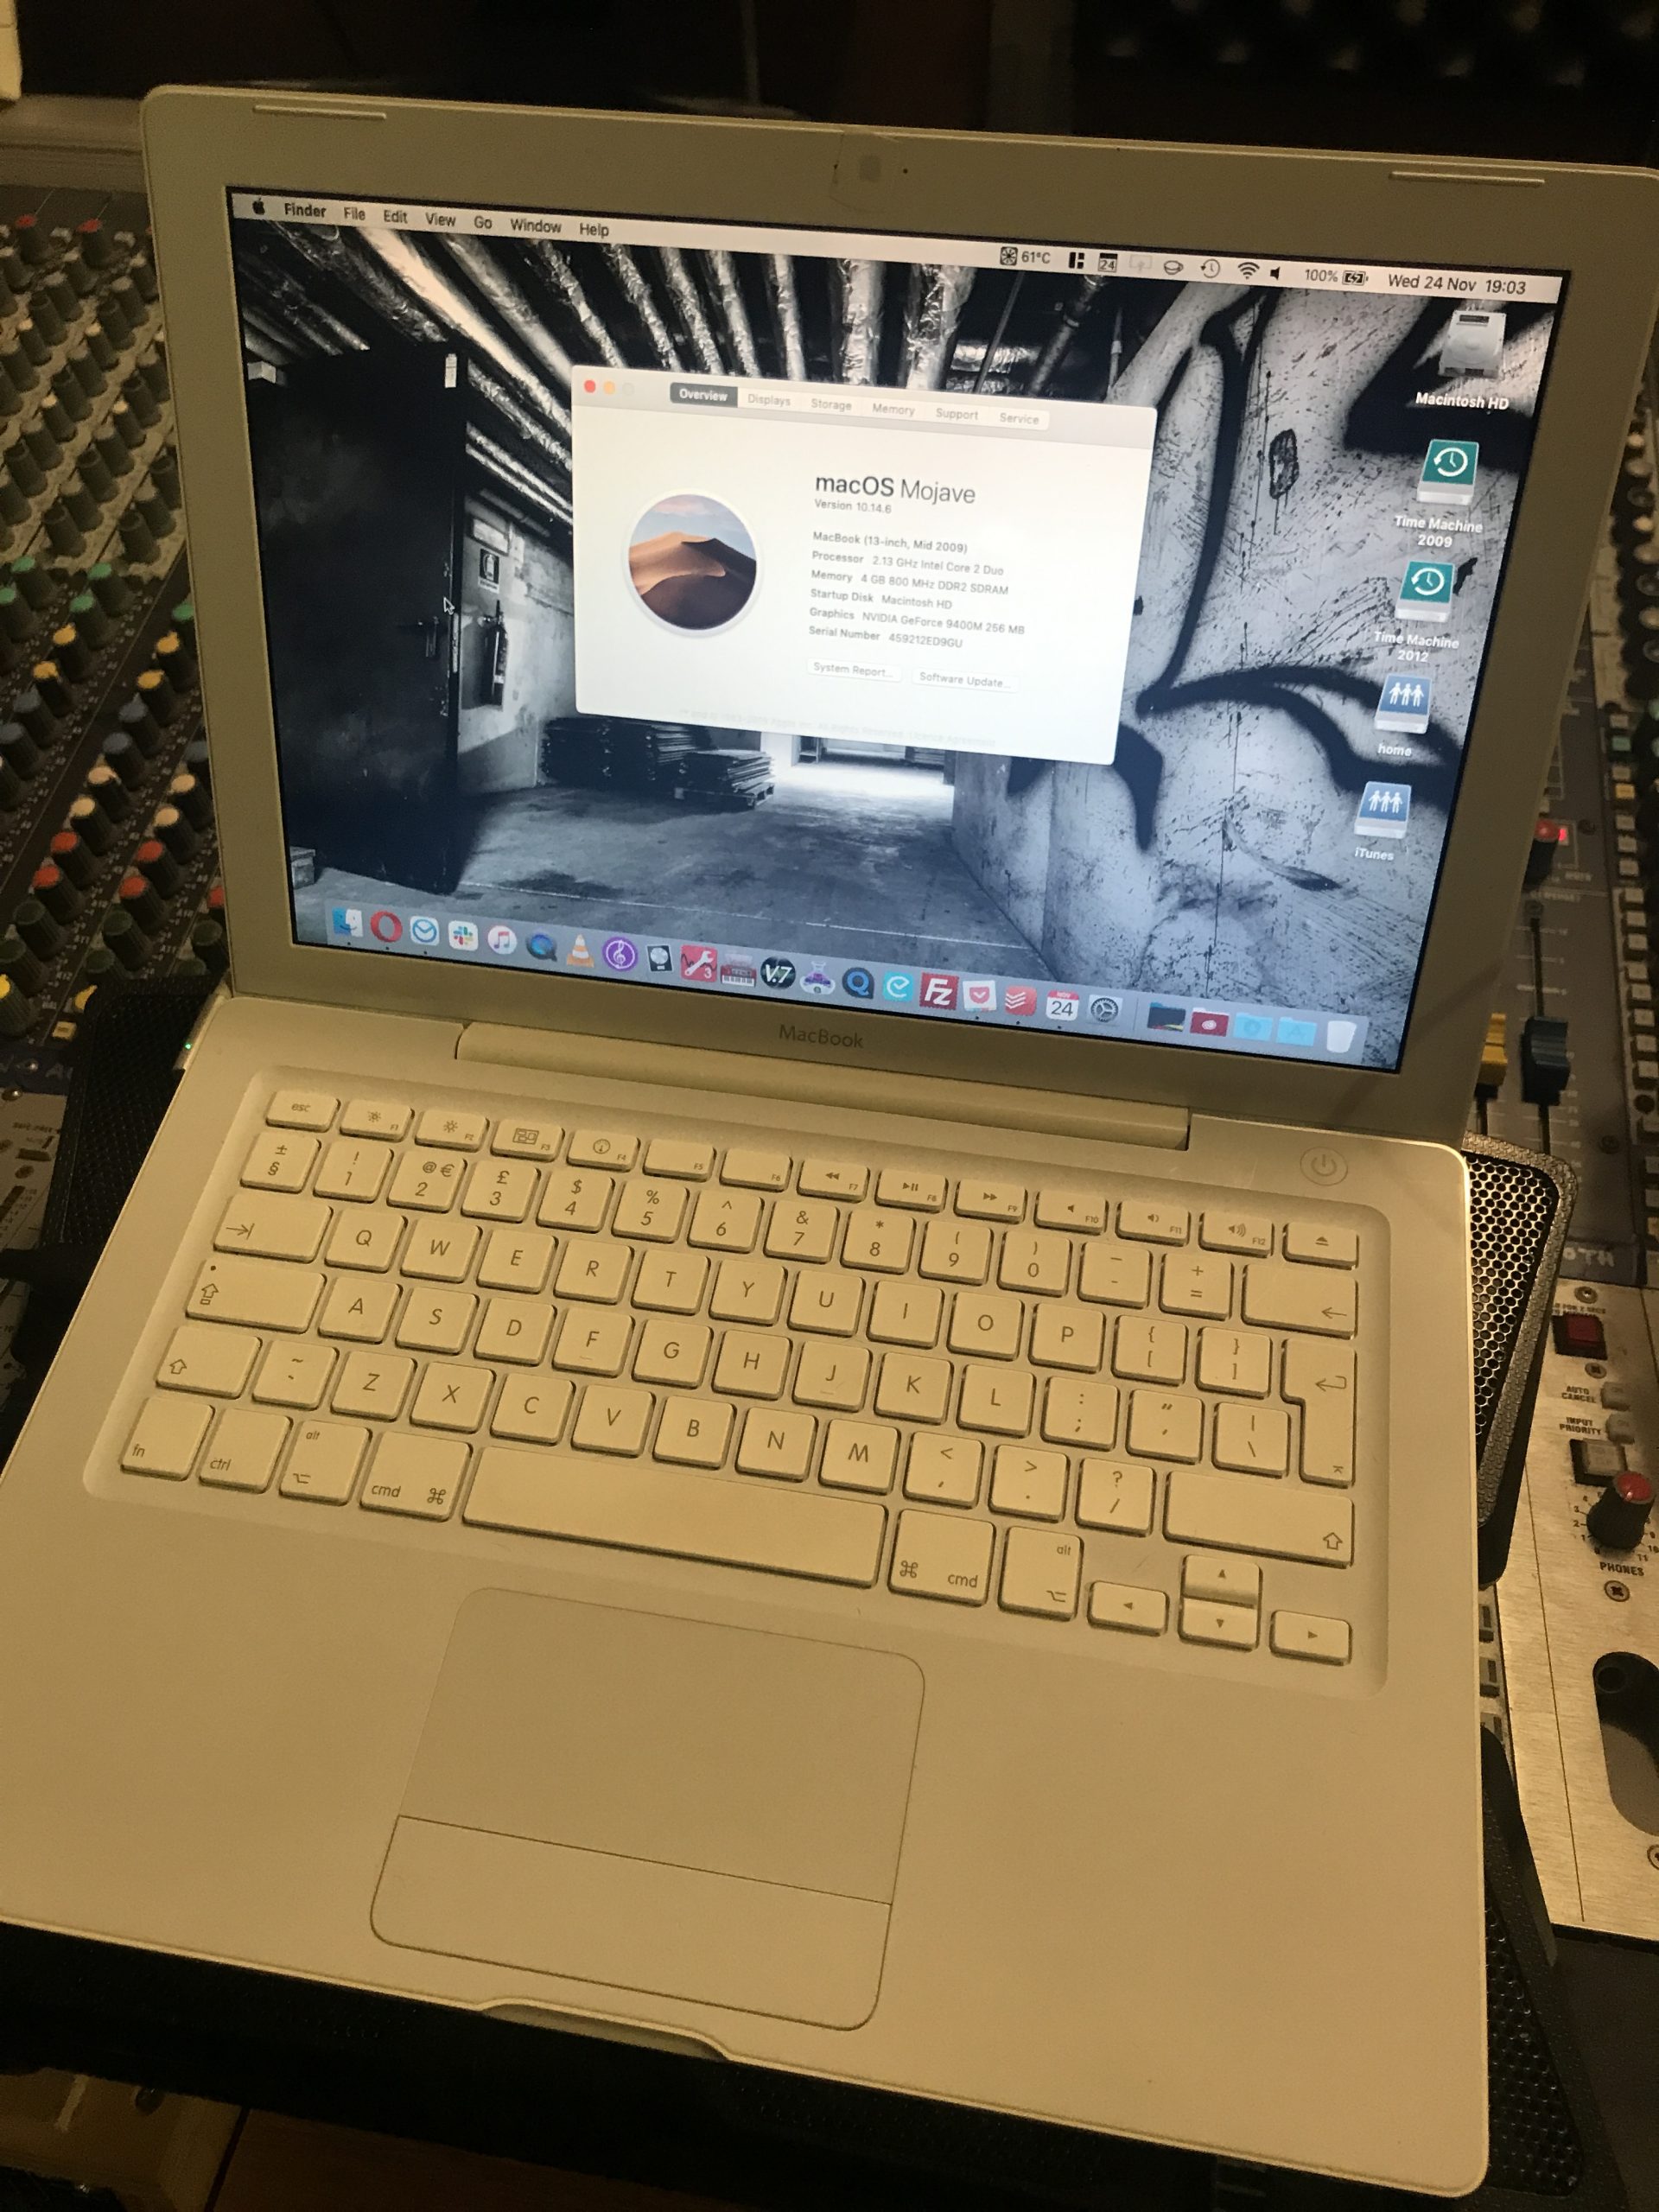
And yes, that is my mid-2009 MacBook on the table, displaying the repair guides online for me to follow. Still going strong!
These ADJ Dotz Pars are very effective stage lighting units for their compact form factor, and provide true colour stage wash thanks to COB technology (not colour-mixing). I own a pair of Dotz Pars, but one fixture was faulty when I acquired it and never initialised correctly on power up. With live music finally returning in earnest after the lockdowns of 2020 and 2021, I wanted to get this light up-and-running so I could use it in my stage productions later this year.
Thankfully, the whole experience of doing this repair was made very painless – largely thanks to ADJ themselves, who were beyond helpful and accommodating. A exemplar of how all companies dealing with technological products should be conducting themselves!
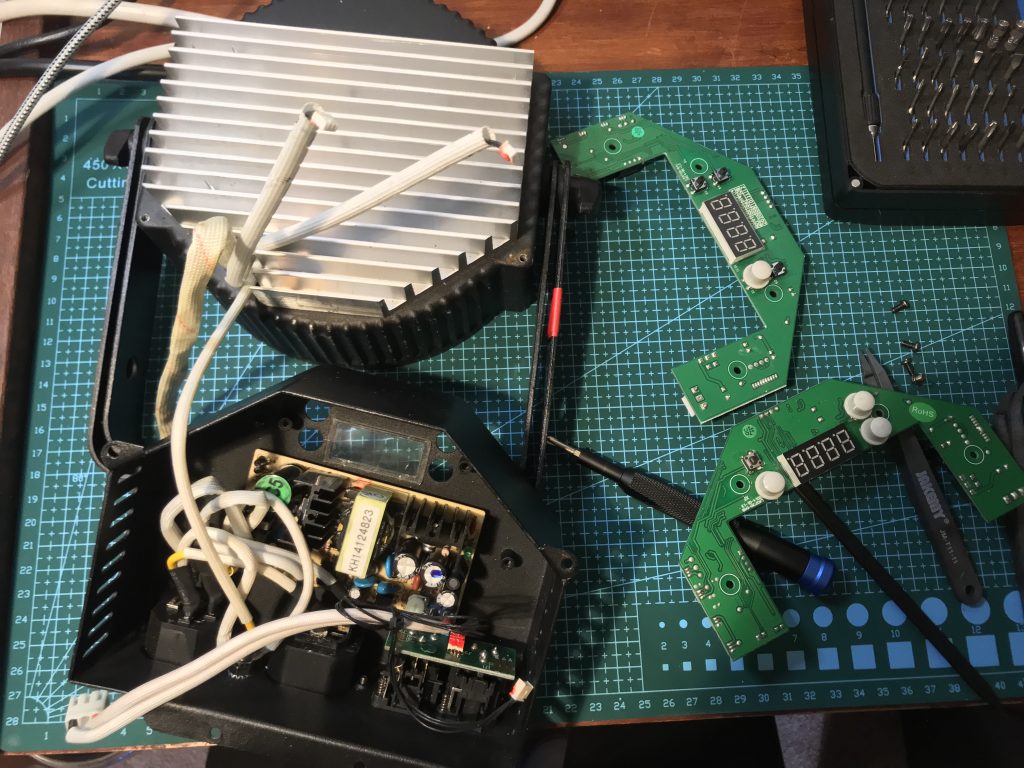
Firstly, the repair itself… This was a pretty straightforward like-for-like swap of the main PCB inside the light. The unit was easy to get into (no hidden screws or proprietary fittings – just four crosshead screws to remove the back casing, then four more to unseat the PCB itself), although the compact design made a few elements of the swap a little fiddly – especially the little plastic clips down the side for the data and power cables. But with the help of some electronics tweezers, and a little bit of patience, they were persuaded to copperate in the end!
I had to be careful with those cable bundles as well, as I was a little worried of getting them mixed up during the reassembly phase; I ended up labeling the outer sheaths with a marker pen to be sure I could put everything back in the right place.
Once the new PCB was seated correctly and the cables reattached to the board, I powered up the unit to run a quick test prior to reassembly, and all seemed to be working. Four more screws later, and the Dotz Par was once again ready to go out on the road with 90s Jam!
Now, the really good bit… I honestly cannot sing the praises of ADJ (Europe) highly enough.
Those of us who follow or are involved with repair movements are used to being frustrated at every turn by companies who don’t want us to be able to repair our own stuff; don’t want us to have easy access to the necessary tools or spare parts, and use obscure or proprietary fixings deliberately designed to make repairs more difficult; and tell us that this infuriating gatekeeping is all for our own ‘safety’ or ‘security’.
So it was both surprising and refreshing to have the exact opposite experience when dealing with ADJ. For starters, they had an actual phone number on their website, where I could contact their European HQ (in the Netherlands) directly; I phoned them up and explained my situation, and got put straight through to their Service Department, where a very helpul man was keen to understand the nature of the problem. I ended up booting both my working and non-working Dotz Pars fixtures whilst on the phone with him, and describing exactly what I saw in each case – and he was able to diagnose the issue over the phone, and told me he recommended replacing the main PCB.
At this point, I was expecting the standard spiel. ‘You have to send it back to us; it costs £9000 just to have us open the parcel, and a further £400 per screw we undo; it’s an old model so the parts may not be in stock; we’ll post it back to you within eleven years…’
But no! I asked ‘So where can I get a new PCB from, then?’ and he said ‘We sell them in our online parts shop! Here, I’ll give you the exact part number, so you can search for it…’ It ended up costing me less than £30 to order the correct replacement part and have that shipped to my house, and it arrived less than a week after I spoke to them.
This is exactly how these things should always work! If you have a problem with an electronic product, you absolutely should be able to ask the company what’s wrong, and get a straight, honest answer; you should be able to get transparent advice about what parts you need, and where; you should be able to buy parts inexpensively, even for legacy products, and get them quickly and easily.
As I say in my video rant on the subject (featuring a cameo from Eliza the rescue greyhound):
content here
In Praise Of ADJ
content here
ADJ can do it. There is no good reason why other companies can’t.
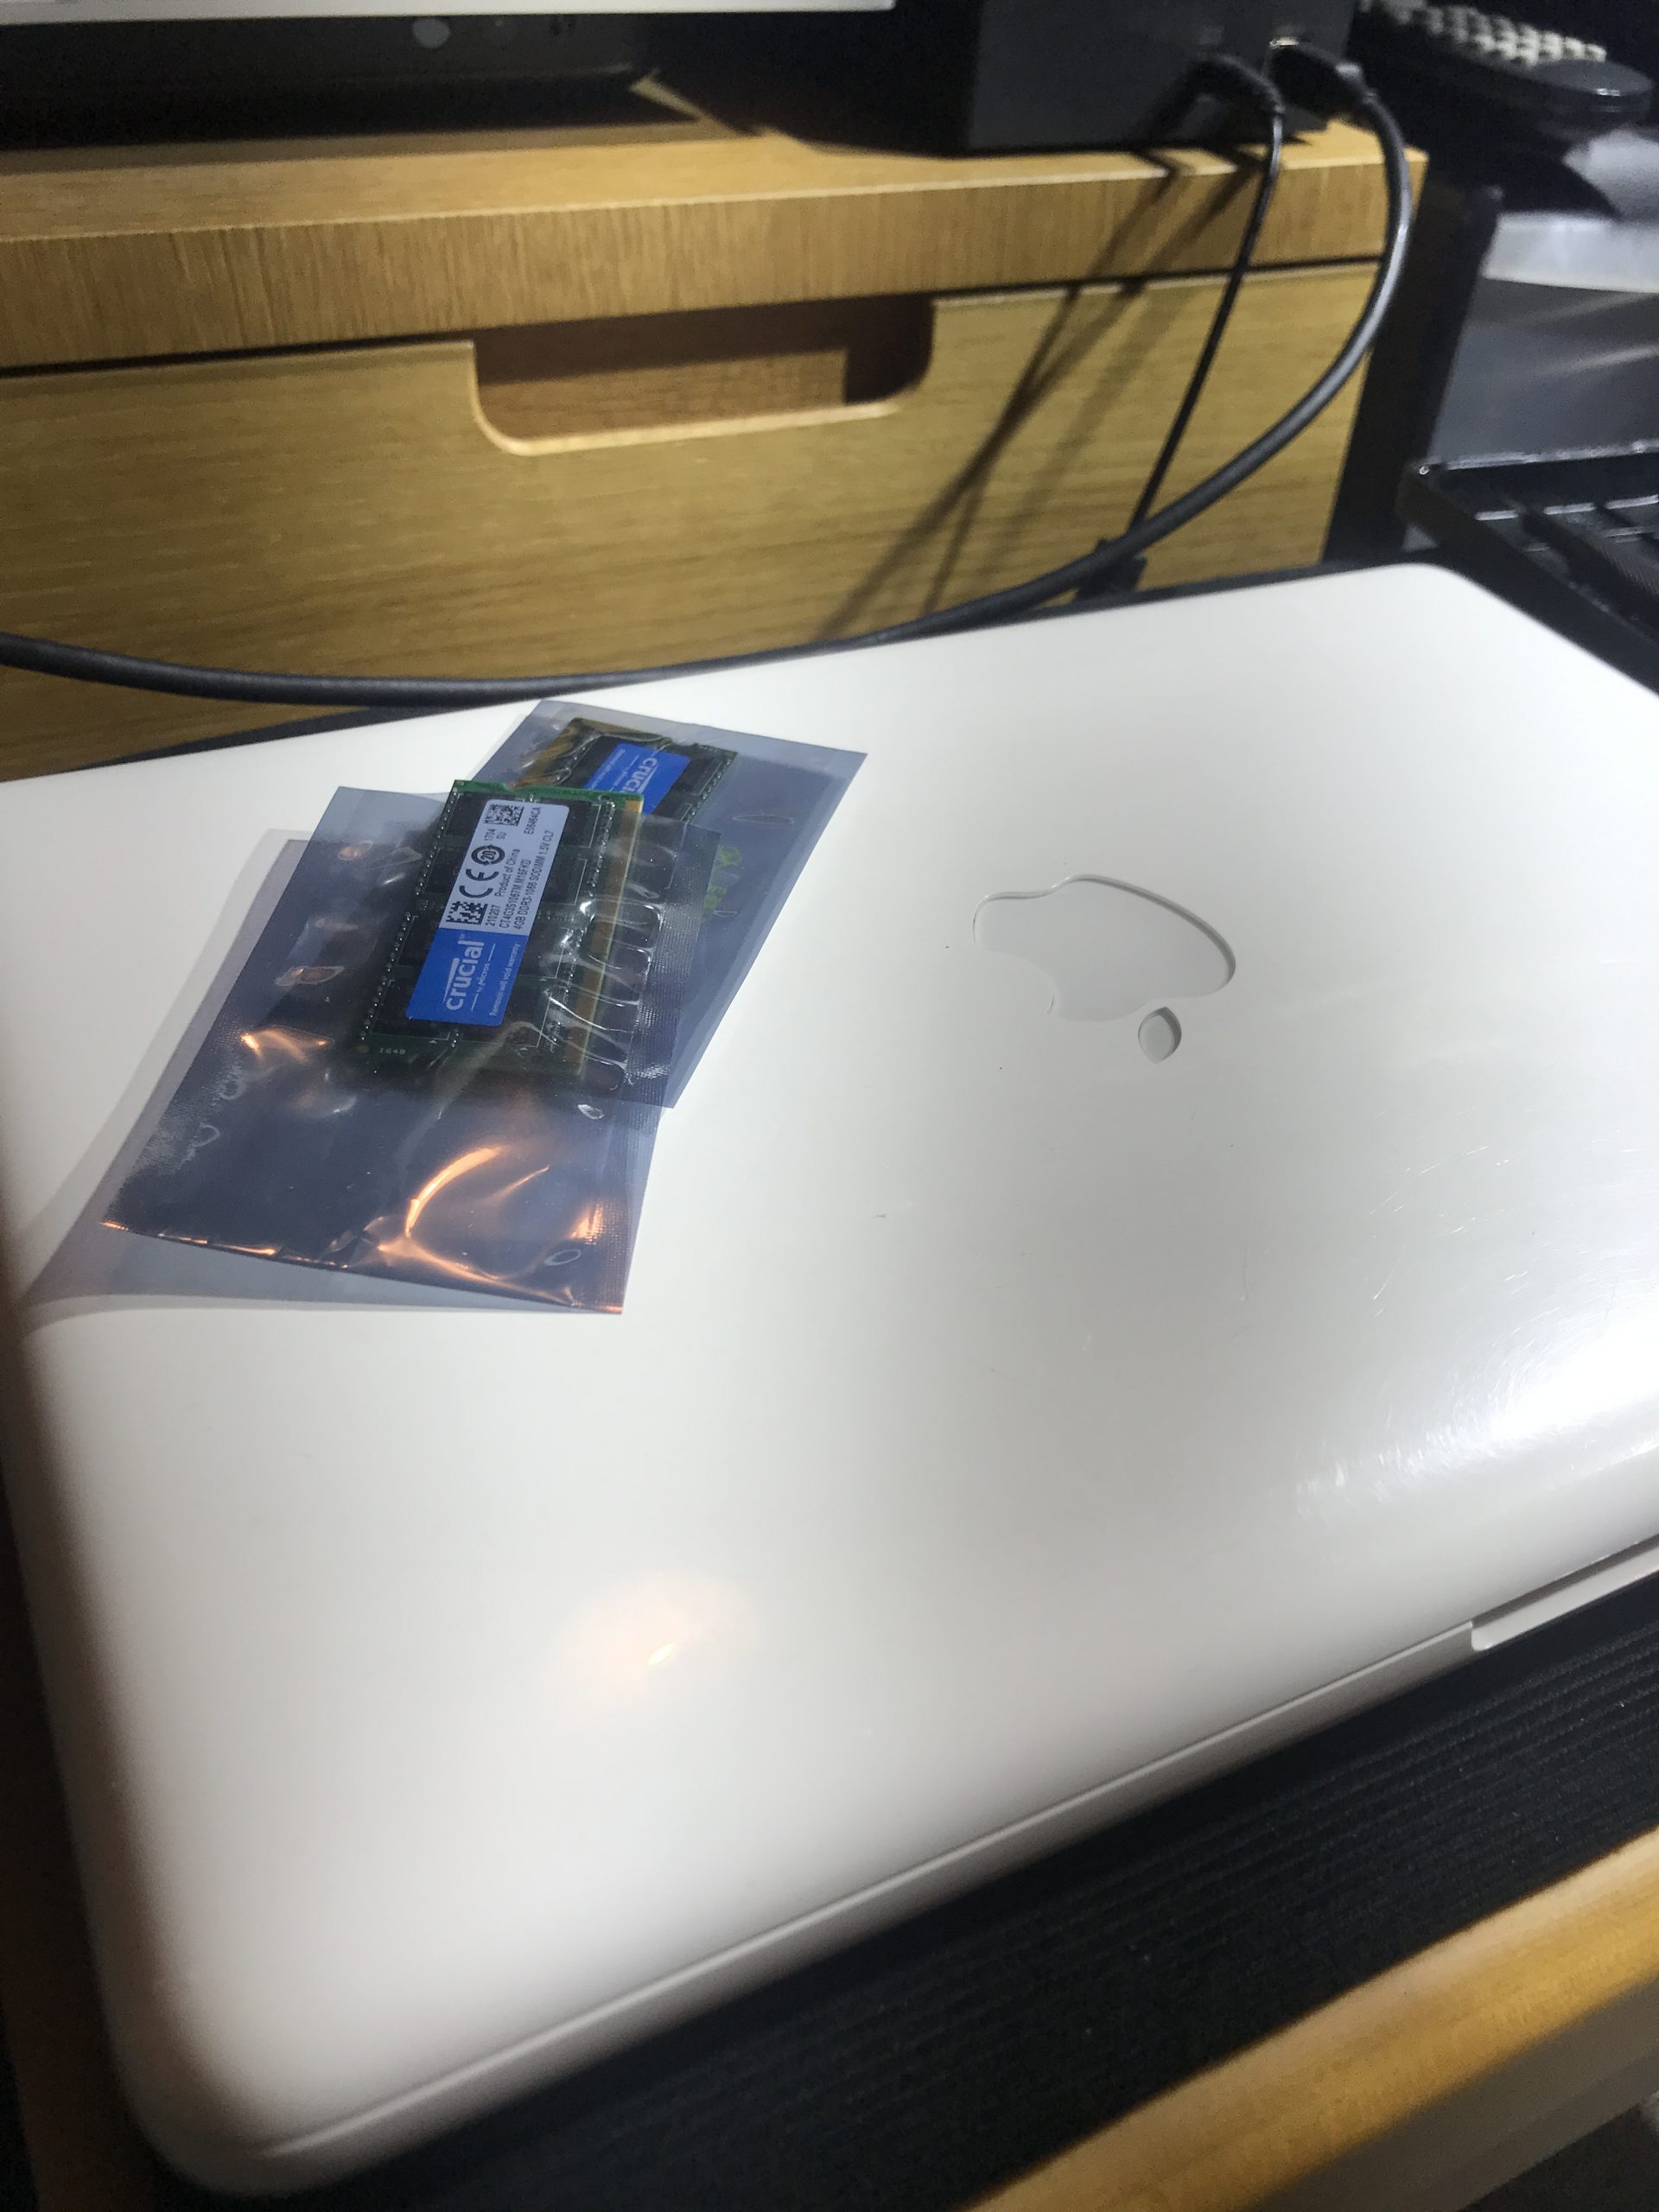
A nice straightforward refurb I did for a friend of mine, who is also a musician and who wanted a basic MacBook to use as part of his stage rig. This A1342 mid-2010 white unibody MacBook fitted the bill perfectly – once I had fitted a new battery, 8GB of RAM and a 500GB SSD system drive.
A1342 Ready For Some New RAM
Thankfully these are all components which are very easily accessed in these unibody models. And fairly easy to replace, too…
The RAM and the storage are very straightforward. To change the battery you need a Triflite screwdriver, and you need to check under the ‘Do Not Remove’ label attached to the original battery to access a secret ‘hidden’ screw. Still nothing terribly taxing there, though!
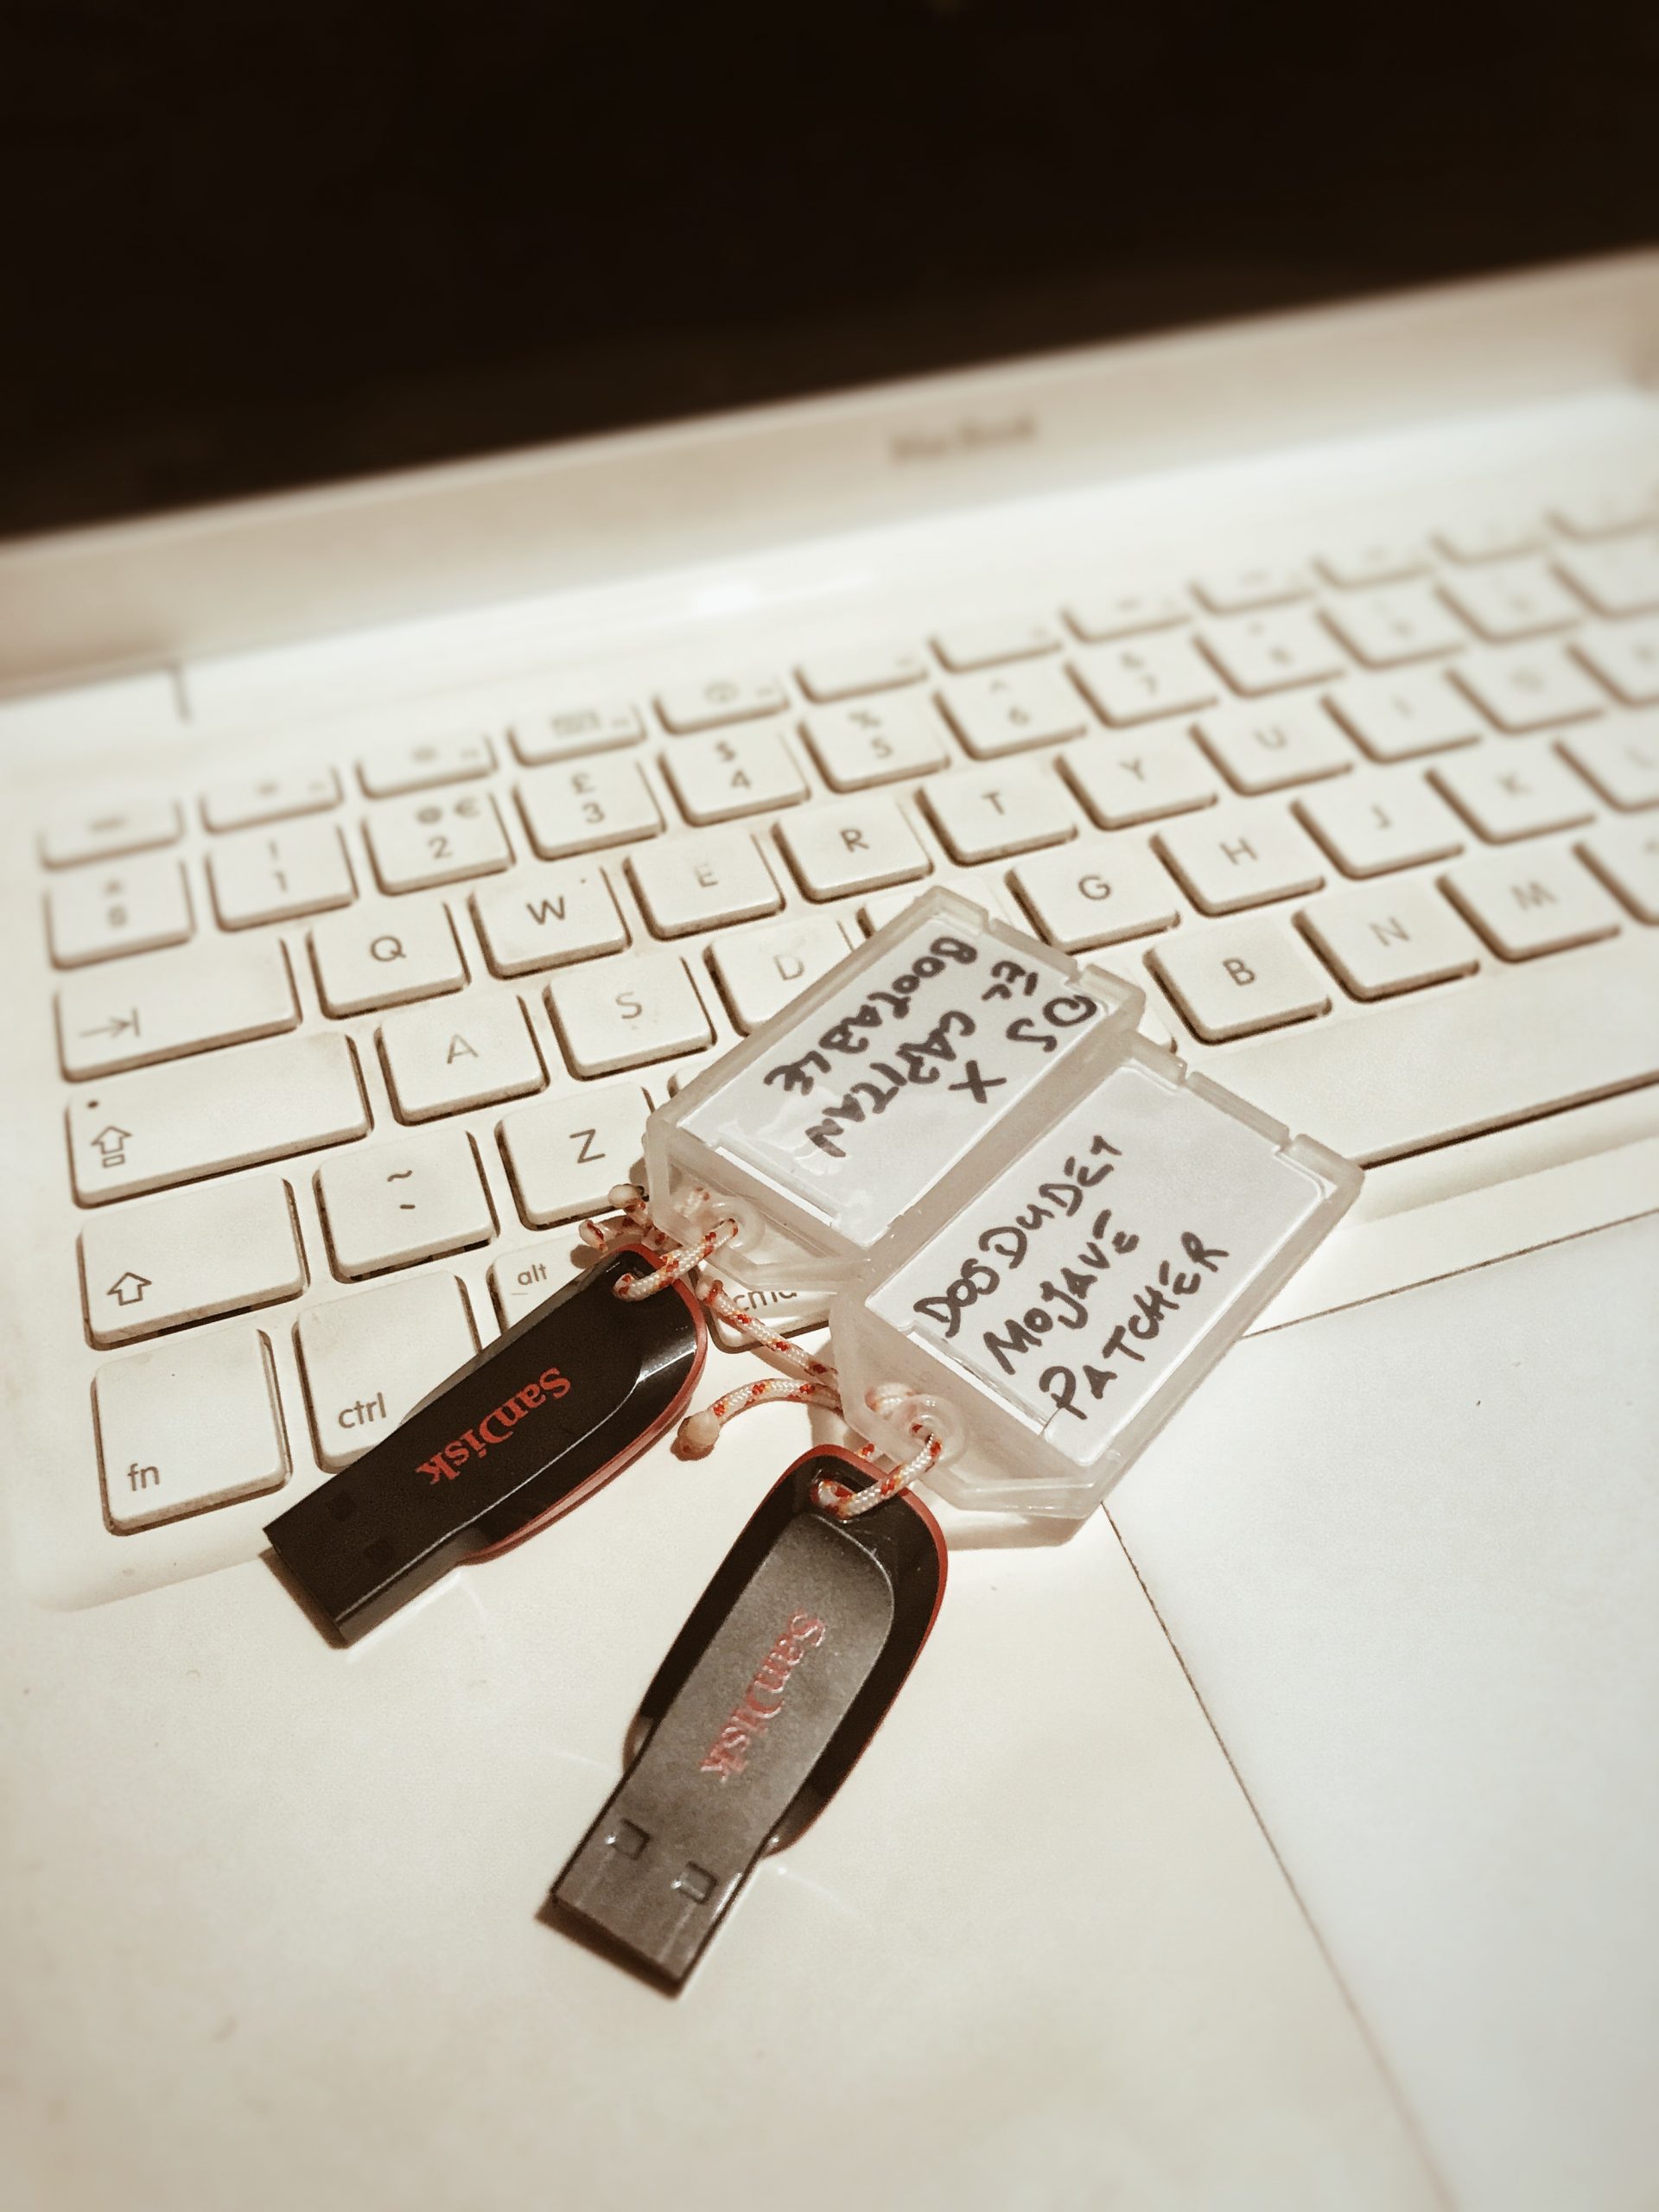
I then used the dosdude1 patchers to install macOS 1o.14.6 (‘Mojave’) onto this Mac, as requested.
Installers
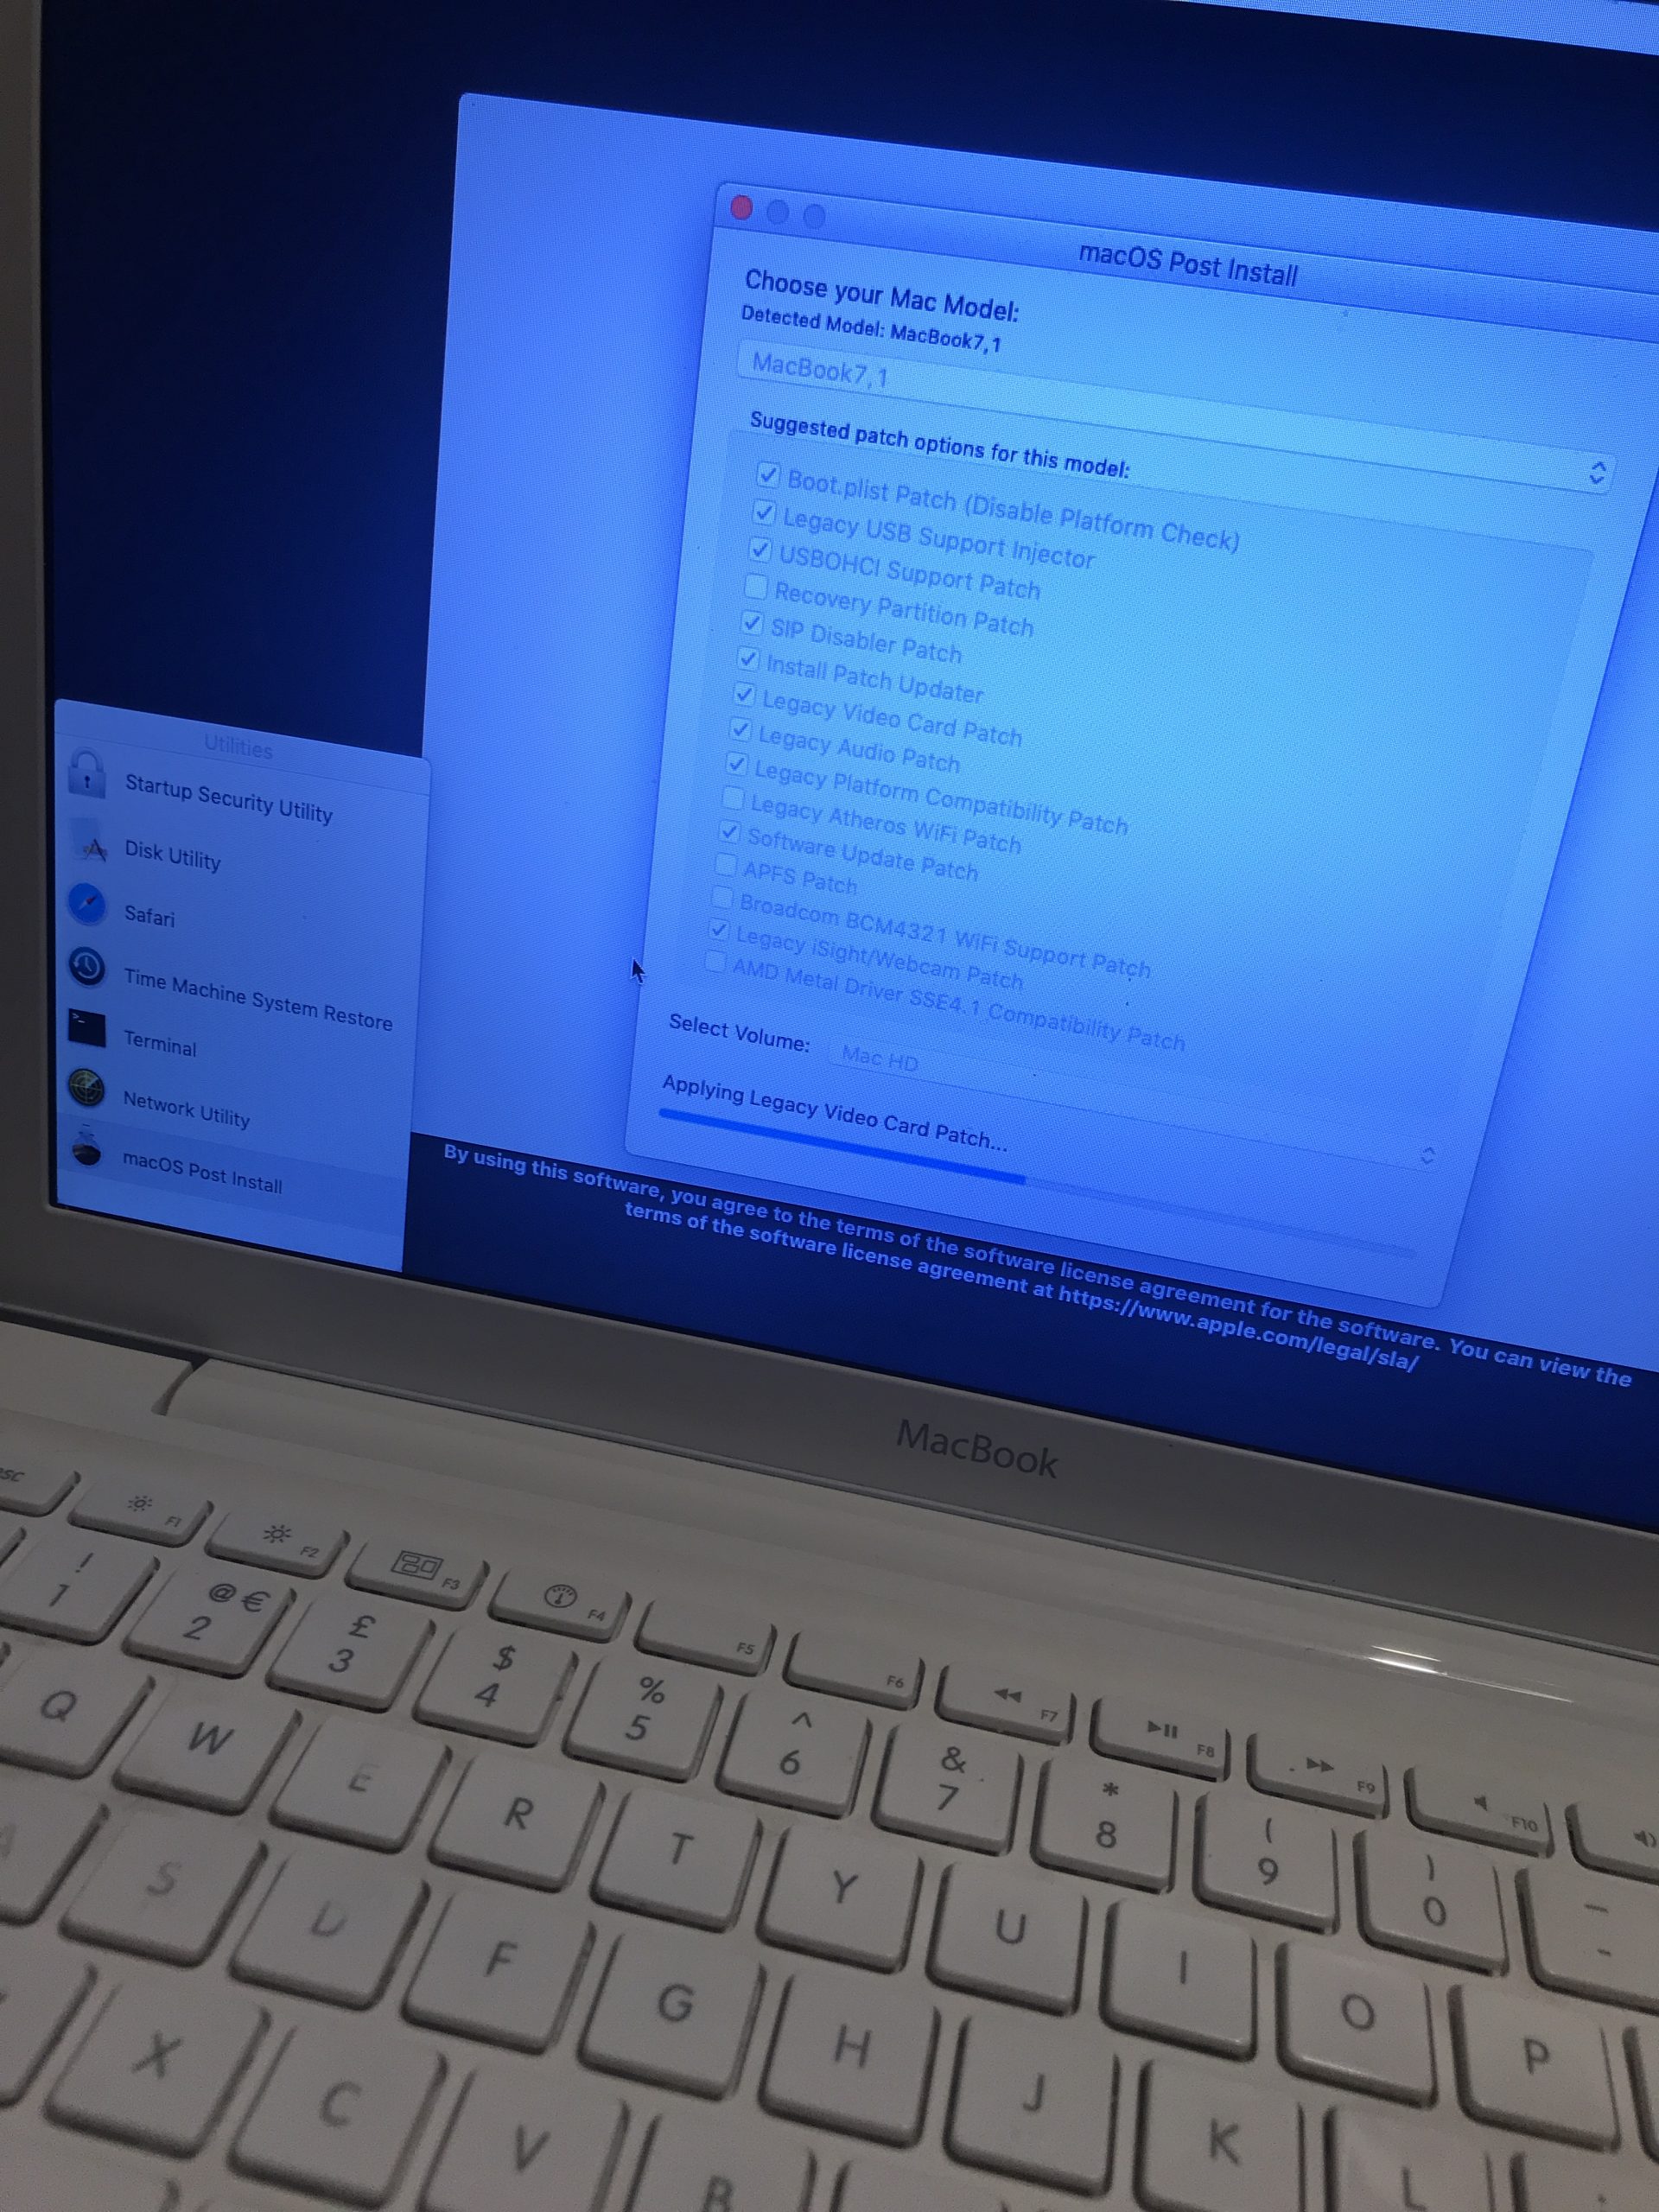
Installing
Applying Patches
And there, a new lease of life for a ten-year-old laptop. I am excited to see how this Mac performs onstage now!
Last month, my workhorse MacBook Pro – my favourite mid-2012 model – suffered a small accident. Thankfully, no internal damage was sustained – but the glass in the screen was shattered. Of course, rather than buy a new Mac, I bought an A1278 MacBook Pro display assembly on eBay to repair my machine.
I had already been planning to upgrade the logicboard in this MacBook Pro. A tricky job, but I had found the correct logicboard on eBay some months back which would allow me to upgrade from the 2.3GHz Intel Core i5 processor to the 2.9GHz Intel Core i7 processor, and I had been waiting for the right time when I had enough free time to do an upgrade I had never done before – and to troubleshoot or restore the Mac to its former state after doing so, should anything go wrong, before I needed it to take out on the road again.
I had also planned for some time to fit a new trackpad, as the original was starting to get a little worn after six years of heavy use. The damage to the screen forced my hand; as I would have to open the laptop up and work on it anyway, I would do all this work at once, the week before an important show. I also wanted to document all of this in short videos on my Instagram Stories. I shall post some here for you as well.
‘Money Torx’
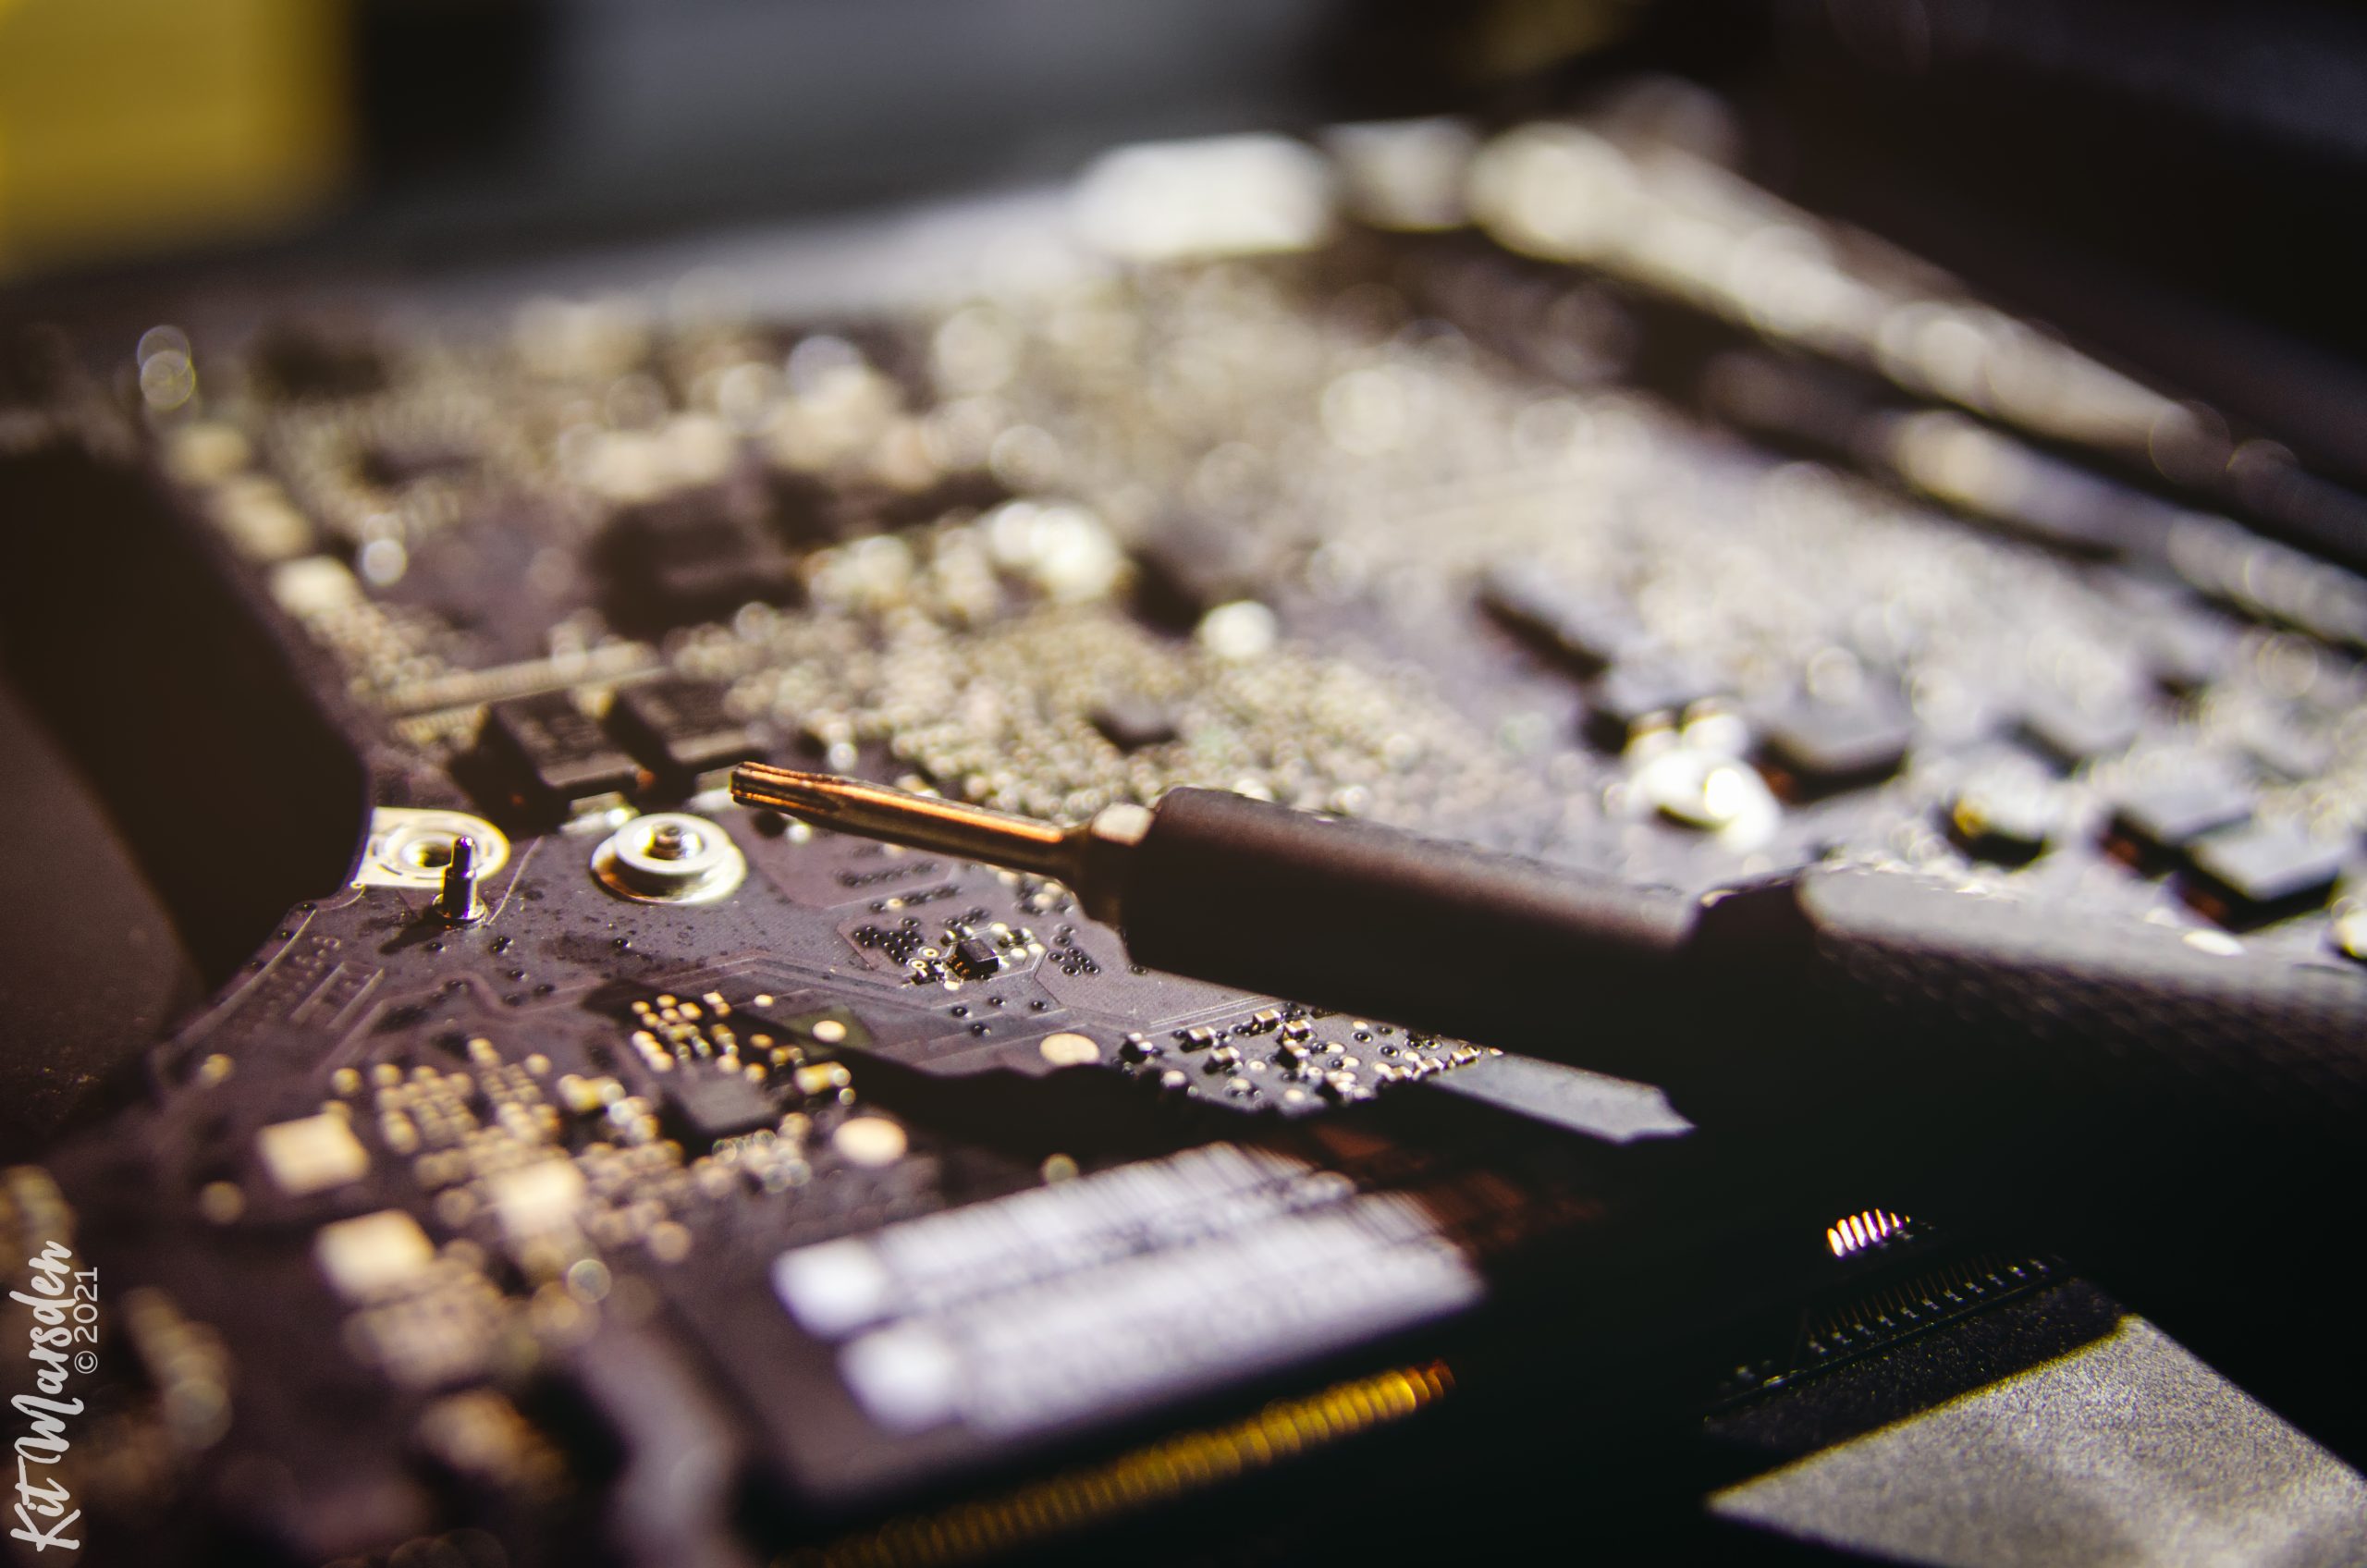
I began with the logicboard upgrade, following a guide on iFixIt. Thankfully I didn’t have to complete every single step of the guide, as the new logicboard I had bought already had a heatsink and a speaker and microphone fitted so I didn’t have to switch them over from my old logicboard.
I also paused my logicboard upgrade midway through to begin some of the other work I wanted to do – taking the battery out to gain access to the trackpad before completing reassembly of the logicboard. Replacing the trackpad is a fairly simple job to do, but that doesn’t mean it isn’t fiddly! Check out the microscopic little screws which hold the trackpad in place, in my videos below!
First look at the new logicboard.
New Logicboard
First look at the new logicboard.
New logicboard fitted, and battery removed to access trackpad.
Logicboard Fitted
New logicboard fitted, and battery removed to access trackpad.
Fitting new trackpad with its tiny, tiny screws.
New Trackpad
Fitting new trackpad with its tiny, tiny screws.
Insulation tape ZIF retainer
With the logicboard and the trackpad both successfully replaced, I began to reassemble the MacBook Pro as much as I could before fitting the new display assembly – although not without a minor mishap of snapping the retaining clip of the ZIF connector holding the keyboard LED backlight ribbon cable.
That wouldn’t be the end of the world to lose this feature, but I do like it! I ended up holding the ribbon cable into its ZIF housing with a small tab of insulation tape instead, and so far the keyboard backlight has performed completely normally – so I think I got away with it, on this occasion.
However, it was when I came to replace the screen that things started to get really difficult.
In my haste to buy a replacement screen, I had simply searched on eBay for ‘A1278 display assembly’ and bought the first good-quality one I saw. The screen arrived and was in top condition (better than the original one in fact, which had already suffered a couple of minor dents in the lid – as is fairly common with these models of MacBook Pro). But when I went to fit the new screen I had bought, I saw that the connectors on one side did not match those on the screen I had removed.
Of course I knew that Apple had used the A1278 model identifier for a few different MacBook models released between 2008 and 2012, but I hadn’t realised the internal connectivity had changed along with the general component specifications. My MacBook Pro had an LDVS data ribbon connector (with a short cable) on one side, and four separate brass antennae (for Bluetooth, WiFi, etc.) on the other; the new display I had bought had the same LDVS connector on the short cable side, but no antennae – instead, that had a second (longer) ribbon cable with a small LDVS connection.
I was fortunate to be able to borrow a slightly damaged but useable screen from a dead MacBook Pro which has used to belong to a family member, and which had the correct connectors on both sides. This meant that the Mac would at least be useable on my gigs during the coming weekend. I then had to source another new, uncracked display for this model of MacBook Pro, with the right connections on both sides.
The next new screen arrived a few days later. The antennae fitted perfectly. All seemed to be going swimmingly! And then, I found I struggled to reconnect the the LDVS data cable. Having now fitted various different screens onto this Mac over the past few days, I had become fairly adept and doing these fragile little components – so I was surprised to find I couldn’t insert the LDVS connector into its housing smoothly. Not wishing to force it, I looked up online whether anyone else had experienced the same difficulties…
Field surgery
An iFixIt forum post soon showed be that I was once again a victim of Apple reusing model identifier numbers for very slightly differently aged Macs. The screen I had bought was from a 2011 A1278 MacBook Pro, and not a mid-2012 A1278 MacBook Pro! They are identical in design. But Apple apparently changed the supplier for the LDVS connector, resulting in a size discrepancy of 1mm between the 2011 data cables and the 2012 data cables, with the 2011 ones being a tiny amount larger. This is why the connector would not easily fit into the housing on the logicboard for my mid-2012 Mac.
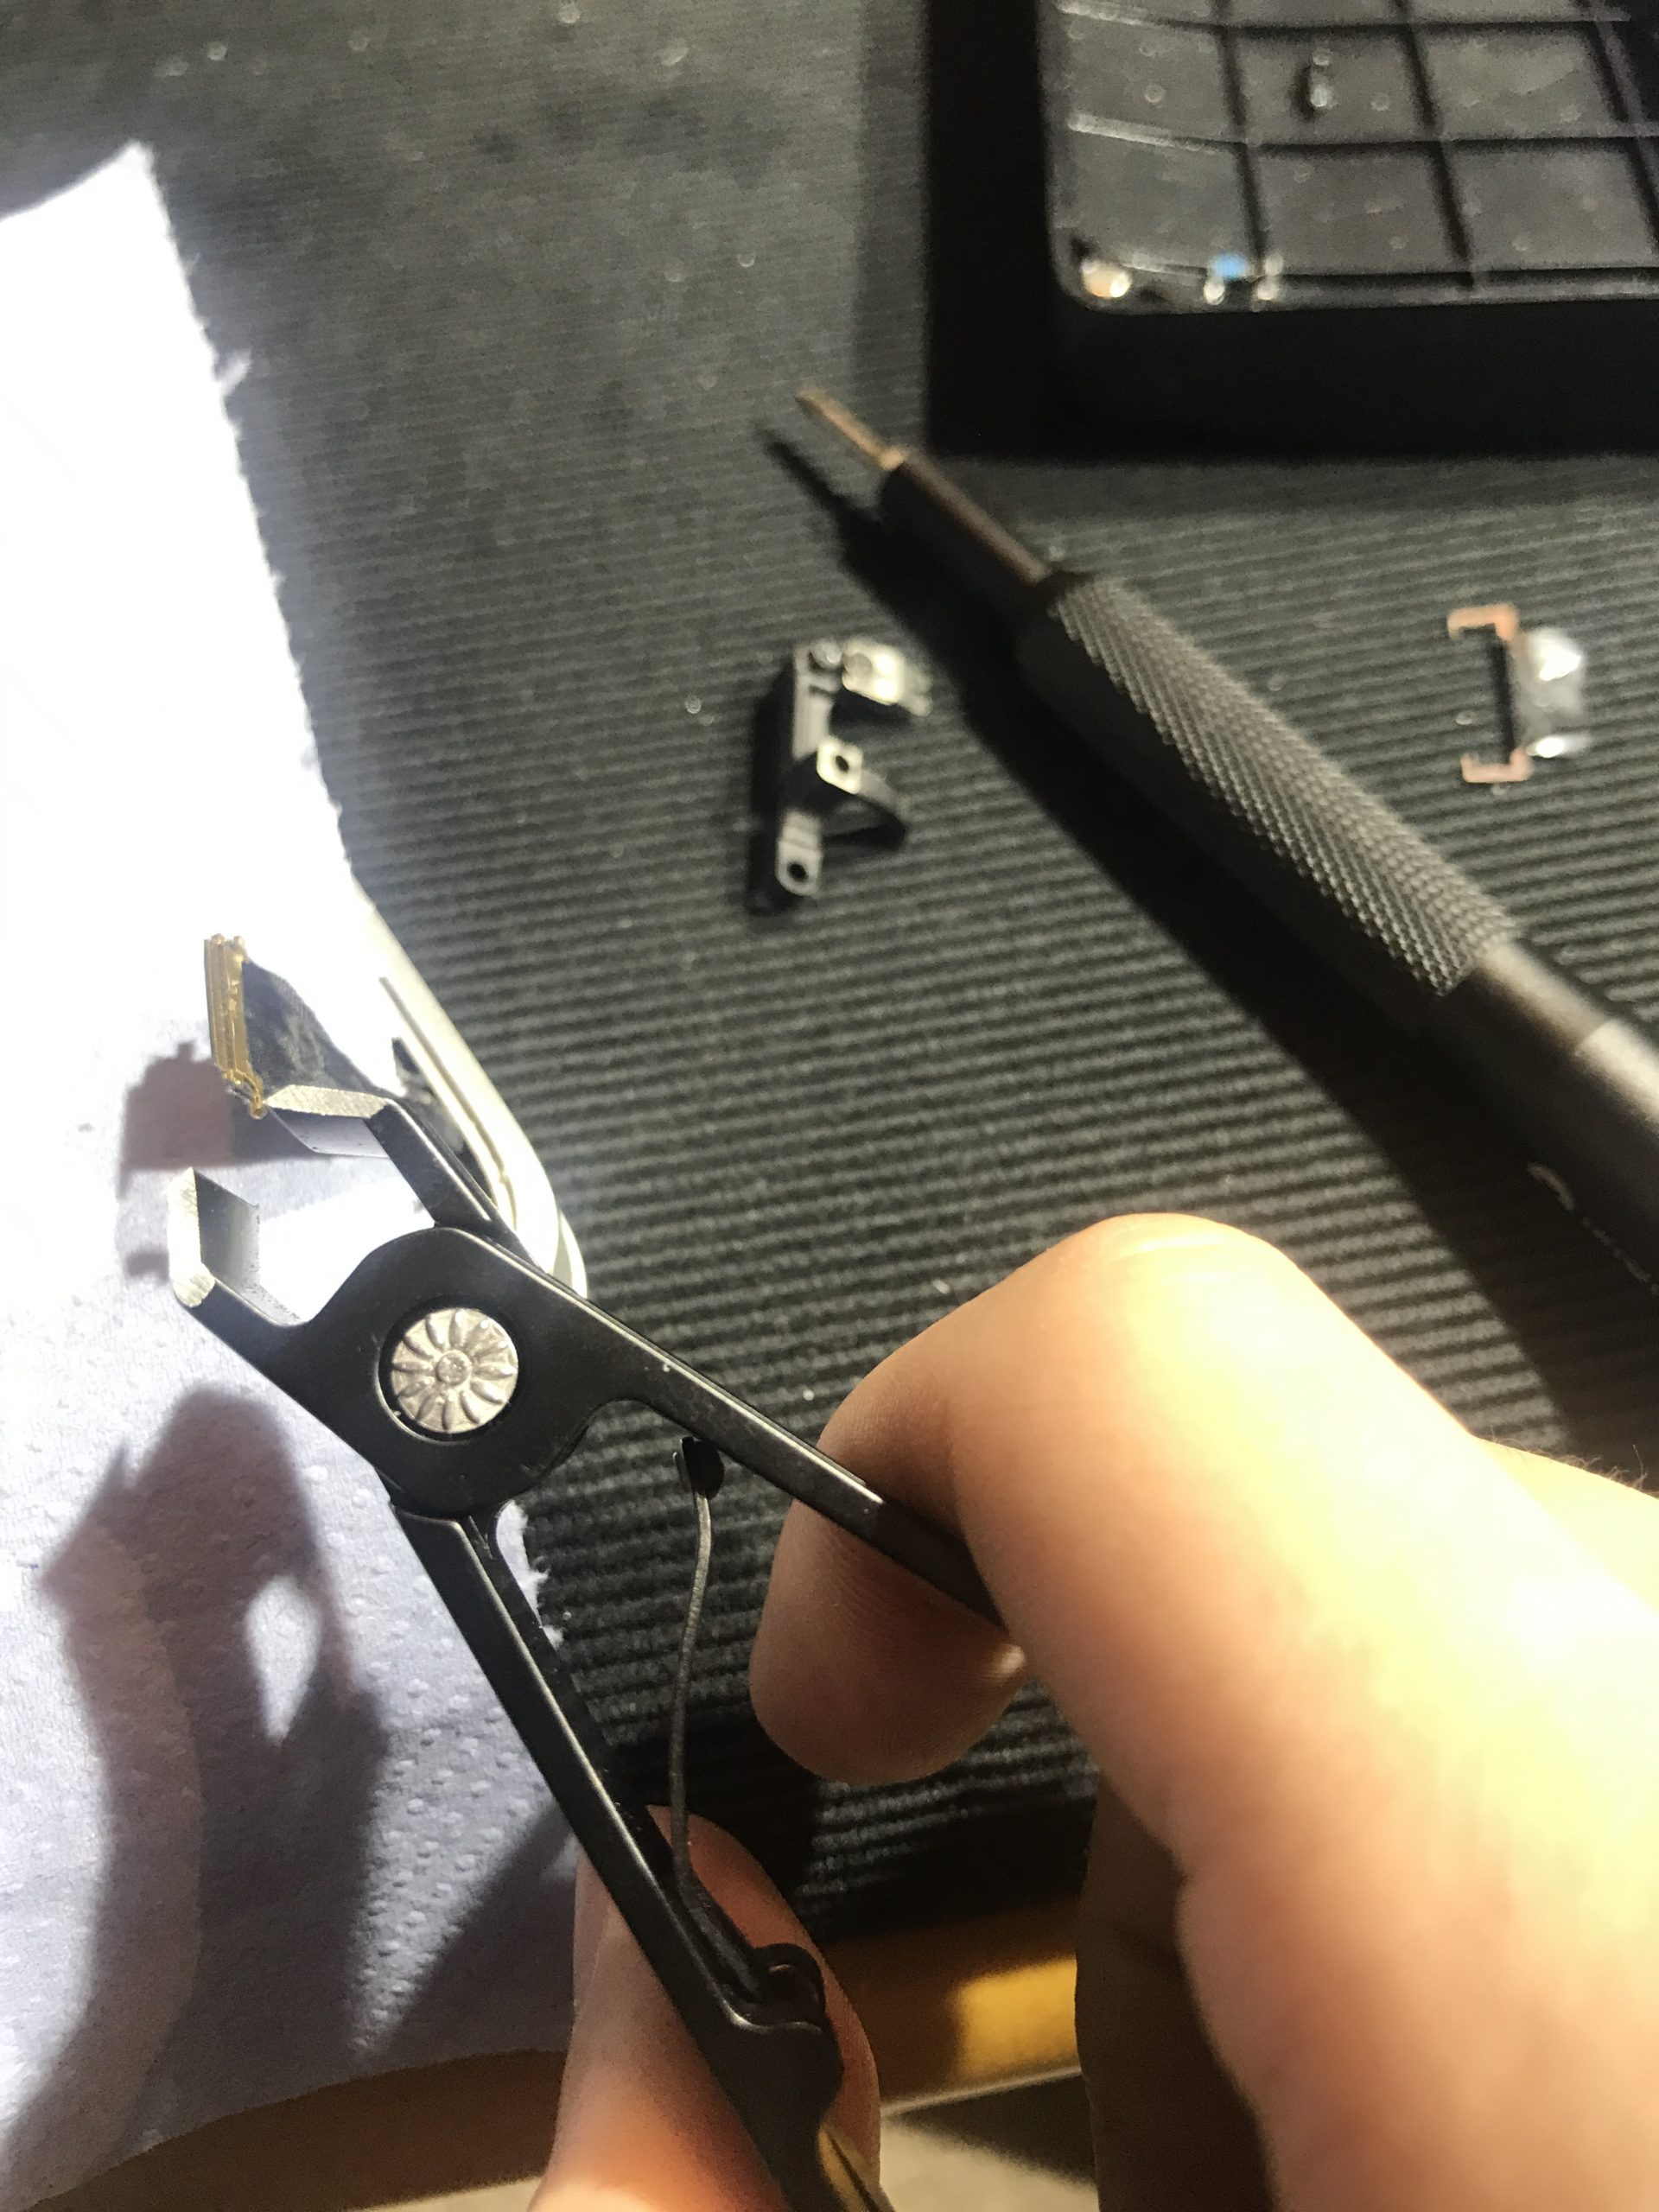
Fearing that I would now have to buy a third screen and double-check these details too, I read more comments on the iFixIt community post. A couple of people said they had successfully fitted 2011 displays onto mid-2012 MacBook Pros by using nail clippers or a small emery board to shave 0.5mm of fibreglass surround off each side of the LDVS connector. It felt extremely risky to go modifying the shape of components in my laptop using a pair of nail clippers – but I knew that if I didn’t try that I’d have to buy another new screen anyway, so I felt that was worth a go.
Discovering for the first time that the first new screen I bought wouldn't fit!
Original Replacement Display Issues
Discovering for the first time that the first new screen I bought wouldn't fit!
Discovering the LDVS cable won't connect on the second new screen.
Second New Screen Issues
Discovering the LDVS cable won't connect on the second new screen.
Getting ready to modify the width of the data ribbon connector using nail clippers.
Prepping For Surgery
Getting ready to modify the width of the data ribbon connector using nail clippers.
Finally a new display installed with connectors both sides fitting the logicboard!
New Screen Successfully Connected
Finally a new display installed with connectors both sides fitting the logicboard!
Remarkably, that worked perfectly, and the Mac booted with the new screen attached without any issues!
So finally, a few lessons to take from this mammoth repair/upgrade going forward:
When buying secondhand spares or parts on eBay, always double-, or triple-check that they are correct in all aspects – especially when it comes to model numbers which get reused across multiple years or devices! Be prepared for the fact that finding exactly the right item may take some time.
Physically modifying components is not impossible! But always go very, very slowly, take lots of care, and make sure the lighting is good.
That maybe a nigh-on ten-year-old design, but the mid-2012 MacBook Pro (A1278) is still the best laptop Apple have made. There are people who say that the model which superseded it (the A1502 Retina MacBook Pro) is the best one. I won’t fight them on that – those 2015 MacBook Pros are still excellent machines, with many of the same attractive qualities as the A1278 – but they are wrong.
The A1278 is more serviceable and more upgradeable. You can easily change the battery when its performance inevitably starts to wear out (as happens to all batteries). You can change and upgrade the storage (in my own mid-2012 MacBook Pro, I have fitted a 1TB SSD as a system drive, plus a 2TB SATA disk in place of where the original optical drive used to be). And you can change the RAM up to an actual maximum of 16GB in a matter of moments.
With the A1502 model, on the other hand, changing the battery is difficult as the original battery is glued in place – and a replacement battery can cost up to five times what a new battery for a mid-2012 MacBook Pro costs. You can still change or upgrade the storage – but the NVMe SSD this model requires also costs a lot more. RAM is soldered onto the Logicboard and cannot be replaced or upgraded. And although you gain onboard HDMI and more Thunderbolt 2 ports (compared to the A1278), you lose Ethernet and FireWire 800 ports.
However, if you are content with your specs (or happy to spend more time and money on maintenance) the 2015 Retina MacBook Pro is still a very good machine, and very nice to use. It’s after 2015 that things really start to go downhill…
For the last five years, Apple have insisted on producing worse laptops than they did in the past. Gradually removing all the features people actually liked and used, whilst at the same time making the machines all but impossible to repair or maintain.
Consider some of the features of the older MacBooks I have mentioned which no longer appear on the newer models… Apple’s MagSafe charger design is a work of true genius. It’s subtle pieces of brilliance in design like MagSafe which in the past have set Apple’s products apart from the herd, and made it worth paying the premium for their brand. So in 2016, Apple discontinued this universally-acclaimed design in favour of charging over USB-C on their new A1707 MacBooks (which iFixIt scores a lousy 1/10 for repairability).
Likewise, the mid-2012 MacBook Pro and the earlier Retina models produced alongside it feature a scissor-style keyboard using a mechanism Apple calls a ‘Magic Keyboard’, which in my opinion is an absolute joy to type on. In 2015, Apple started using their ‘Butterfly Keyboard’ mechanism instead – a keyboard mechanism which is painful to use, received consistently negative reviews, and was actually the subject of a lawsuit – purely for the sake of slightly thinner MacBooks.
This single-minded pursuit of thin and lightweight has resulted in laptops which are less repairable, less upgradeable, have keyboards which hurt your hands, and feature next to no connectivity (a MacBook Pro which has four USB ports – one of which has to be used for the charger – and nothing else is not, in my opinion, Pro at all).
So although they may seem chunky by today’s standards, the mid-2012 MacBook Pro is still a vastly more Pro device than almost all the MacBook models released after it. The specs are still comparable to much more recent machines – and if you happen to buy one with lower specs, you can upgrade it to the maximum for around £100, with less than an hour’s work. You can plug in almost everything you might need to plug in, without having to take out a mid-sized bank loan to purchase Apple’s own cable adaptors. And you get all the advantages of some of Apple’s best design work – especially the MagSafe charger.
The only serious downside of the older A1278 is that the onboard graphics chip seriously limits performance if you are running a very graphics-intense workflow (video editing or rendering, for example). It is possible to get around this, although the workaround is a clunky and not-especially-portable solution.
A couple of years ago, Apple finally opened up the use of external graphics cards with MacBooks, recognising that thermal throttling on graphics issues is one of the biggest causes of loss of performance for MacBook users. Officially, eGPUs are only supported on Thunderbolt 3 enabled Macs running macOS 10.13.4 (‘High Sierra’) or later. However, it is possible to force eGPU support on Thunderbolt 2 Macs (including the A1278 MacBook Pro) using the PurgeWrangler script, which is something I have done successfully prior to my Cheesegrater Mac Pro build.
(I should note that since I did that, Mayank Kumar who designed the PurgeWrangler script has released a new version called Kryptonite, which supersedes PurgeWrangler as it does not need root level kernel modifications requiring System Integrity Protection to be disabled on your Mac. I have not personally tried Kryptonite, as I have not used my eGPU much recently.)
I would not recommend taking this route unless you know that you are going to be running lots of heavy-duty graphics on your Mac. But it is always worth being aware that these types of modifications are available for certain specific use cases.
In conclusion, the only thing you gain by opting for a MacBook built in 2015 or later is a marginal saving in terms of size and weight. Personally, I would always rather have a computer which is slightly bulkier, but is actually fit for purpose and which can be repaired when it goes wrong.
As a longtime and loyal Apple user – but one who abhors the company’s proprietary instincts and lack of transparency around parts and repairs – the announcement earlier today that Apple would soon launch their Self Service Repair programme, making specialist parts, tools and diagrams available to the public should have had me jumping for joy.
And it did! I was genuinely cheered by the news when I read it. It’s a remarkable change of tune from a company who have previously been so wildly hysterical on the topic of repair – as the iFixIt blog on the matter was quick to point out…
This move invalidates many of the arguments Apple and other manufacturers have used against the right to repair. Liability? You understand the risks, and won’t sue Apple if you damage your device, or stab yourself in the palm with a screwdriver. Warranties? Although it’s illegal to void a warranty for a DIY repair, people worry. Apple’s program should tell motivated fixers that their warranty is intact.
But there are some serious caveats, too. As the European Right To Repair campaign’s response says, the devil is very much in the details. Their website wonders whether the announcement might end up being too good to be true.
For my part, I don’t think ‘too good to be true’ is quite fair. I think this is genuine, and I think that is legitimately good news – but I think it does not go anywhere near far enough, and I think Apple’s motivations still owe more to safeguarding their market share than helping their consumers. That is their right – but it is also our right to keep campaigning for binding right to repair legislation which serves the public, not just vested interests.
Apple are releasing only the schematics and spare parts for the newest iPhone and MacBook models (at least to begin with). The message is clear: Buy our new stuff, and you’re much better off! You’ll even get to fix it, too!
But those of us who care about repair and sustainability don’t want to be forced into upgrading to new devices so we can get the cool new toys. In fact, that is exactly the type of attitude we are trying to get away from! If Apple’s damascene conversion were serious, they would want to help us keep older devices running better for longer.
What cheers me most about the whole thing is that it shows we are winning. Apple is a smart. Smart, with a carefully-honed image of slick, polished competence. In my view, what’s happening here is that Apple have spotted which way the wind is blowing; they want to get out in front of any legislation which maybe coming down the line to do things on their own terms; they want to jump before they are pushed. Well, good. But that doesn’t mean we can’t still push.
My ‘secondary’ laptop – an A1181 white MacBook from 2009 – only officially supports up to OS X 10.11 (‘El Capitan’).
Using the super-easy, user-friendly patcher tools from dosdude1, I was able to force this machine onto macOS 10.14.6 (‘Mojave’) in line with all the other Macs I am using.
All good on Mojave
Some trackpad functionality has altered a little (I was warned this could happen on these models when I downloaded the patchers) but that’s still very useable. With an SSD now installed as well, the Mac runs impressively smoothly for its age.
Ideally I would like to boost the RAM up from 4GB to 6GB (which is the actual maximum RAM for this model, according to Everymac), but that will require finding a 4GB DDR2 SO-DIMM at a reasonable price, which seems to be almost impossible! Do please let me know if you spot any for sale, if you have any which you are no longer using!
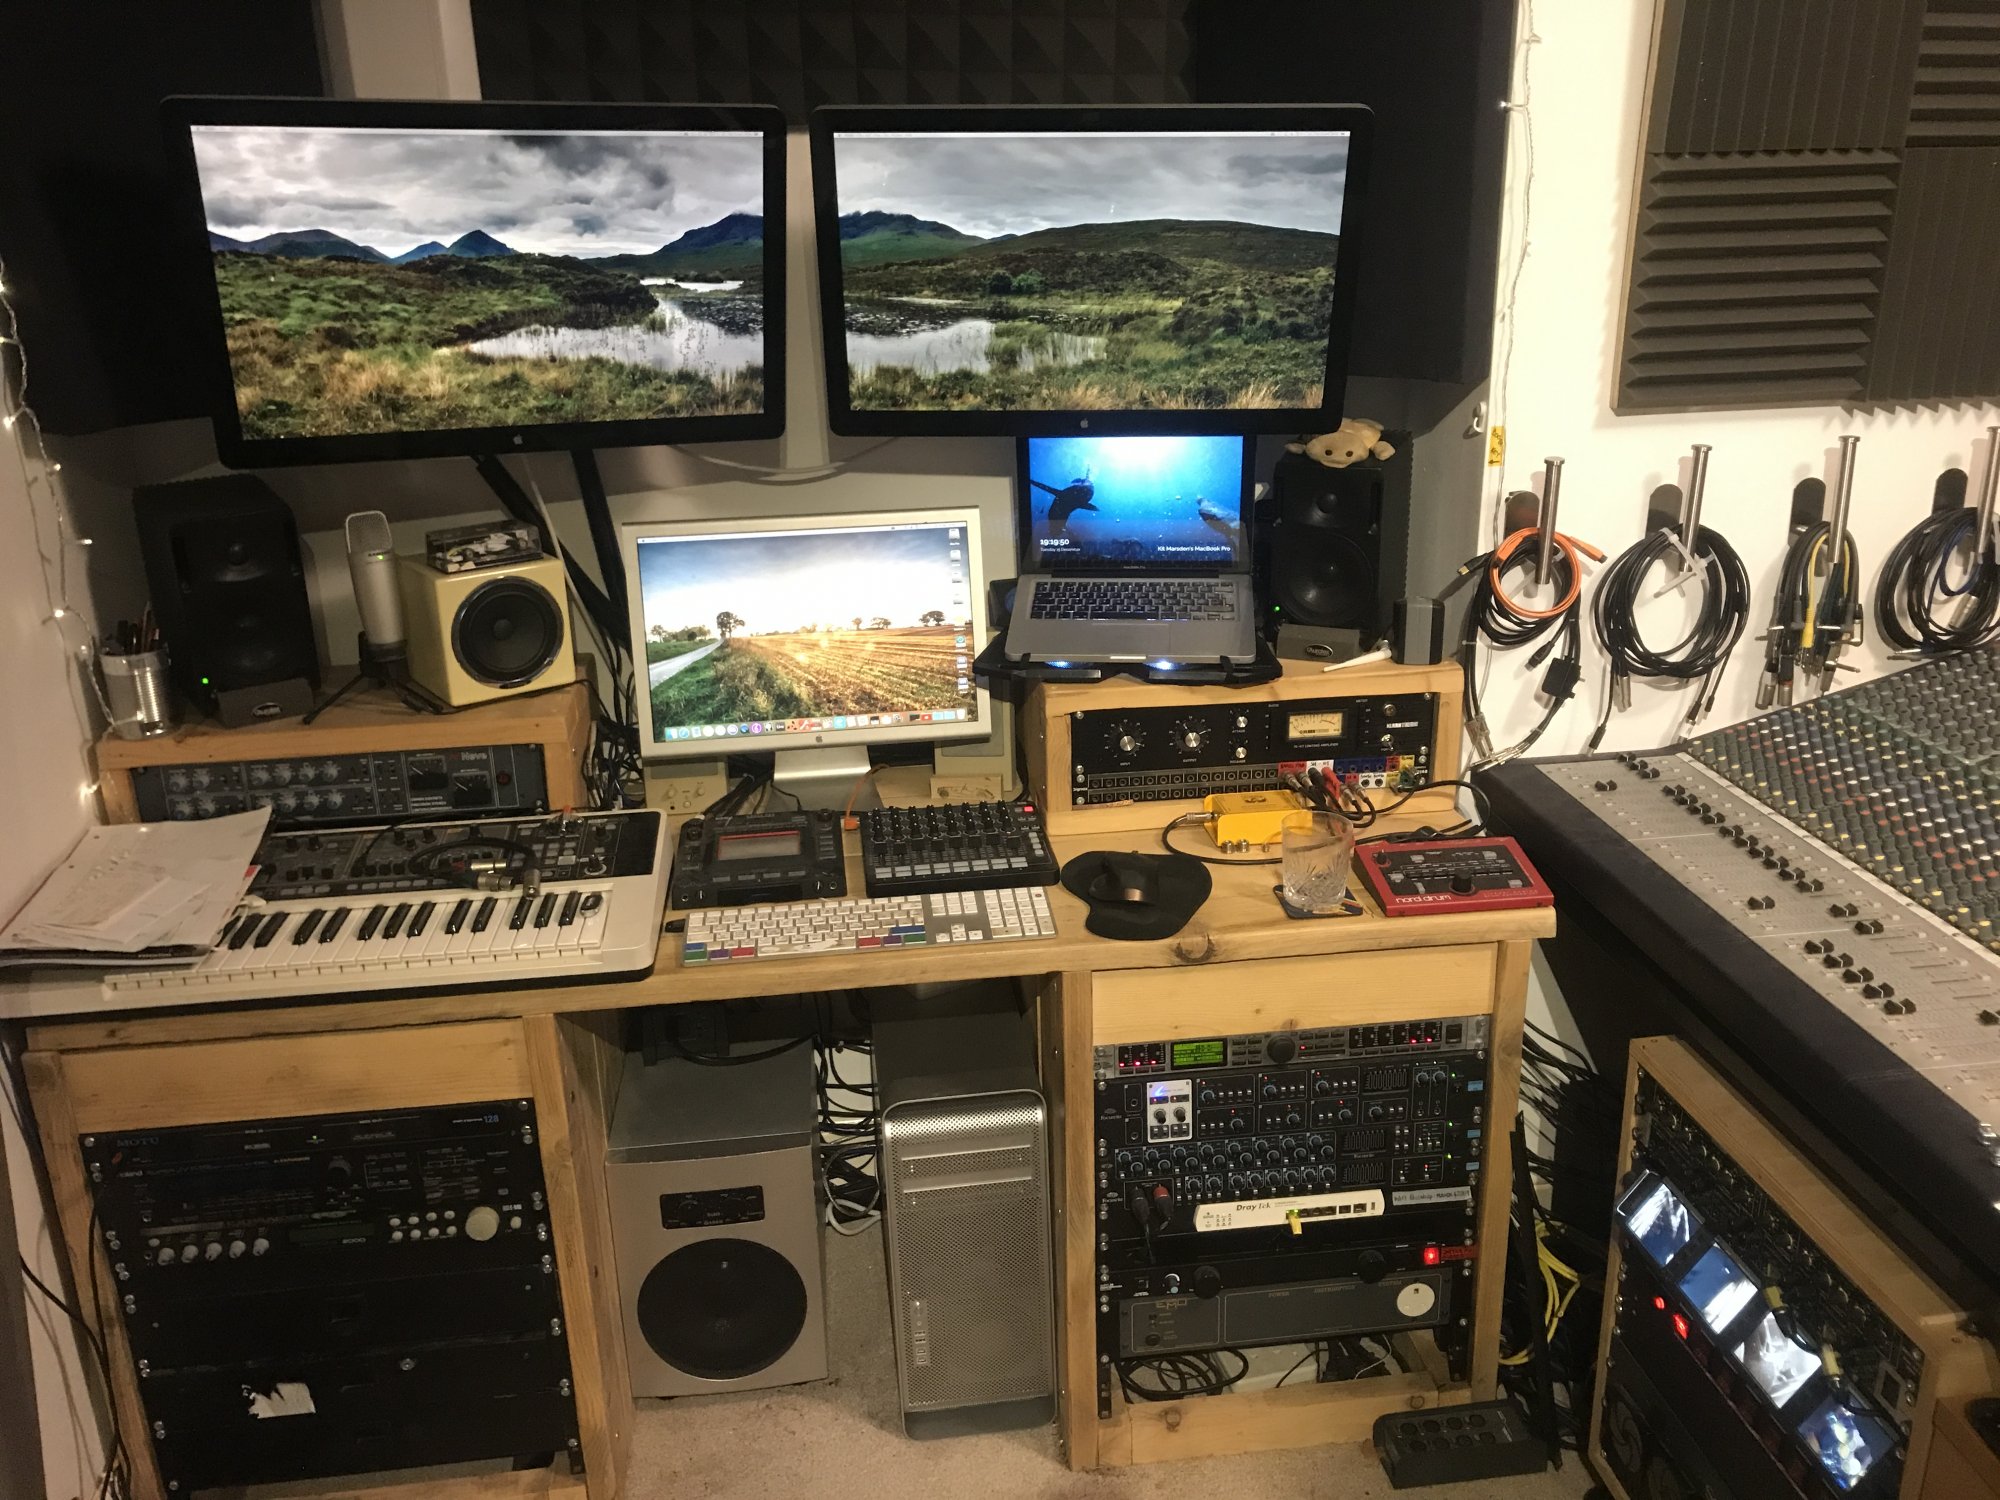
Having run my recording studio entirely off a laptop (a mid-2012 MacBook Pro A1278 to be precise) for many years, I decided to take advantage of all the time at home over the summer of 2020 – and the increase in remote studio work which accompanied that – and invest in a dedicated studio machine designed to handle pro creative environments. Highly customisable and still comparable to many of the latest top-spec computers, I found a ‘cheesegrater’ Mac Pro 5,1 on eBay.
Cheesegrater and MacBook Pro together in the studio
I installed an SSD system drive (plus three more large 3.5″ SATA volumes in the other hard disk slots, to accommodate large project files, audio samples, etc.) and 64GB of 1333MHz DDR3 RAM in the dual CPU tray. The trickiest part of the build was getting the Mac Pro to communicate with some much newer Apple peripherals I already had.
With the laptop, I was running a triple screen setup via Thunderbolt – the MacBook Pro’s built-in screen was the first display, and I had two Apple 27″ Thunderbolt Displays mounted on the wall above my desk in the studio for running audio software which requires a lot of screen space. The Thunderbolt displays were daisychained together via Thunderbolt, and running from the MacBook Pro. An eGPU allowed this setup to function without the laptop exploding due to thermal throttling.
The ‘cheesegrater’ Mac Pros do not have any native Thunderbolt support. But they do have PCIe slots, and people on the MacRumors forum had started to install third-party Thunderbolt PCIe cards into these machines with varying degrees of success. The key thing is to ‘flash’ the Thunderbolt card, and then modify the firmware of the Mac Pro to recognise it as such. Although I watched some excellent video tutorials on doing this whole process yourself, I ended up buying a pre-flashed GC-TITAN RIDGE Thunderbolt PCIe card from a company called dqupgrade – which came with instructions on how to use OpenCore to modify the Mac’s EFI to ‘see’ the card – purely out of convenience.
Because I needed to send video over Thunderbolt, I needed to get my GPU to communicate with a Thunderbolt PCIe card too. I already knew I’d need to upgrade the graphics card in the Mac Pro, as I wanted to run this Mac on macOS 10.14.6 (‘Mojave’), and that requires a ‘Metal’-compatible graphics unit. I opted for a Sapphire Radeon RX580 with two DisplayPort outputs, which I could then feed into the Mini DisplayPort inputs of the flashed GC-TITAN RIDGE card, to carry video over Thunderbolt.
So far, I was following a path trodden by a number of Mac Pro (or Hackintosh) modifiers. But my setup involved two Thunderbolt displays, and I couldn’t find any literature online from anyone who had experience of driving more than one Thunderbolt video peripheral at a time from a flashed PCIe card in a Mac Pro 5,1 – so I had to do a bit of trial-and-error in my studio.
I had assumed that the Thunderbolt ports built into the backs of the Thunderbolt Displays would no longer be active, and that each display would have to be connected individually to the GC-TITAN RIDGE card (which thankfully has two Thunderbolt 3 outputs on it; obviously I am using Apple’s vastly overpriced Thunderbolt 3 to Thunderbolt 2 converters in order to connect the Displays’ own data cables).
In fact, the opposite ended up being true – connecting each display to its own Thunderbolt output on the back of the Mac Pro meant that only one display would be active (whichever was plugged in first; which at least told me that both ports were outputting video over Thunderbolt, and that both displays were communicating with the GPU – just not at the same time!). However, if I connected one Thunderbolt Display to one of the GC-TITAN RIDGE’s ports, and then daisychained the second from the first screen’s onboard Thunderbolt port (as I had done in my old setup, running off my laptop), I could actually drive both displays at once via Thunderbolt – providing I was sending two separate video signals from the Radeon RX580 to the Mini DisplayPort inputs on the GC-TITAN RIDGE.
Here is a short video of the moment I first got that configuration working:
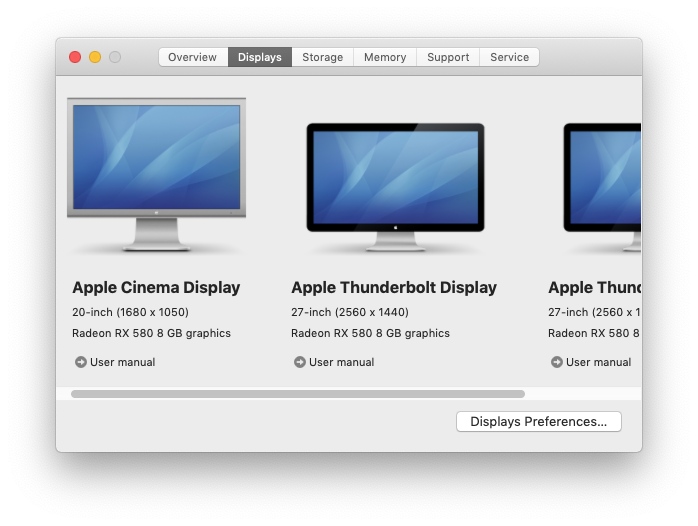
That proves (as I mention in the video) that I am sending both video and data over Thunderbolt. The Mac’s own System Information window also bears this out.
System Information
System Information
There are some anomalies in this setup, still. The Apple Thunderbolt Displays were designed to act as an all-in-one hub for all kinds of connections (which were popular at the time of release), almost like an iMac without a processor – the back of each unit has three USB 2.0 sockets, a FireWire 800 port and an ethernet port, as well as the onboard Thunderbolt 2 connection I already mentioned. All of these connections work perfectly and communicate with the Mac – except, for some reason, the FireWire 800 ports. Luckily the Mac Pro itself has four FireWire 800 ports built-in, so being unable to use the ones on the backs of the screens is not a huge issue for me.