Last month, my workhorse MacBook Pro – my favourite mid-2012 model – suffered a small accident. Thankfully, no internal damage was sustained – but the glass in the screen was shattered. Of course, rather than buy a new Mac, I bought an A1278 MacBook Pro display assembly on eBay to repair my machine.
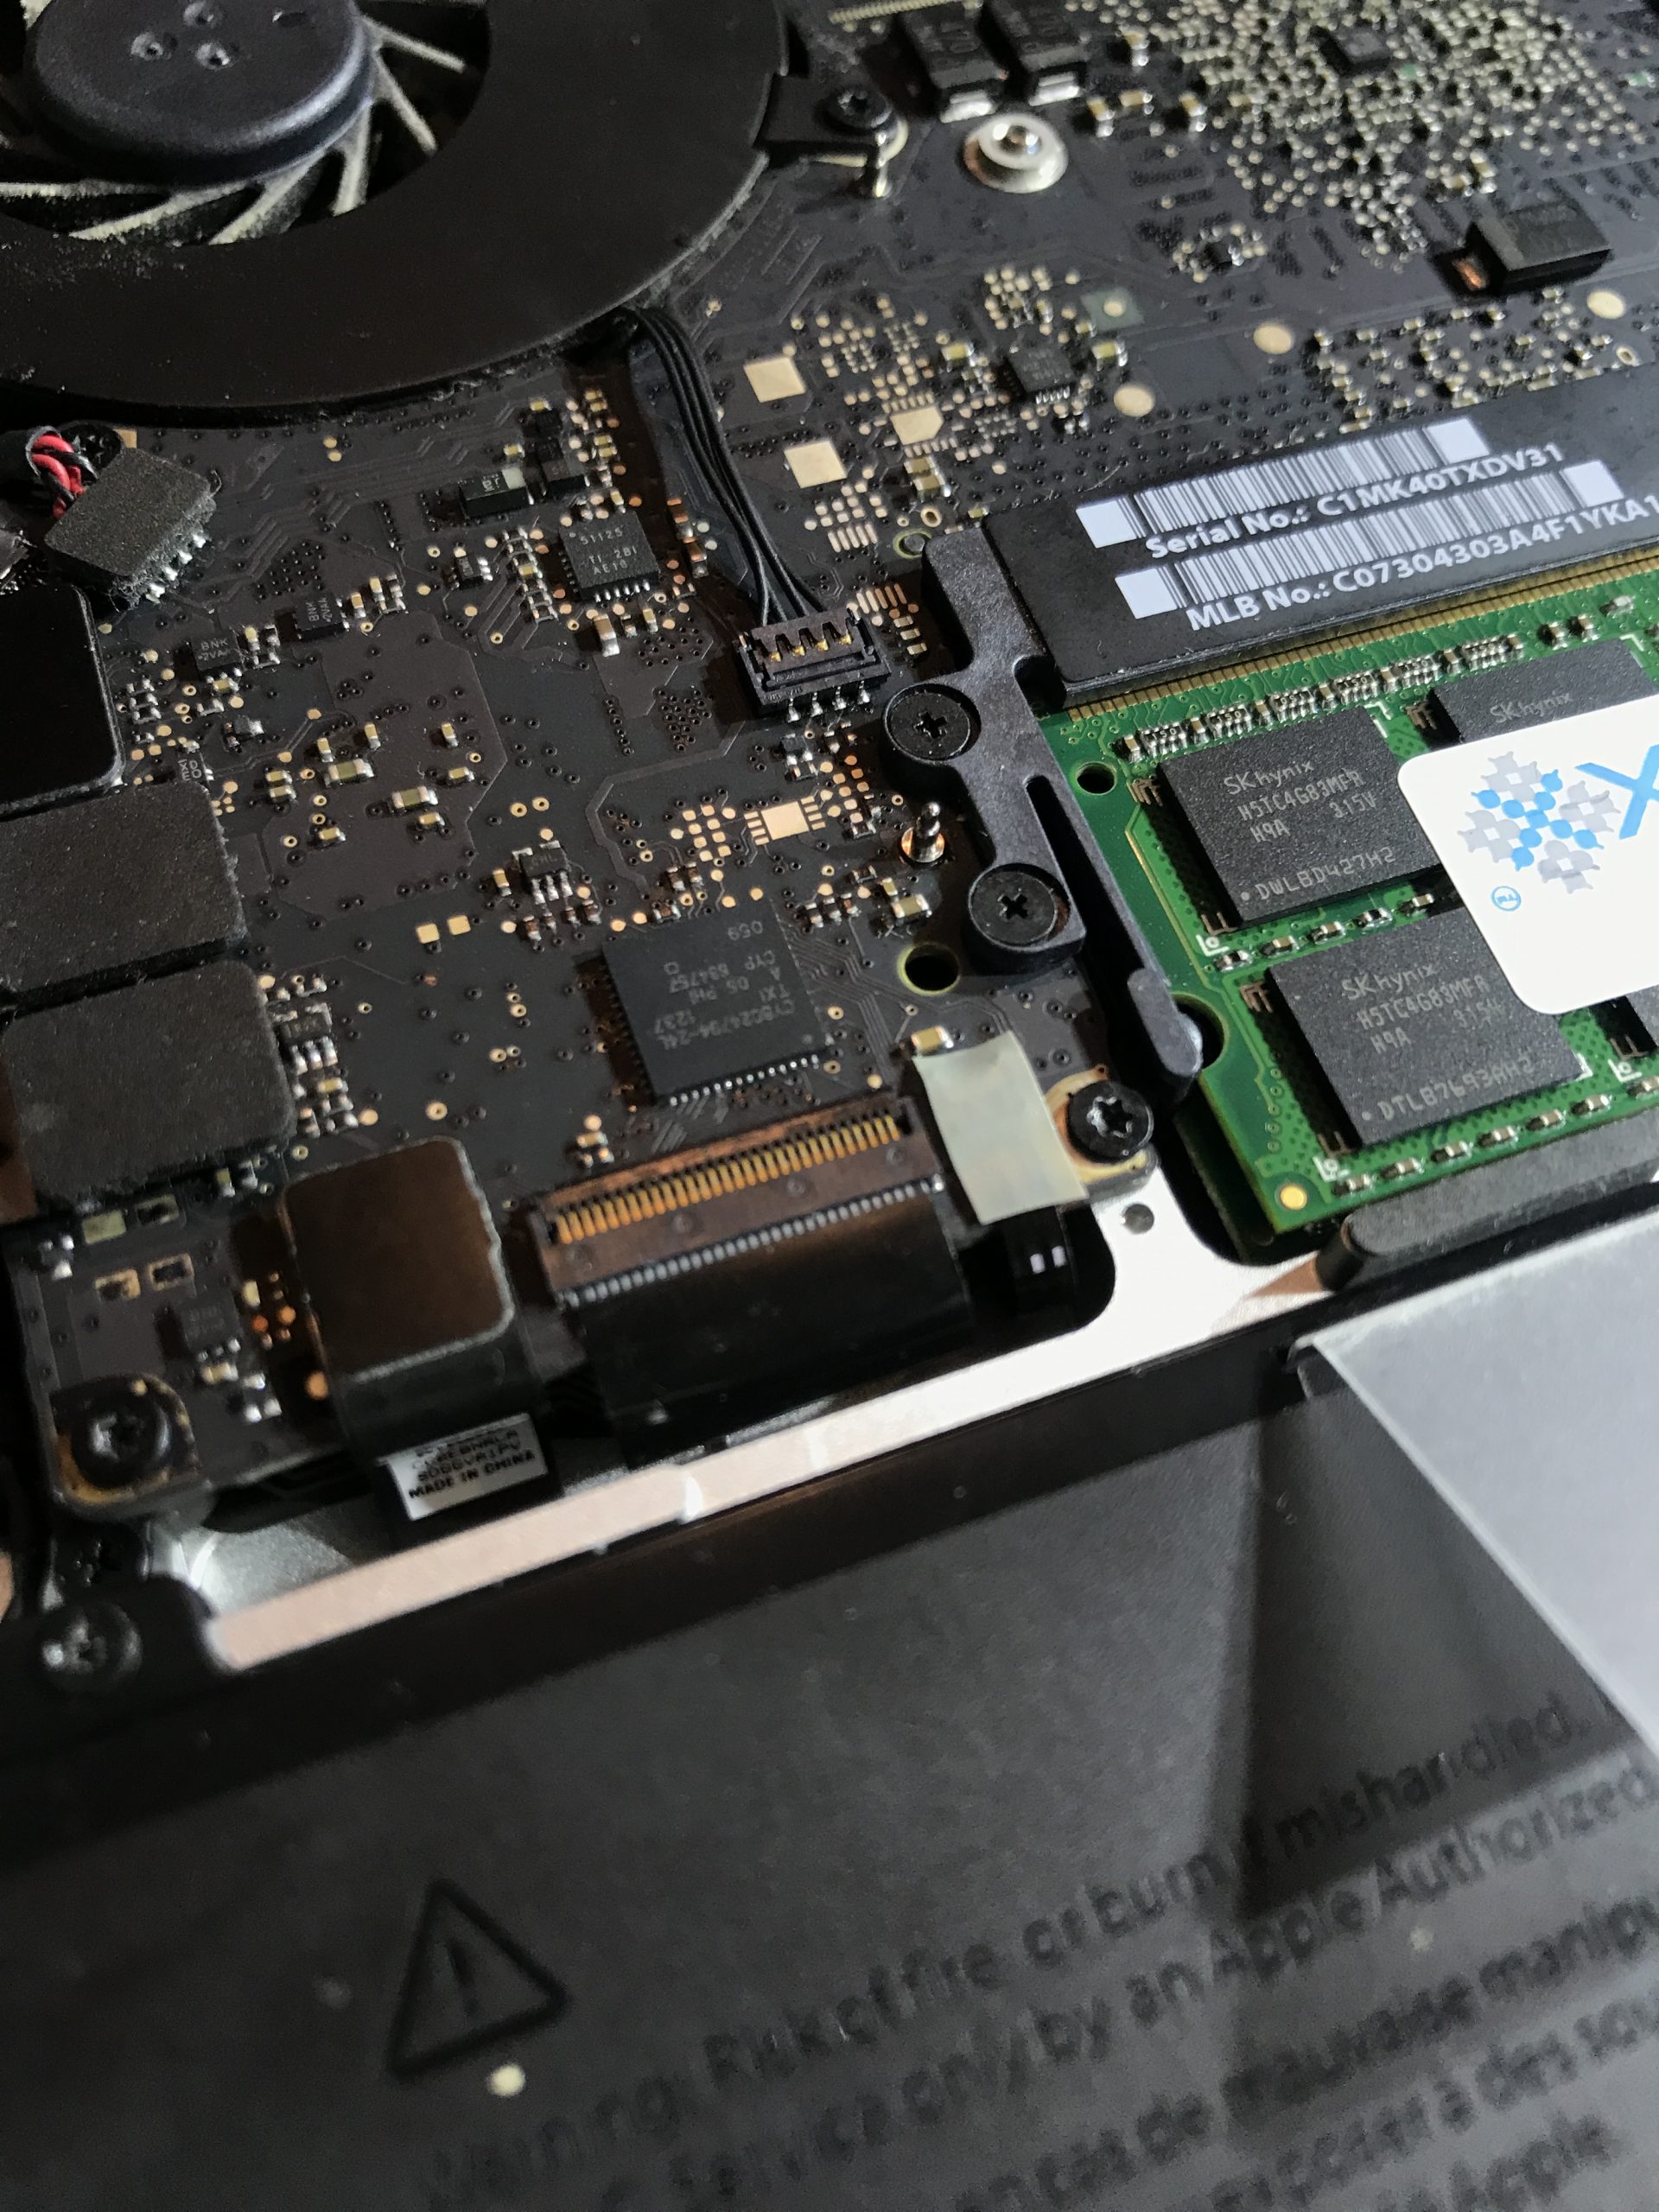
I had already been planning to upgrade the logicboard in this MacBook Pro. A tricky job, but I had found the correct logicboard on eBay some months back which would allow me to upgrade from the 2.3GHz Intel Core i5 processor to the 2.9GHz Intel Core i7 processor, and I had been waiting for the right time when I had enough free time to do an upgrade I had never done before – and to troubleshoot or restore the Mac to its former state after doing so, should anything go wrong, before I needed it to take out on the road again.
I had also planned for some time to fit a new trackpad, as the original was starting to get a little worn after six years of heavy use. The damage to the screen forced my hand; as I would have to open the laptop up and work on it anyway, I would do all this work at once, the week before an important show. I also wanted to document all of this in short videos on my Instagram Stories. I shall post some here for you as well.
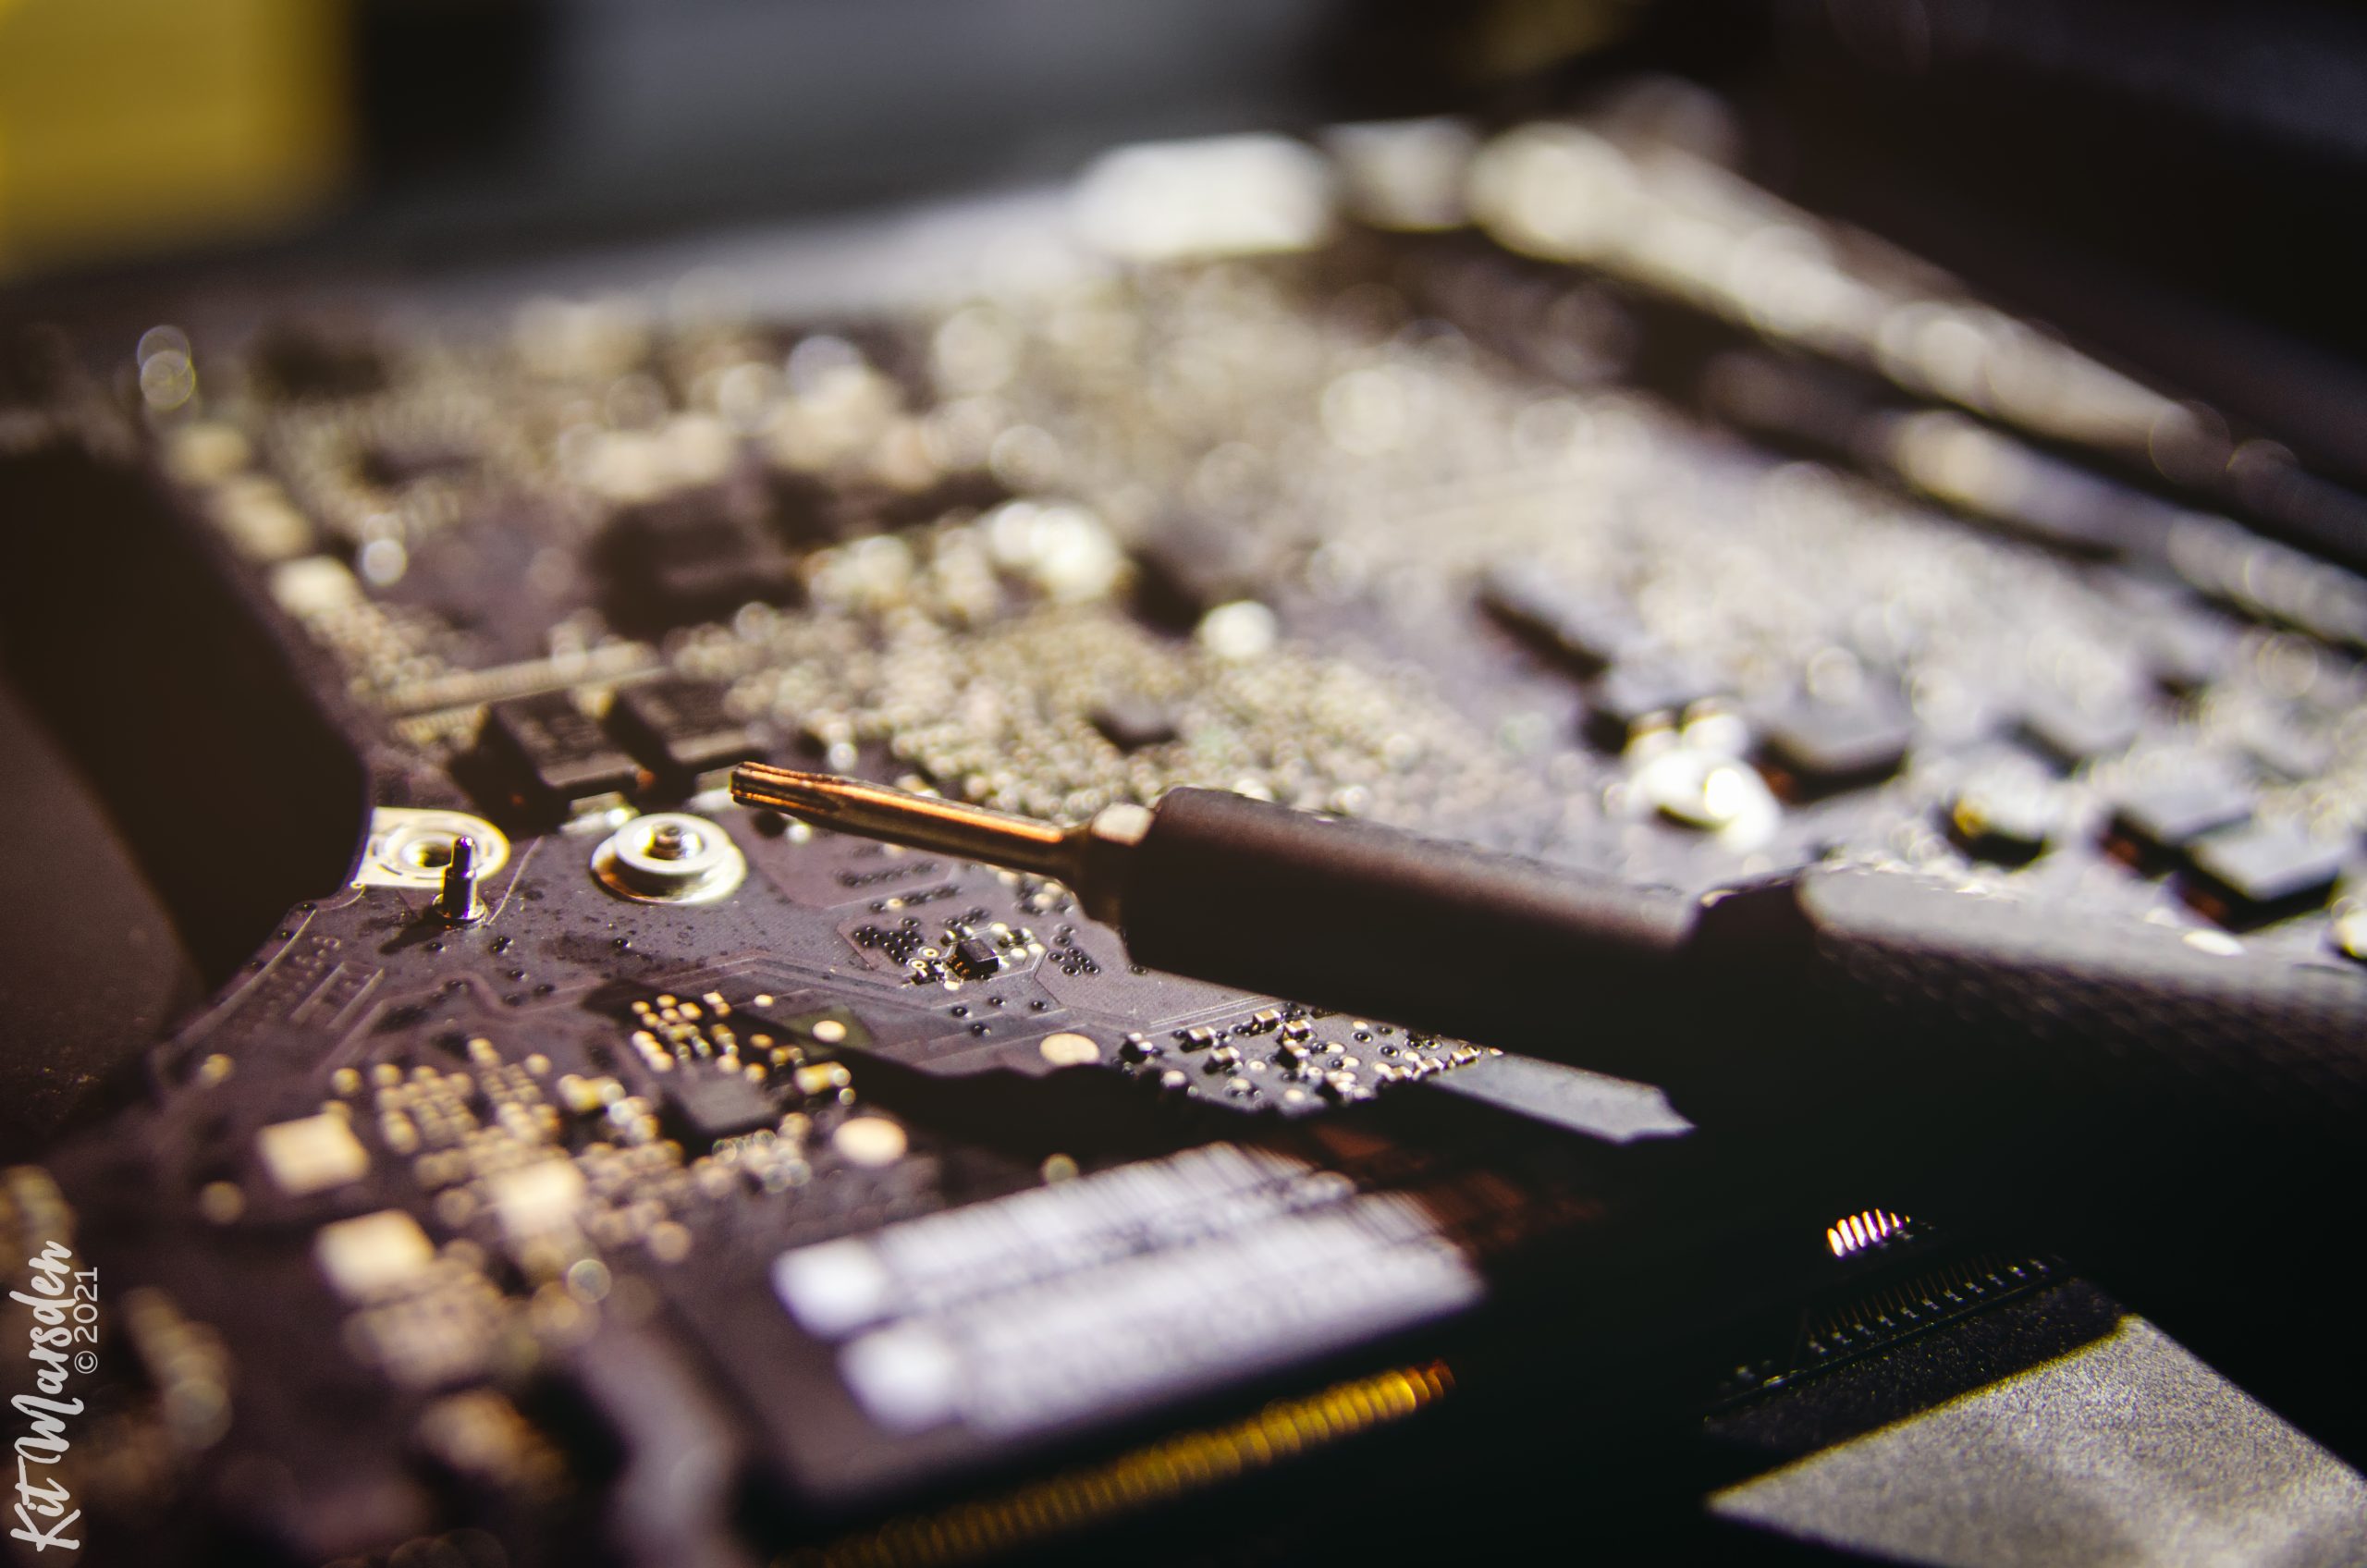
I began with the logicboard upgrade, following a guide on iFixIt. Thankfully I didn’t have to complete every single step of the guide, as the new logicboard I had bought already had a heatsink and a speaker and microphone fitted so I didn’t have to switch them over from my old logicboard.
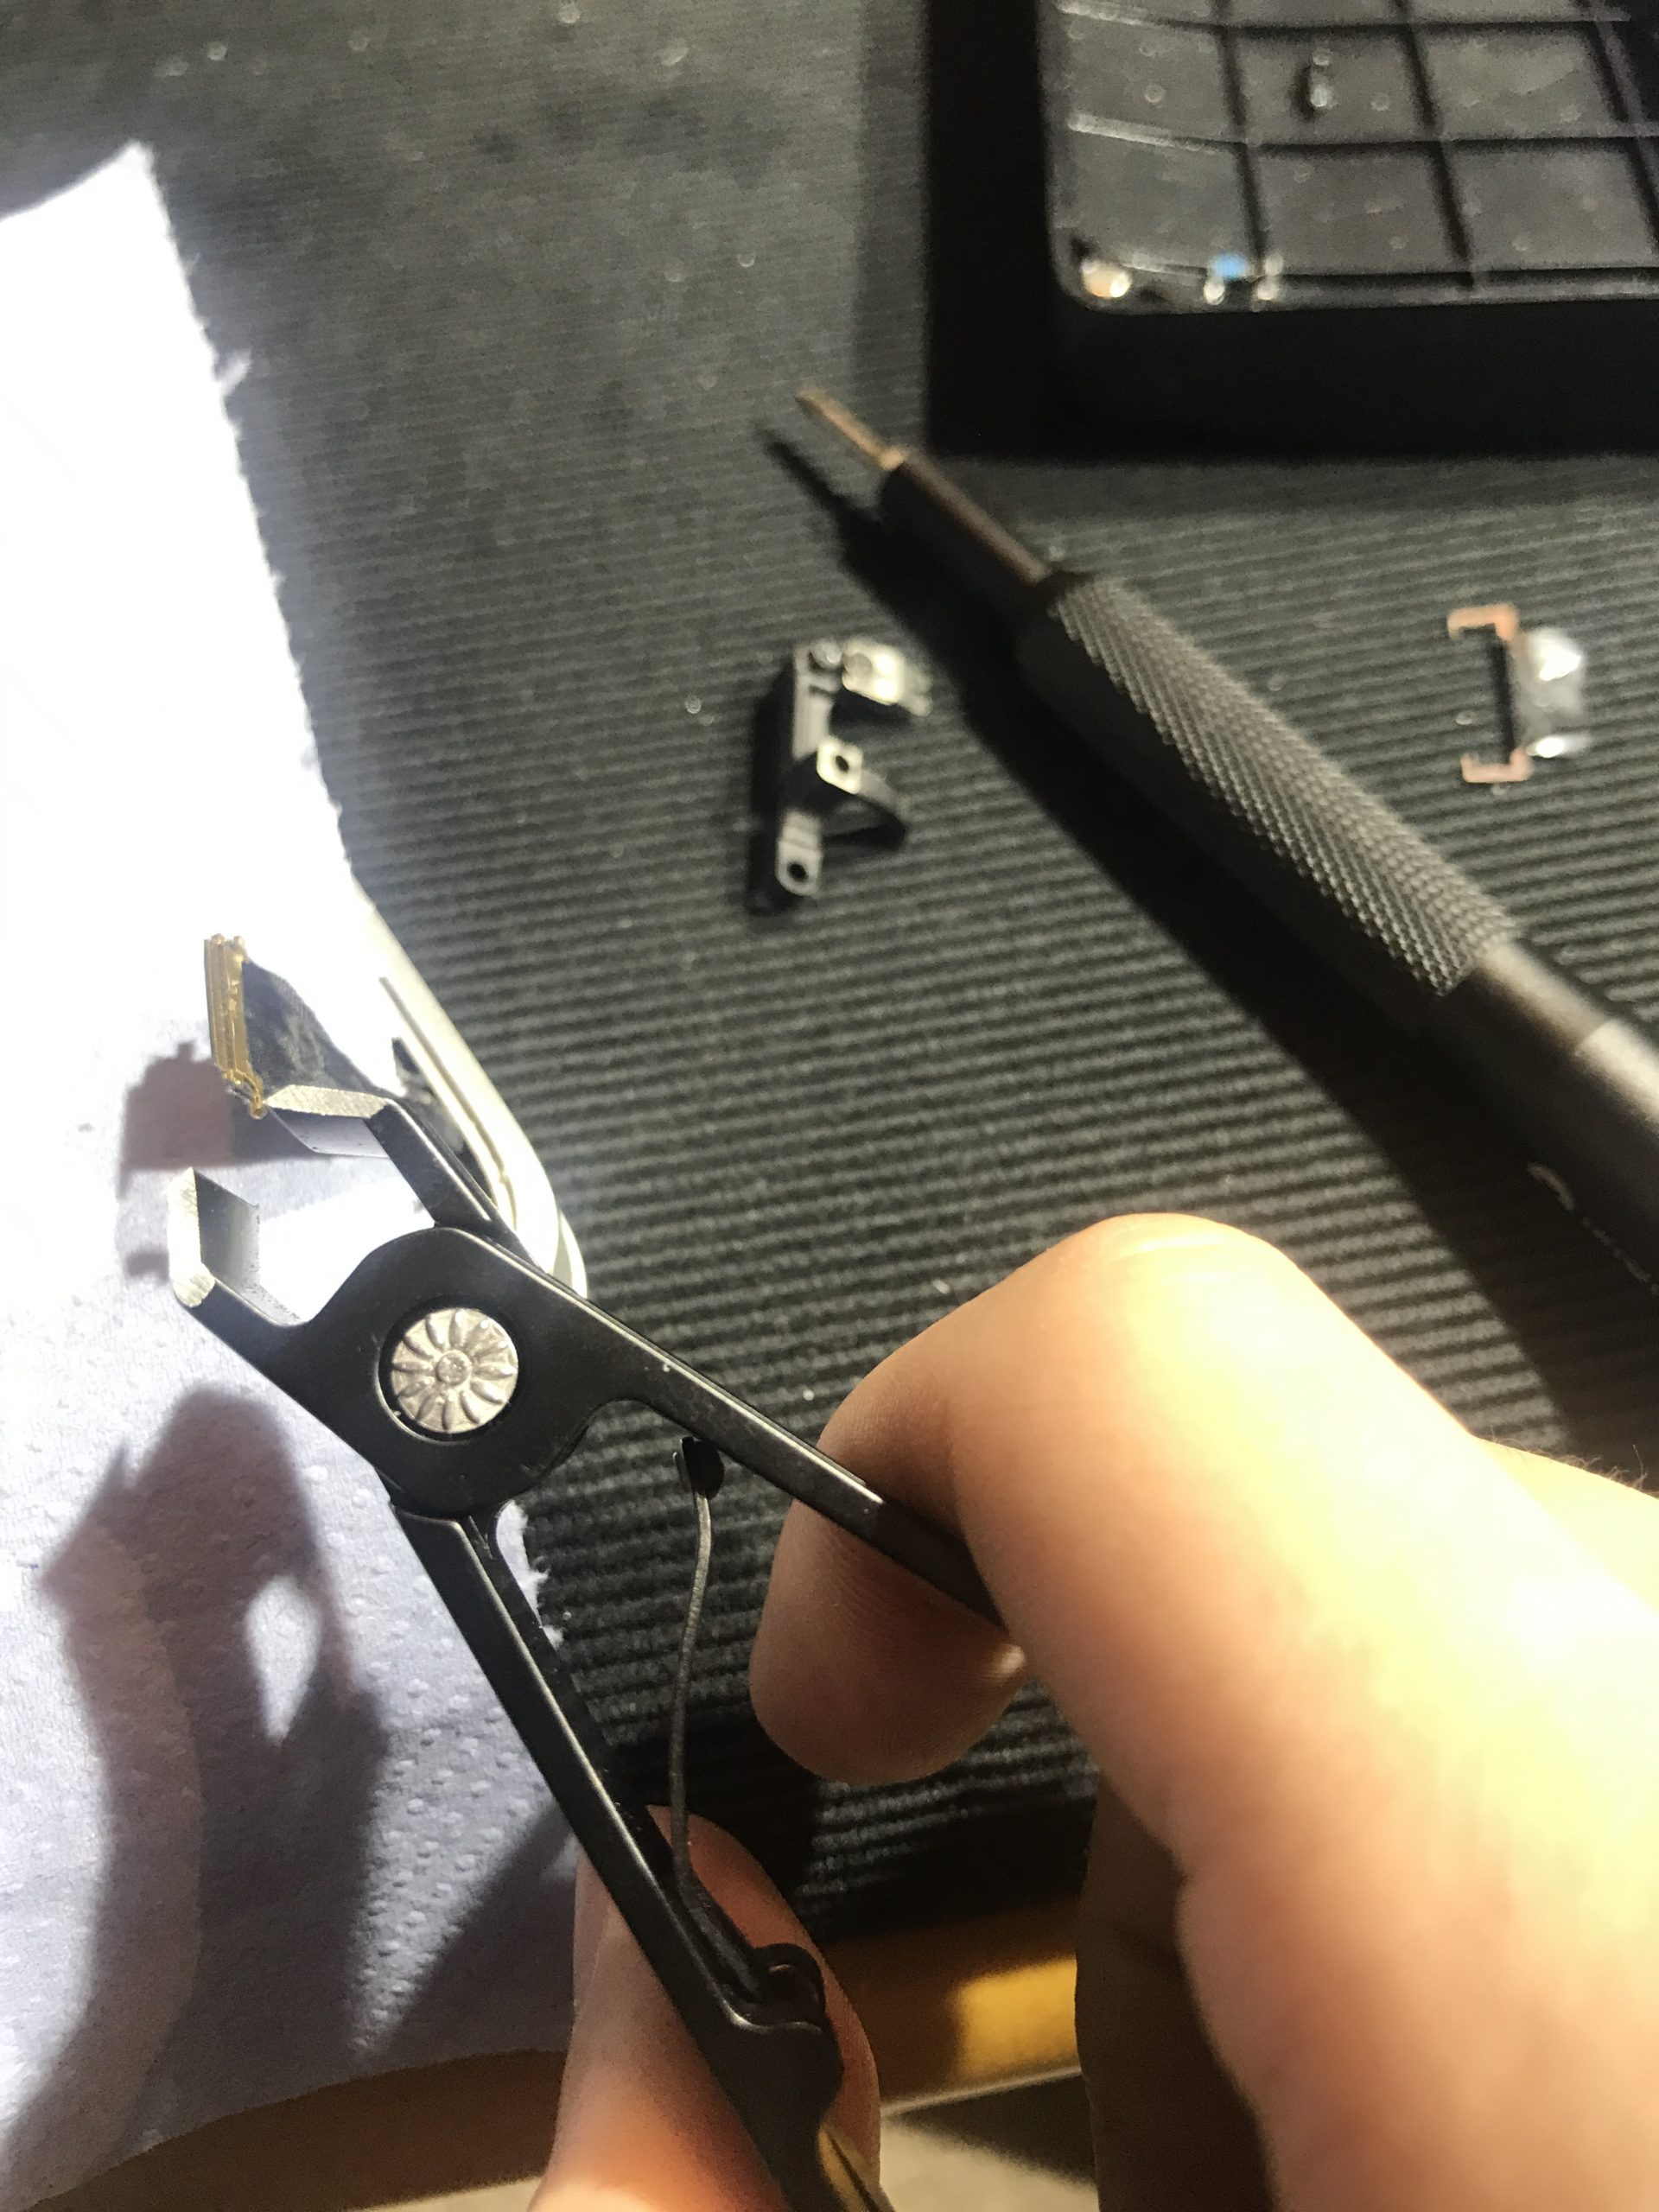
I also paused my logicboard upgrade midway through to begin some of the other work I wanted to do – taking the battery out to gain access to the trackpad before completing reassembly of the logicboard. Replacing the trackpad is a fairly simple job to do, but that doesn’t mean it isn’t fiddly! Check out the microscopic little screws which hold the trackpad in place, in my videos below!
With the logicboard and the trackpad both successfully replaced, I began to reassemble the MacBook Pro as much as I could before fitting the new display assembly – although not without a minor mishap of snapping the retaining clip of the ZIF connector holding the keyboard LED backlight ribbon cable.
That wouldn’t be the end of the world to lose this feature, but I do like it! I ended up holding the ribbon cable into its ZIF housing with a small tab of insulation tape instead, and so far the keyboard backlight has performed completely normally – so I think I got away with it, on this occasion.
However, it was when I came to replace the screen that things started to get really difficult.
In my haste to buy a replacement screen, I had simply searched on eBay for ‘A1278 display assembly’ and bought the first good-quality one I saw. The screen arrived and was in top condition (better than the original one in fact, which had already suffered a couple of minor dents in the lid – as is fairly common with these models of MacBook Pro). But when I went to fit the new screen I had bought, I saw that the connectors on one side did not match those on the screen I had removed.
Of course I knew that Apple had used the A1278 model identifier for a few different MacBook models released between 2008 and 2012, but I hadn’t realised the internal connectivity had changed along with the general component specifications. My MacBook Pro had an LDVS data ribbon connector (with a short cable) on one side, and four separate brass antennae (for Bluetooth, WiFi, etc.) on the other; the new display I had bought had the same LDVS connector on the short cable side, but no antennae – instead, that had a second (longer) ribbon cable with a small LDVS connection.
I was fortunate to be able to borrow a slightly damaged but useable screen from a dead MacBook Pro which has used to belong to a family member, and which had the correct connectors on both sides. This meant that the Mac would at least be useable on my gigs during the coming weekend. I then had to source another new, uncracked display for this model of MacBook Pro, with the right connections on both sides.
The next new screen arrived a few days later. The antennae fitted perfectly. All seemed to be going swimmingly! And then, I found I struggled to reconnect the the LDVS data cable. Having now fitted various different screens onto this Mac over the past few days, I had become fairly adept and doing these fragile little components – so I was surprised to find I couldn’t insert the LDVS connector into its housing smoothly. Not wishing to force it, I looked up online whether anyone else had experienced the same difficulties…
An iFixIt forum post soon showed be that I was once again a victim of Apple reusing model identifier numbers for very slightly differently aged Macs. The screen I had bought was from a 2011 A1278 MacBook Pro, and not a mid-2012 A1278 MacBook Pro! They are identical in design. But Apple apparently changed the supplier for the LDVS connector, resulting in a size discrepancy of 1mm between the 2011 data cables and the 2012 data cables, with the 2011 ones being a tiny amount larger. This is why the connector would not easily fit into the housing on the logicboard for my mid-2012 Mac.
Fearing that I would now have to buy a third screen and double-check these details too, I read more comments on the iFixIt community post. A couple of people said they had successfully fitted 2011 displays onto mid-2012 MacBook Pros by using nail clippers or a small emery board to shave 0.5mm of fibreglass surround off each side of the LDVS connector. It felt extremely risky to go modifying the shape of components in my laptop using a pair of nail clippers – but I knew that if I didn’t try that I’d have to buy another new screen anyway, so I felt that was worth a go.
Remarkably, that worked perfectly, and the Mac booted with the new screen attached without any issues!
So finally, a few lessons to take from this mammoth repair/upgrade going forward:
- When buying secondhand spares or parts on eBay, always double-, or triple-check that they are correct in all aspects – especially when it comes to model numbers which get reused across multiple years or devices! Be prepared for the fact that finding exactly the right item may take some time.
- Physically modifying components is not impossible! But always go very, very slowly, take lots of care, and make sure the lighting is good.